
Beyerdynamic MMX100 Volume Controller Repair

Anthony Grande and
Last updated on Jun 22, 2026
Views: 2.8K
View statistics:
- Past 24 Hours:
- 5
- Past 7 Days:
- 33
- Past 30 Days:
- 114
- All Time:
- 2,836
Comments: 1
1 guide comment.
Go to guide commentsCompleted: 2 3
2 people have marked this guide "completed." Will you be next?
3 people have marked this guide "completed." Including you — great job!
Favorites: 0 1
No one has favorited (and subscribed to) this guide. Will you be the first?
1 person has favorited (and subscribed to) this guide — and that's you!
Introduction
Go to step 1 ↓This guide will illustrate how to desolder the rotary encoder responsible for the volume control on the Beyerdynamic MMX100 headset. If you're experiencing issues with your headset's volume, follow the steps outlined here to successfully complete the soldering process. Ensure you have some soldering experience, exercise caution to avoid potential risks, and use anti-static measures during the repair.
What you need
Tools


-
-
-
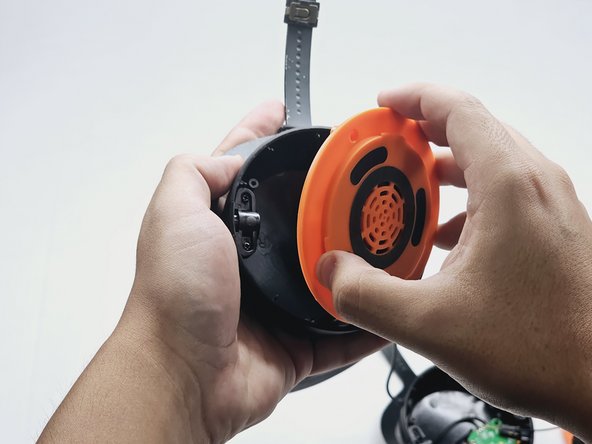
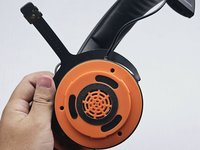
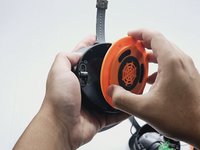
Twist the left speaker cushion towards you, and pull off the headset.
 Ask FixBot
-
-
-
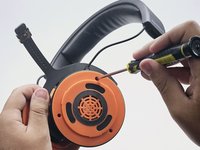
Using the 2.0mm Phillips-Head screwdriver, unscrew the two 0.6mm screws at the end of the left side headband.
-
-
-
-
Using the 3.0mm Phillips-Head Screwdriver, unscrew the three 0.7 mm screws on the left speaker cover.
-
-
-
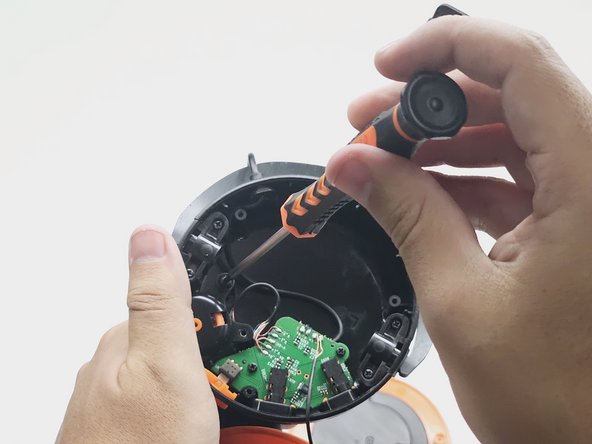
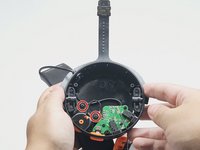
Using the 2.0mm Phillips-Head Screwdriver, unscrew the two 0.5mm screws on the volume control component.
-
-
-
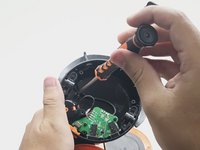
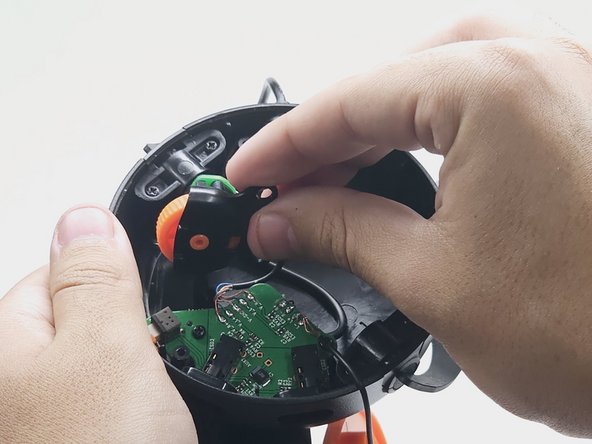
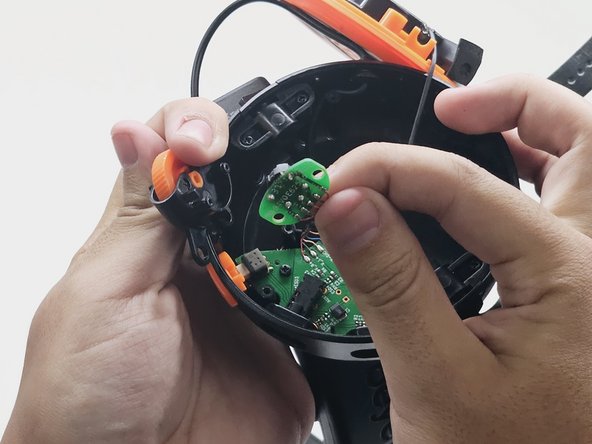
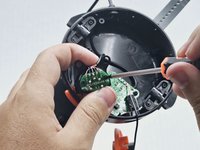
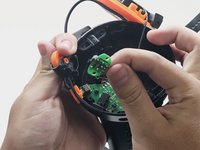
Using the 2.0mm Phillips-Head Screwdriver, unscrew the two 0.3mm screws on the board. Then, take off the volume wheel.
-
-
-
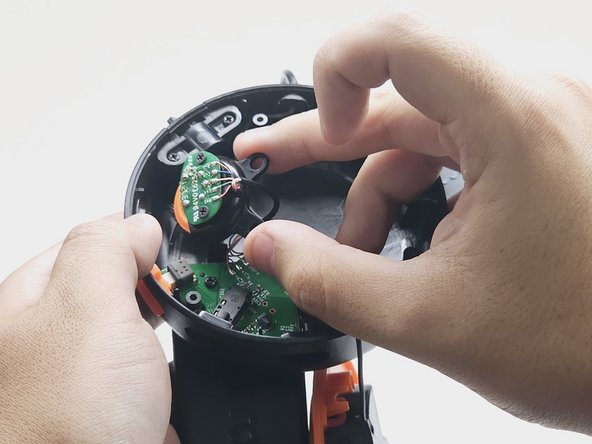
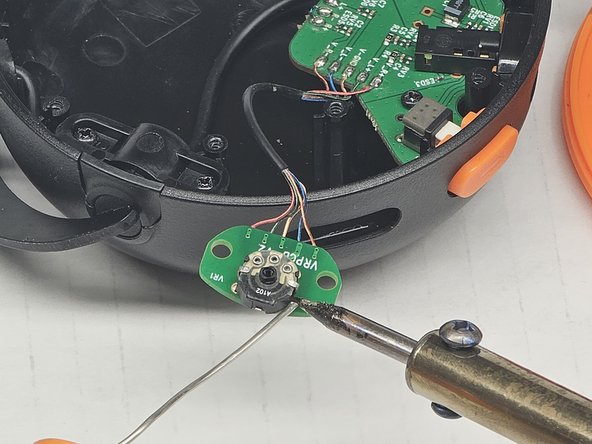
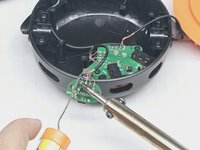
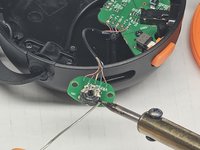
Using a soldering iron, desolder the damaged wires and the prongs on either side of the board.
-
-


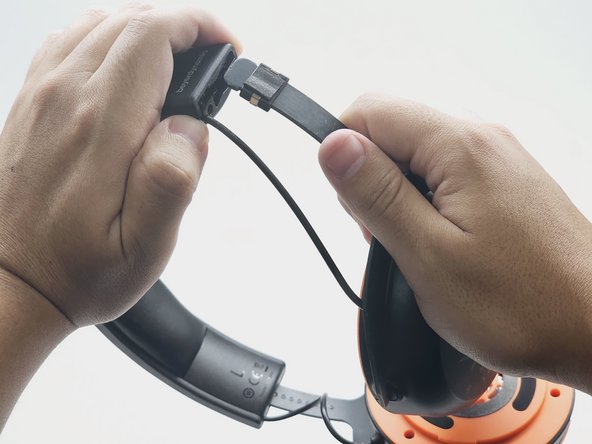
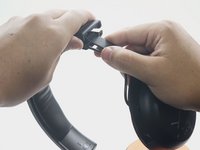
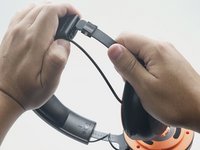

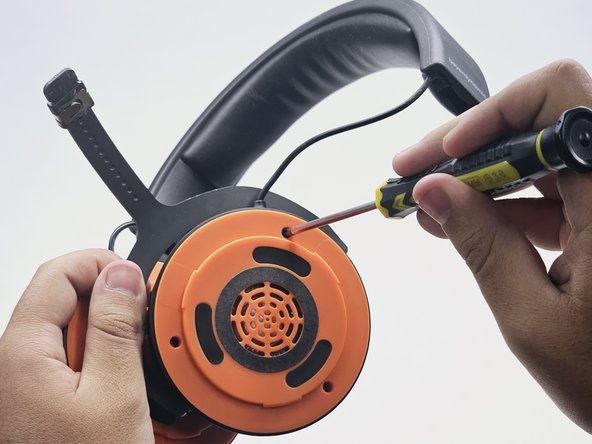




To reassemble your device, follow these instructions in reverse order.
Cancel: I did not complete this guide.
2 other people completed this guide.

Team

CSU Los Angeles, Team 5-9, Kershman Fall 2023 Member of CSU Los Angeles, Team 5-9, Kershman Fall 2023
CSULA-KERSHMAN-F23S5G9
1 Member
12 Guides authored
1 Guide Comment
I have these MMX100 headphones and I want to attempt this repair, but I was wondering where I could find a suitable replacement part for the rotary encoder.
