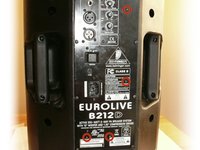
Introduction
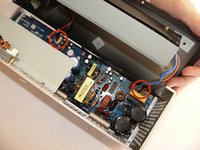
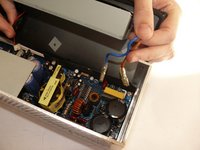
The power PCB is attached to the inside of the back panel and provides access to the power inputs from the exterior of the speaker. This PCB transforms the incoming power to appropriate level for use by the other PCB's in the B212D speaker.
What you need
-
-
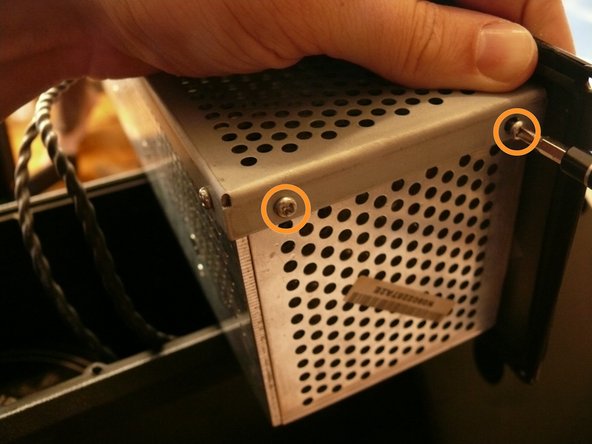
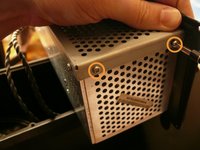
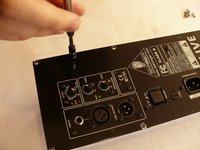
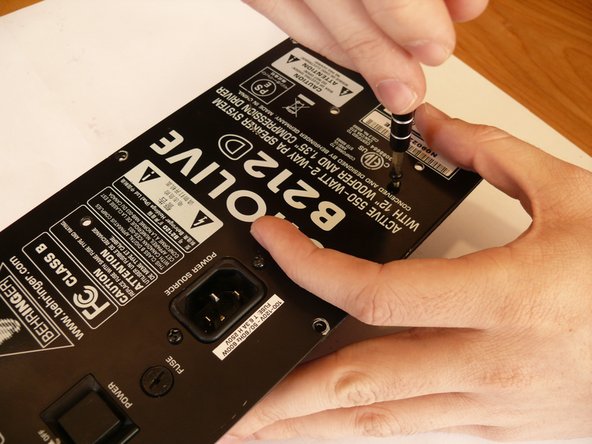
There are two silver, 6 mm-long machine screws with two 1/8" inner-diameter washers on the exterior of the metal electronics box; remove these first using a #2 philips screwdriver.
-
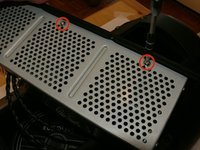
There are five of the same type of machine screw (silver, 6 mm-long) remaining around the metal electronics box's exterior; remove these as well.
-
-
-
-
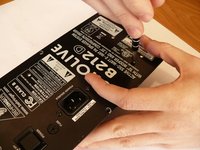
Remove the 4, 7/32" long machine screws with a #2 phillips head screwdriver.
-
-
-
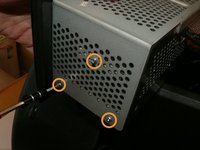
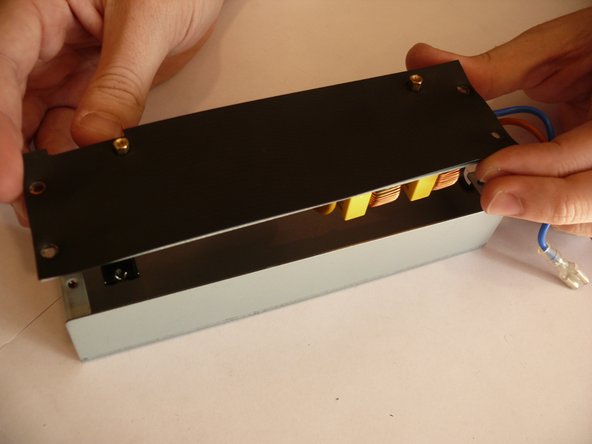
Remove the 4 indicated 7/32" long machine screws with a #1 phillips head screwdriver.
-
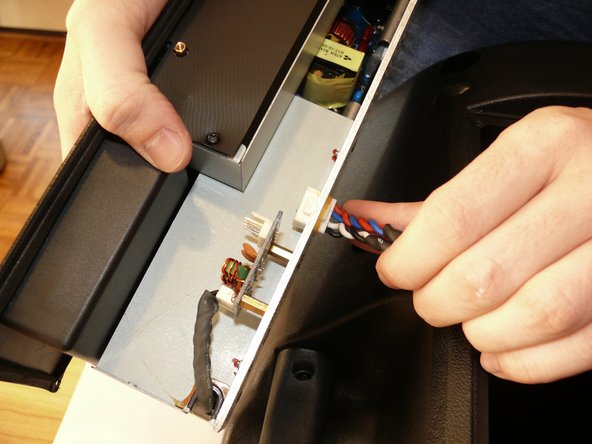
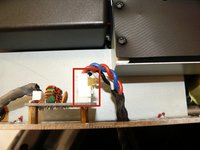
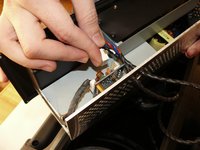
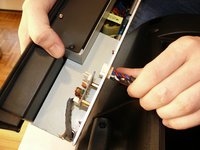
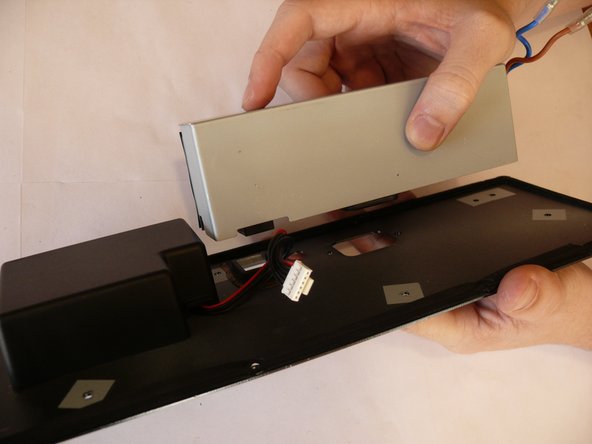
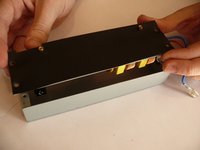
Remove the box containing the power PCB.
-


To reassemble your device, follow these instructions in reverse order.
Cancel: I did not complete this guide.
6 other people completed this guide.
14 Guide Comments
This PCB does not convert electricity, and is rarely what fails. AC leaves this board and gets converted to DC at the rectifier bridge, which is part of the main amp PCB. This main amp board is where 99.9% of issues arise...
Do you know where I can find replacement boards for this speaker? It takes about 20 times of cycling the power button for it to finally come on. Can't seem to find parts anywhere. May not be financially smart to replace the board, but if it's not that expensive, I feel it's worth it.
Justin -
my fuse holder the plastic broke because there is not enough pressure to hold in the fuse and turns on and off