Introduction
This guide is the detailed process of how to remove broken or damaged vibration motors on the Benoncool Gamepad for Nintendo Switch.
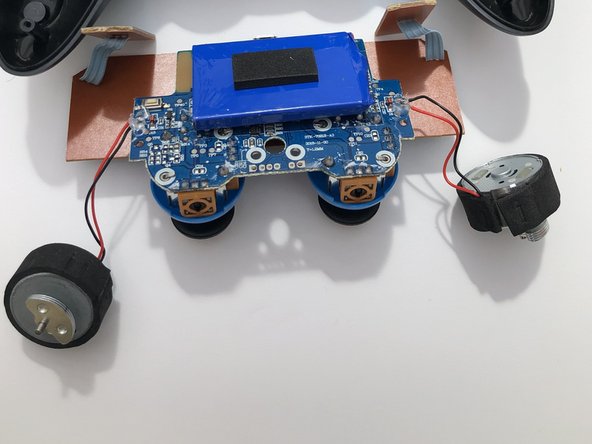
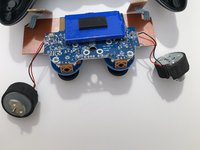
The Benoncool Gamepad has two vibration motors that frequently operate during gameplay to simulate high impact events. A broken or malfunctioning vibration motor is rather easy to identify when not getting the correct response or no response at all during these high impact events. Using this guide to replace your gamepad’s vibration motors will most likely fix your problem.
What you need
-
-
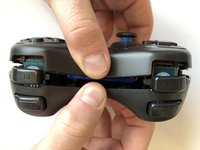
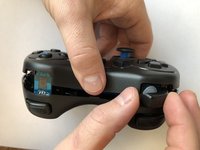
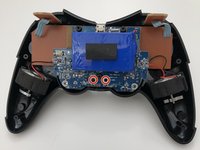
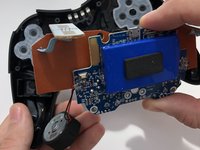
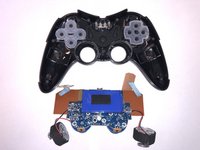
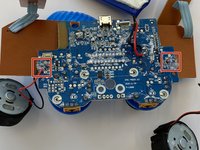
Use the plastic opening tool to remove the blue plastic grips from the sides of the controller.
-
-
-
-
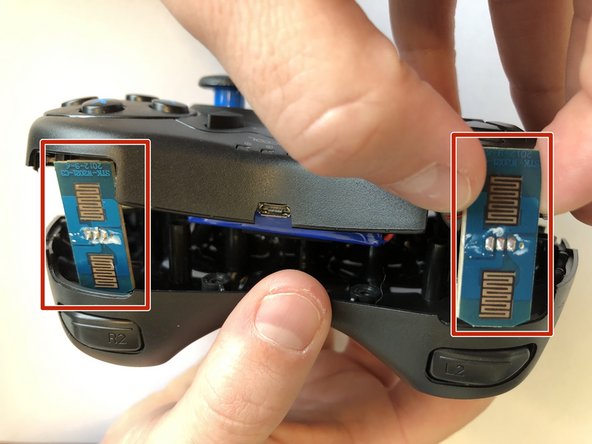
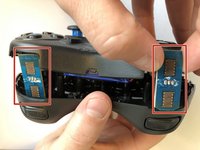
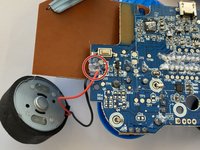
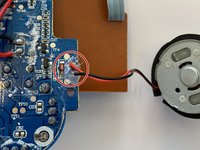
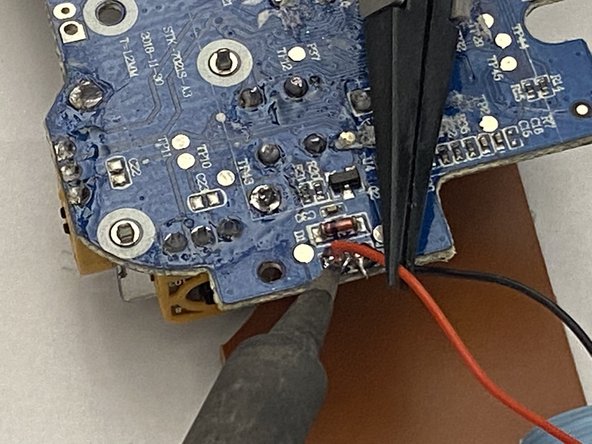
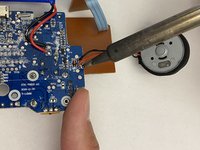
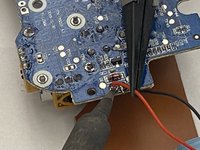
Locate the two solder points corresponding to the malfunctioning vibrational motor.
-


To reassemble your device, follow these instructions in reverse order.
Team

Embry-Riddle Aeronautical University, Team S17-G9, Lamothe Spring 2020 Member of Embry-Riddle Aeronautical University, Team S17-G9, Lamothe Spring 2020
ERAU-LAMOTHE-S20S17G9
4 Members
12 Guides authored