Introduction
If you are experiencing difficulty turning on your Beats Solo 2 Wireless, whether it be due to the power button being broken, stuck, or disconnected from components inside, use this guide to replace the power button.
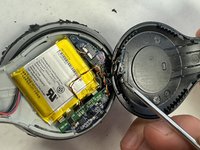
The power button is located on the outside, below the right ear of the headphone. The power button connects to the battery which tells the headphones when to turn off or on. A broken or stuck power button may result in the headphones not turning on when they are supposed to.
Prior to using this guide inspect power button of the Beats Solo 2 Wireless to ensure that it is broken or not working properly.
What you need
-
-
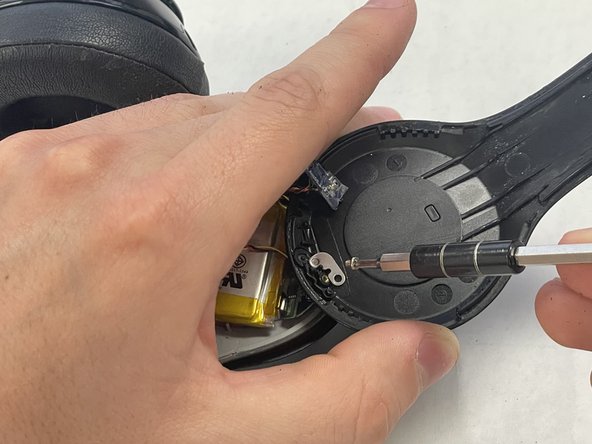
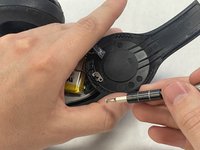
Insert an opening pick in the seam between the right outer speaker casing and the speaker housing.
-
Slide the pick around the perimeter of the casing until the casing releases entirely from the speaker housing.
-
-


To reassemble your device, follow these instructions in reverse order.
Cancel: I did not complete this guide.
One other person completed this guide.

Team

IUPUI, Team 2-1, Harley Spring 2024 Member of IUPUI, Team 2-1, Harley Spring 2024
IUPUI-HARLEY-S24S2G1
4 Members
3 Guides authored