Free Shipping on Domestic Orders $75+

Battery Removal

Prerequisite Only
This is a prerequisite-only guide! This guide is part of another procedure and isn’t meant to be used alone.

What you need

    1. Battery Removal, Safety precautions: step 1, image 1 of 1
      • Before you begin your repair, unplug your UPS.

      Ask FixBot

      Add Comment

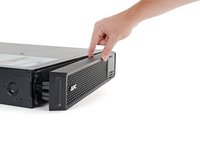
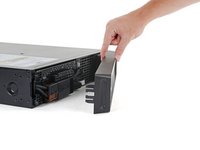
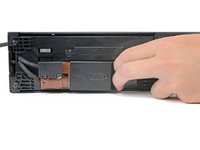
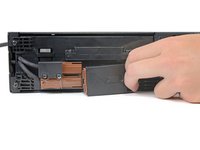
    1. Battery Removal, Remove the front bezel: step 2, image 1 of 2 Battery Removal, Remove the front bezel: step 2, image 2 of 2
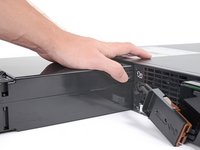
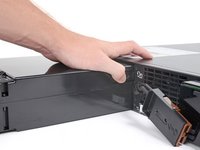
      • Plastic clips secure the front bezel.

      • Pull the left edge of the front bezel away from the device to release the plastic clip.

      Ask FixBot

      Add Comment

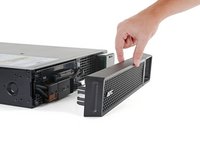
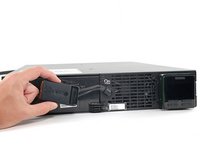
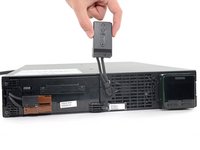
    2. Battery Removal: step 3, image 1 of 3 Battery Removal: step 3, image 2 of 3 Battery Removal: step 3, image 3 of 3
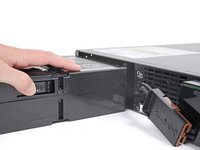
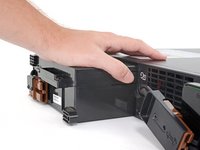
      • Continue pulling the left edge of the front bezel away from the device until the right clip releases.

      • Remove the front bezel.

      Ask FixBot
      Add Comment

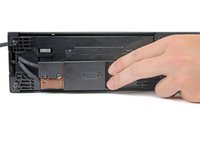
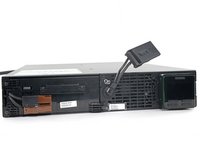
    3. Battery Removal, Disconnect the battery: step 4, image 1 of 3 Battery Removal, Disconnect the battery: step 4, image 2 of 3 Battery Removal, Disconnect the battery: step 4, image 3 of 3
      • Use the cutout in the battery connector to pull it toward the right edge of the device and disconnect it.

      Ask FixBot
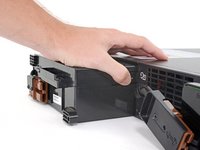
      Add Comment

    4. Battery Removal, Reposition the battery connector: step 5, image 1 of 3 Battery Removal, Reposition the battery connector: step 5, image 2 of 3 Battery Removal, Reposition the battery connector: step 5, image 3 of 3
      • Lift and rotate the battery connector to move it out of the way of the battery assembly.

      Ask FixBot
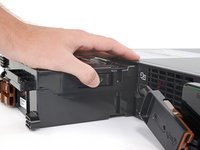
      Add Comment

    5. Battery Removal, Unfasten the battery assembly: step 6, image 1 of 1
      • Use a Phillips driver to remove the three 23 mm‑long screws securing the battery assembly.

      Ask FixBot

      Add Comment

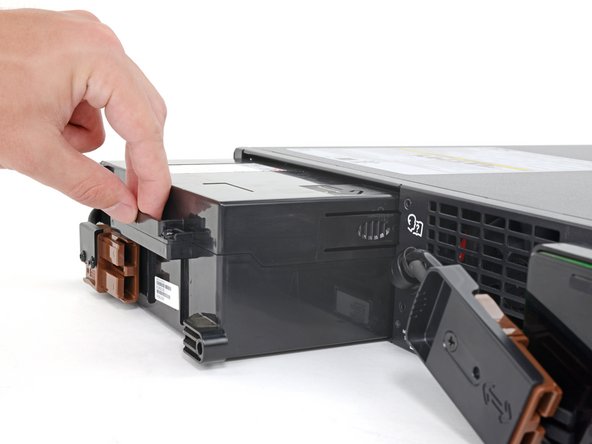
    6. Battery Removal, Remove the battery assembly: step 7, image 1 of 2 Battery Removal, Remove the battery assembly: step 7, image 2 of 2
      • Pull the battery assembly out of the housing until it stops at its first plastic tab.

      • You'll feel the assembly stop abruptly and hear the plastic tab "click."

      Ask FixBot

      Add Comment

    7. Battery Removal: step 8, image 1 of 3 Battery Removal: step 8, image 2 of 3 Battery Removal: step 8, image 3 of 3
      • Depress the plastic tab while pulling on the battery assembly until it clears the tab.

      Ask FixBot
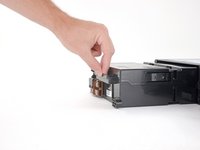
      Add Comment

    8. Battery Removal: step 9, image 1 of 2 Battery Removal: step 9, image 2 of 2
      • Continue pulling the battery assembly out of the housing until it stops at its second plastic tab.

      • You'll feel the assembly stop abruptly and hear the plastic tab "click."

      Ask FixBot
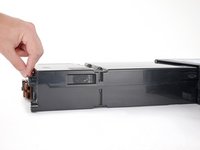
      Add Comment

    9. Battery Removal: step 10, image 1 of 3 Battery Removal: step 10, image 2 of 3 Battery Removal: step 10, image 3 of 3
      • Depress the plastic tab while pulling on the battery assembly until it’s free from the housing.

      Ask FixBot

      Add Comment

Conclusion

To reassemble your device, follow these instructions in reverse order.

Cancel: I did not complete this guide.

Alex Diaz-Kokaisl

Member since: 01/16/22

250,252 Reputation

1,203 Guides authored

Team

Guide Team Member of Guide Team

Staff

10 Members

61,630 Guides authored

0 Guide Comments

Add Comment

View Statistics:

Past 24 Hours: 0

Past 7 Days: 0

Past 30 Days: 9

All Time: 121