Free Shipping on Domestic Orders $75+

Battery Disconnection

Prerequisite Only
This is a prerequisite-only guide! This guide is part of another procedure and isn’t meant to be used alone.

What you need

    1. Battery Disconnection, Prepare your laptop for disassembly: step 1, image 1 of 3 Battery Disconnection, Prepare your laptop for disassembly: step 1, image 2 of 3 Battery Disconnection, Prepare your laptop for disassembly: step 1, image 3 of 3
      • Before starting this repair, allow your laptop's battery to drain below 25%. A charged battery may catch fire if damaged.

      • Unplug all cables and fully shut down your laptop.

      Ask FixBot

      Add Comment

    1. Battery Disconnection, Flip your laptop over: step 2, image 1 of 3 Battery Disconnection, Flip your laptop over: step 2, image 2 of 3 Battery Disconnection, Flip your laptop over: step 2, image 3 of 3
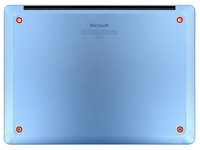
      • Close your laptop and lay it down so the rubber feet are facing up.

      Ask FixBot

      Add Comment

    2. Battery Disconnection, Remove the feet: step 3, image 1 of 3 Battery Disconnection, Remove the feet: step 3, image 2 of 3 Battery Disconnection, Remove the feet: step 3, image 3 of 3
      • Gently slide one arm of your angled tweezers into the recess near the upper right edge of one of the feet.

      • You can also use the point of a spudger. However, you're more likely to damage the foot, if you're reusing it.

      • Use your tweezers to pry up and remove the foot.

      • The feet may eject very quickly—be careful not to lose them.

      • Repeat the process to remove the remaining feet.

      • To install a foot, align the pegs on the bottom with their cutouts in the frame and press the foot into place.

      Ask FixBot

      Add Comment

    1. Battery Disconnection, Remove the lower case screws: step 4, image 1 of 2 Battery Disconnection, Remove the lower case screws: step 4, image 2 of 2
      Tool used on this step:
      FixMat
      $36.95
      Buy
      • Throughout this repair, keep track of each screw and make sure it goes back exactly where it came from.

      • While the Surface Laptop 7 uses Torx Plus screws, standard Torx bits work. Make sure to apply constant, downward force to prevent stripping.

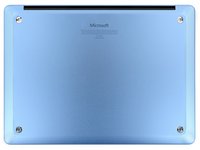
      • Use a Torx Plus 5IP screwdriver to remove the four 4.5 mm‑long screws (with washers) securing the lower case.

      Ask FixBot

      Add Comment

    2. Battery Disconnection, Detach the lower case: step 5, image 1 of 3 Battery Disconnection, Detach the lower case: step 5, image 2 of 3 Battery Disconnection, Detach the lower case: step 5, image 3 of 3
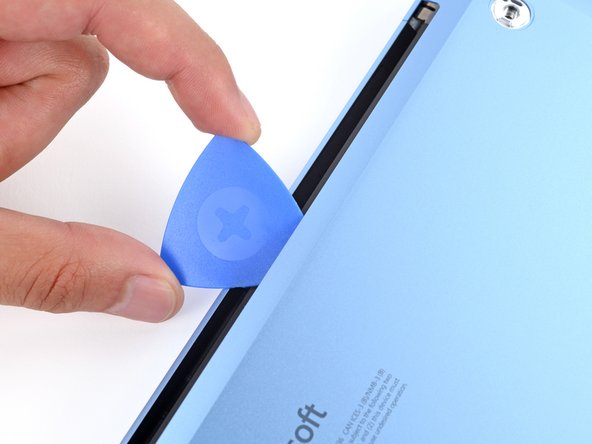
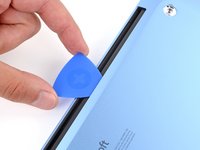
      • Insert the tip of an opening pick under the top edge of the lower case, about an inch (2.5 cm) to the left or right of the Microsoft logo.

      • Don't insert the pick near the outer edges or you'll damage the antenna bar.

      Ask FixBot

      Add Comment

    3. Battery Disconnection: step 6, image 1 of 3 Battery Disconnection: step 6, image 2 of 3 Battery Disconnection: step 6, image 3 of 3
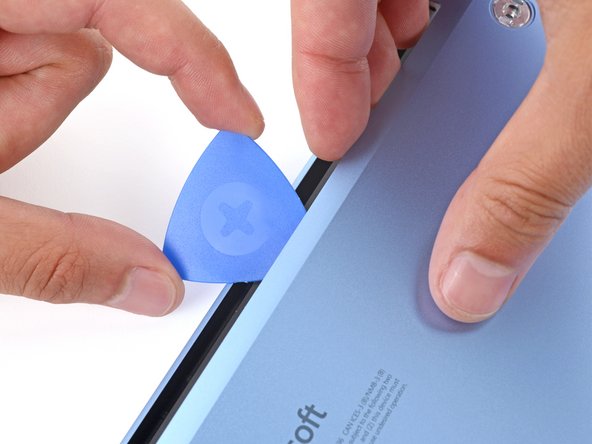
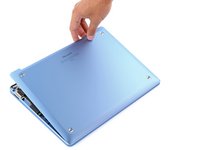
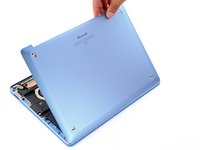
      • Twist the pick to lift the lower case enough that you can grip it with your hand.

      Ask FixBot

      Add Comment

    4. Battery Disconnection, Remove the lower case: step 7, image 1 of 3 Battery Disconnection, Remove the lower case: step 7, image 2 of 3 Battery Disconnection, Remove the lower case: step 7, image 3 of 3
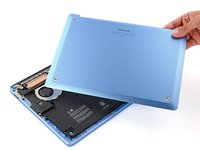
      • Lift the lower case and remove it.

      Ask FixBot

      Add Comment

    1. Battery Disconnection, Disconnect the battery: step 8, image 1 of 3 Battery Disconnection, Disconnect the battery: step 8, image 2 of 3 Battery Disconnection, Disconnect the battery: step 8, image 3 of 3
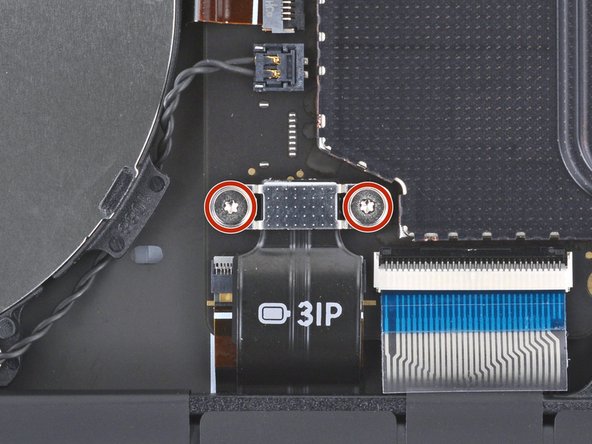
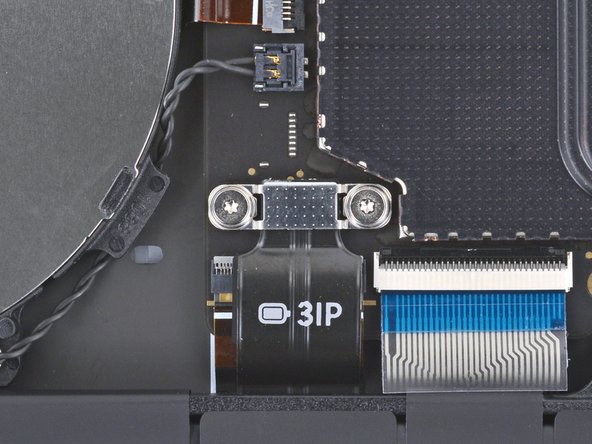
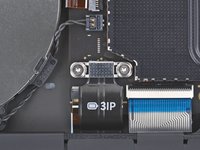
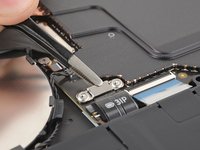
      • Use a Torx Plus 3IP screwdriver to remove the two 2.3 mm‑long screws securing the battery connector cover.

      Ask FixBot

      Add Comment

    2. Battery Disconnection: step 9, image 1 of 2 Battery Disconnection: step 9, image 2 of 2
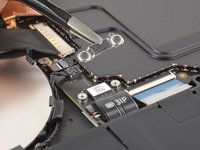
      • Use tweezers or your fingers to remove the battery connector cover.

      Ask FixBot

      Add Comment

    3. Battery Disconnection: step 10, image 1 of 2 Battery Disconnection: step 10, image 2 of 2
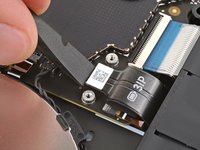
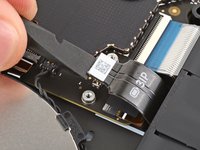
      • Insert the flat end of a spudger under the top edge of the battery press connector and pry up to disconnect it.

      • To reconnect a press connector, align it over the socket and gently press down on one side until it clicks into place, then press down on the other side. It may take a few tries to align the connector—don't try to force it into place.

      Ask FixBot

      Add Comment

Finish Line

Cancel: I did not complete this guide.

Spencer Day

Member since: 09/14/22

206,063 Reputation

1,267 Guides authored

Team

iFixit Member of iFixit

Staff

122 Members

72,401 Guides authored

0 Guide Comments

Add Comment

View Statistics:

Past 24 Hours: 1

Past 7 Days: 4

Past 30 Days: 14

All Time: 172