Free Shipping on Domestic Orders $75+

Battery Disconnection

Prerequisite Only
This is a prerequisite-only guide! This guide is part of another procedure and isn’t meant to be used alone.

What you need

    1. Battery Disconnection, Prepare your phone for disassembly: step 1, image 1 of 1
      • Let your phone's battery drain below 25% before starting this repair. A charged lithium‑ion battery may catch fire if damaged.

      • Unplug all cables and completely power off your phone.

      Ask FixBot

      Add Comment

    1. Battery Disconnection, Separate the back cover: step 2, image 1 of 3 Battery Disconnection, Separate the back cover: step 2, image 2 of 3 Battery Disconnection, Separate the back cover: step 2, image 3 of 3
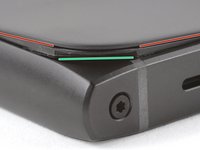
      • A screw‑driven camshaft in the bottom left corner pushes the back cover away from the phone, creating a gap to begin separating the cover.

      • With the back cover facing up, use a T3 Torx screwdriver to turn the screw in the bottom edge counterclockwise until the back cover pops up.

      Ask FixBot

      Add Comment

    2. Battery Disconnection: step 3, image 1 of 3 Battery Disconnection: step 3, image 2 of 3 Battery Disconnection: step 3, image 3 of 3
      • Before separating the back cover, note the following:

      • There's a seam just under the back cover panel. Don't insert your tool here.

      • Insert your tool completely under the back cover, so it's between the frame and the underside of the back cover.

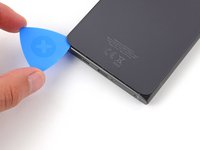
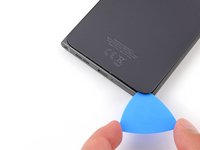
      • Insert an opening pick under the bottom left corner of the back cover and slide it along the bottom edge to release the clips and separate the adhesive.

      • You should feel and hear the back cover clips release. If you don't, insert the pick deeper and try again.

      Ask FixBot

      Add Comment

    3. Battery Disconnection: step 4, image 1 of 3 Battery Disconnection: step 4, image 2 of 3 Battery Disconnection: step 4, image 3 of 3
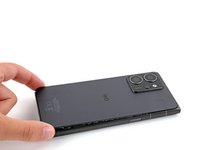
      • Continue sliding the pick under the perimeter of the back cover to fully separate the clips and adhesive.

      Ask FixBot

      Add Comment

    4. Battery Disconnection, Remove the back cover: step 5, image 1 of 3 Battery Disconnection, Remove the back cover: step 5, image 2 of 3 Battery Disconnection, Remove the back cover: step 5, image 3 of 3
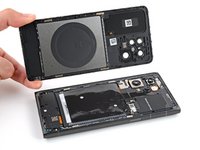
      • Lift and remove the back cover.

      • During reassembly:

      • Now is a good time to test your phone before sealing it up. Power it on and check that it works. Power it back down before you continue reassembly.

      • If you're installing a new back cover:

      • Make sure you remove all liners from the underside.

      • Use the flat end of a spudger to press the small cable above the wireless charging coil into place over its alignment posts.

      • Rotate the bottom screw clockwise to ensure a proper fit.

      • Place the back cover onto the frame and firmly squeeze around the perimeter to reengage all the clips.

      Ask FixBot

      Add Comment

    1. Battery Disconnection, Disconnect the battery: step 6, image 1 of 2 Battery Disconnection, Disconnect the battery: step 6, image 2 of 2
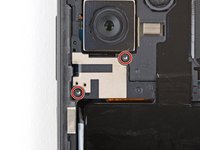
      • Use a T3 Torx screwdriver to remove the two screws securing the battery connector cover.

      Ask FixBot

      Add Comment

    2. Battery Disconnection: step 7, image 1 of 2 Battery Disconnection: step 7, image 2 of 2
      • Gently flip the graphite sheet on the battery over the top edge of your phone.

      • Be careful not to tear the sheet, as it's very delicate.

      Ask FixBot

      Add Comment

    3. Battery Disconnection: step 8, image 1 of 3 Battery Disconnection: step 8, image 2 of 3 Battery Disconnection: step 8, image 3 of 3
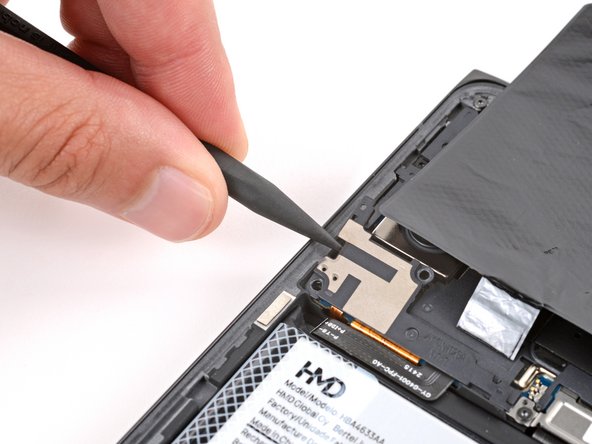
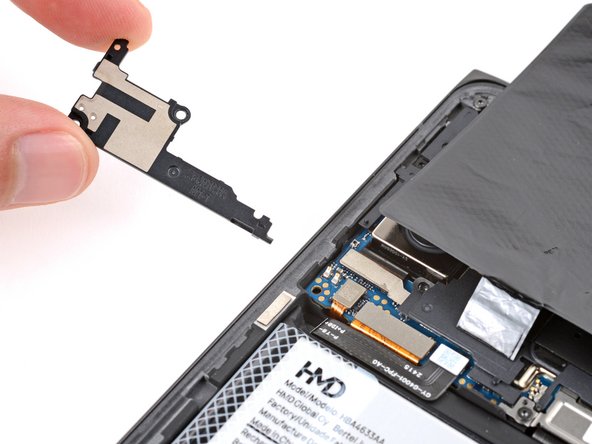
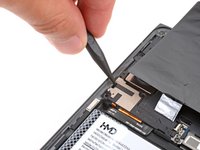
      • Insert the point of a spudger in the notch on the left edge of the battery connector cover and pry up to release its clips.

      • Only insert your tool enough to pry up the cover. Otherwise, you may accidentally disconnect the rear camera press connector.

      • Remove the cover.

      • During reassembly, firmly press the cover into place to engage the clips.

      Ask FixBot

      Add Comment

    4. Battery Disconnection: step 9, image 1 of 3 Battery Disconnection: step 9, image 2 of 3 Battery Disconnection: step 9, image 3 of 3
      • Insert the tip of an opening pick under the top edge of the battery press connector and pry up to disconnect it.

      • Check if the rear camera press connector got disconnected during the previous step. If it did, reconnect it.

      • To reconnect a press connector, align it over the socket and gently press down on one side until it clicks into place, then press down on the other side. It might take a few tries to align the connector.

      Ask FixBot

      Add Comment

Conclusion

To reassemble your device, follow these instructions in reverse order.

Cancel: I did not complete this guide.

Spencer Day

Member since: 09/14/22

206,090 Reputation

1,267 Guides authored

Team

iFixit Member of iFixit

Staff

122 Members

72,401 Guides authored

0 Guide Comments

Add Comment

View Statistics:

Past 24 Hours: 0

Past 7 Days: 3

Past 30 Days: 17

All Time: 224