Free Shipping on Domestic Orders $75+

Battery Disconnect

Prerequisite Only
This is a prerequisite-only guide! This guide is part of another procedure and isn’t meant to be used alone.

What you need

    1. Battery Disconnect, Prepare your laptop for disassembly: step 1, image 1 of 2 Battery Disconnect, Prepare your laptop for disassembly: step 1, image 2 of 2
      • Allow your laptop's battery to drain below 25% before starting this repair—a charged battery may catch fire if damaged.

      • Unplug all cables and fully shut down your laptop.

      Ask FixBot

      Add Comment

    1. Battery Disconnect, Flip your laptop over: step 2, image 1 of 1
      • Flip your laptop over so the rubber feet strips are facing up.

      Ask FixBot

      Add Comment

    2. Battery Disconnect, Loosen the captive screws: step 3, image 1 of 2 Battery Disconnect, Loosen the captive screws: step 3, image 2 of 2
      • Use a Phillips screwdriver to fully loosen the eight captive screws securing the back cover.

      Ask FixBot

      Add Comment

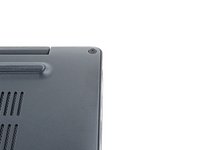
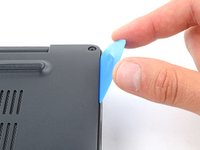
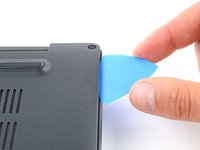
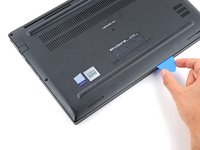
    3. Battery Disconnect, Insert an opening pick: step 4, image 1 of 3 Battery Disconnect, Insert an opening pick: step 4, image 2 of 3 Battery Disconnect, Insert an opening pick: step 4, image 3 of 3
      • Plastic clips secure the back cover to the frame. You'll hear and feel them release as you work.

      • Insert the long side of an opening pick between the top right corner of the back cover and frame.

      • Pry the back cover up to release the clips securing the top right corner.

      Ask FixBot

      Add Comment

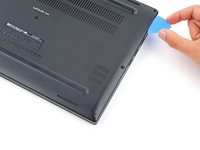
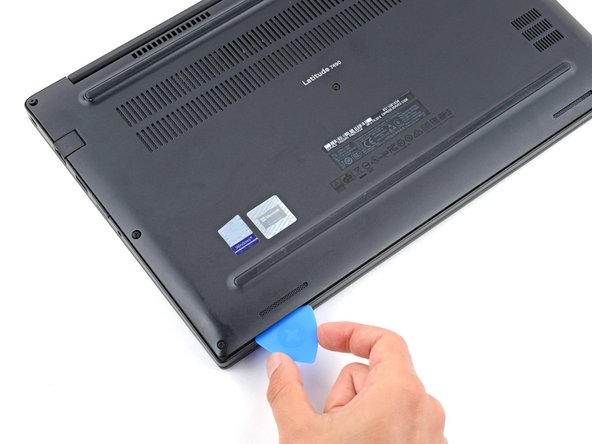
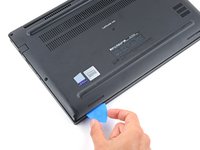
    4. Battery Disconnect, Release the clips: step 5, image 1 of 3 Battery Disconnect, Release the clips: step 5, image 2 of 3 Battery Disconnect, Release the clips: step 5, image 3 of 3
      • Slide the opening pick down the right edge and around the bottom right corner to release the clips.

      Ask FixBot

      Add Comment

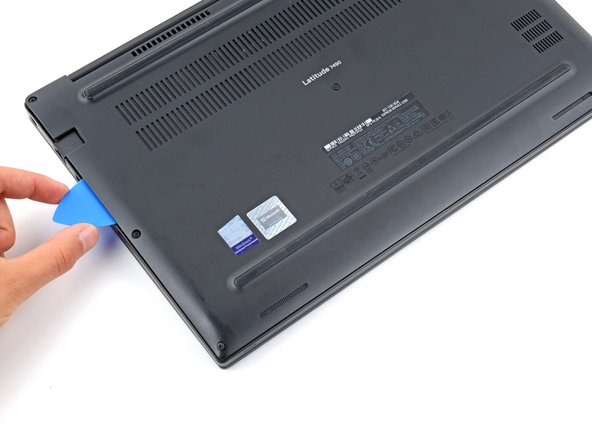
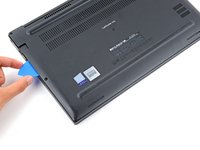
    5. Battery Disconnect: step 6, image 1 of 3 Battery Disconnect: step 6, image 2 of 3 Battery Disconnect: step 6, image 3 of 3
      • Slide the opening pick along the front edge and up to the top left corner to release the remaining clips securing the back cover.

      Ask FixBot

      Add Comment

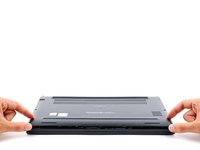
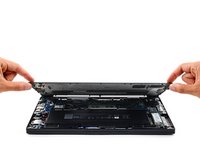
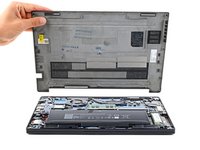
    6. Battery Disconnect, Remove the back cover: step 7, image 1 of 3 Battery Disconnect, Remove the back cover: step 7, image 2 of 3 Battery Disconnect, Remove the back cover: step 7, image 3 of 3
      • Remove the back cover.

      • During reassembly, lay the back cover on the frame and press down firmly around the perimeter to engage all the clips.

      Ask FixBot

      Add Comment

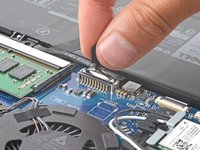
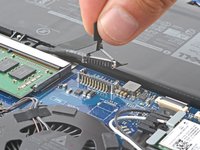
    1. Battery Disconnect, Disconnect the battery: step 8, image 1 of 2 Battery Disconnect, Disconnect the battery: step 8, image 2 of 2
      • Grip the plastic tab on the battery connector and pull straight up to disconnect it.

      • During reassembly, align this connector over its socket and press down until it clicks into place. If it doesn't connect, re‑align it and try again.

      Ask FixBot

      Add Comment

Conclusion

To reassemble your device, follow these instructions in reverse order.

Cancel: I did not complete this guide.

Spencer Day

Member since: 09/14/22

206,063 Reputation

1,267 Guides authored

Team

iFixit Member of iFixit

Staff

122 Members

72,401 Guides authored

0 Guide Comments

Add Comment

View Statistics:

Past 24 Hours: 2

Past 7 Days: 7

Past 30 Days: 20

All Time: 182