Free Shipping on Domestic Orders $75+

Battery Disconnect

Views: 192

View statistics:

Past 24 Hours:
0
Past 7 Days:
7
Past 30 Days:
22
All Time:
192
Comments: 0

No one has left comments on this guide. Will you be first?

Go to guide comments
Completed: 0

No one has marked this guide "completed." Will you be the first?

Favorites: 0

No one has favorited (and subscribed to) this guide. Will you be the first?

Time Required: No estimate
Difficulty: Moderate
Battery Disconnect
Prerequisite Only This is a prerequisite-only guide! This guide is part of another procedure and isn’t meant to be used alone.

Introduction

Go to step 1 ↓

This is a prerequisite-only guide! This guide is part of another procedure and isn't meant to be used alone.

What you need

Tools

    1. Battery Disconnect, Unfasten the lower case: step 1, image 1 of 2 Battery Disconnect, Unfasten the lower case: step 1, image 2 of 2
      • If your device has a nano‑SIM card tray on the back edge, remove it before starting your repair.

      • Use a Phillips #1 screwdriver to loosen the eight captive screws securing the lower case.

      Ask FixBot

      Add Comment

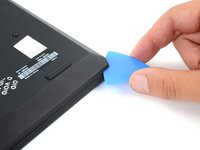
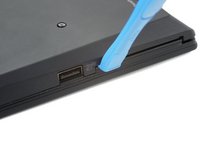
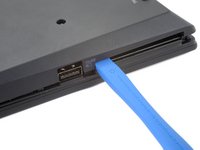
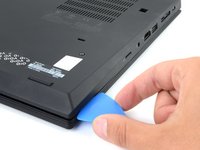
    2. Battery Disconnect, Insert an opening pick: step 2, image 1 of 2 Battery Disconnect, Insert an opening pick: step 2, image 2 of 2
      • Insert an opening pick between the lower case and the chassis on the front right edge.

      Ask FixBot

      Add Comment

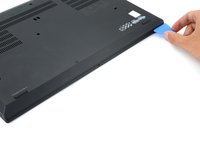
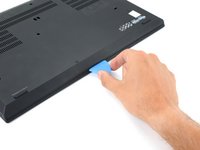
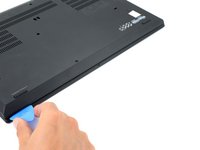
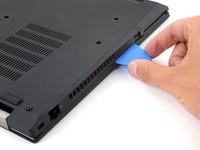
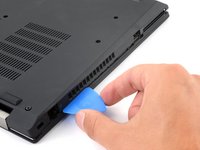
    3. Battery Disconnect, Release the front clips: step 3, image 1 of 3 Battery Disconnect, Release the front clips: step 3, image 2 of 3 Battery Disconnect, Release the front clips: step 3, image 3 of 3
      • Angle the pick down at about 30 degrees.

      • Slide the pick along the front edge to release the clips securing the lower case.

      Ask FixBot

      Add Comment

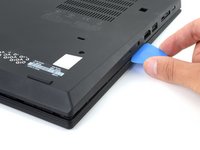
    4. Battery Disconnect, Release the USB clip: step 4, image 1 of 2 Battery Disconnect, Release the USB clip: step 4, image 2 of 2
      • Insert an opening tool between the lower case and the chassis, just to the right of the USB port on the left edge.

      • Pry the opening case up to release the clip next to the USB port.

      • It may take significant force and multiple attempts to release the clip. You will hear a popping noise when the clip releases.

      Ask FixBot

      Add Comment

    5. Battery Disconnect: step 5, image 1 of 2 Battery Disconnect: step 5, image 2 of 2
      • Insert an opening pick on the left edge above the USB port. Slide the pick all the way up to the ethernet port to release the clips.

      Ask FixBot

      Add Comment

    6. Battery Disconnect: step 6, image 1 of 2 Battery Disconnect: step 6, image 2 of 2
      • Insert an opening pick on the right edge near the corner.

      • Slide the pick along the right edge all the way to the HDMI port to release the rest of the clips.

      Ask FixBot

      Add Comment

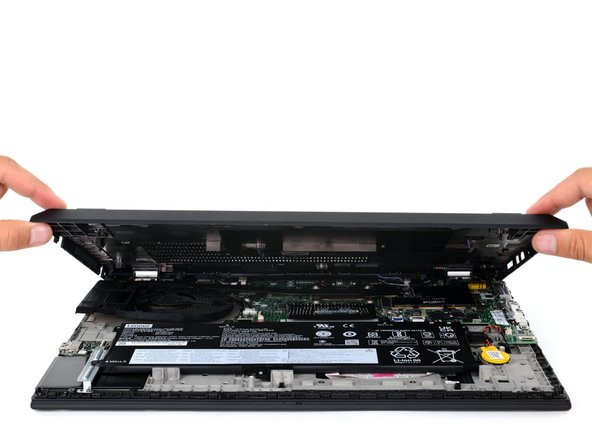
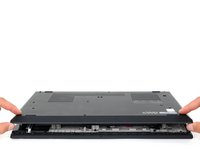
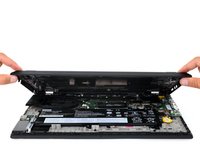
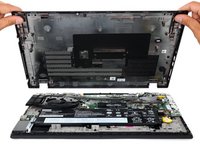
    7. Battery Disconnect: step 7, image 1 of 3 Battery Disconnect: step 7, image 2 of 3 Battery Disconnect: step 7, image 3 of 3
      • Lift the lower case from the chassis and remove it.

      • During reassembly, this is a good point to power on your laptop and test all functions before sealing it up. Be sure to power your laptop back down before you continue working.

      Ask FixBot

      Add Comment

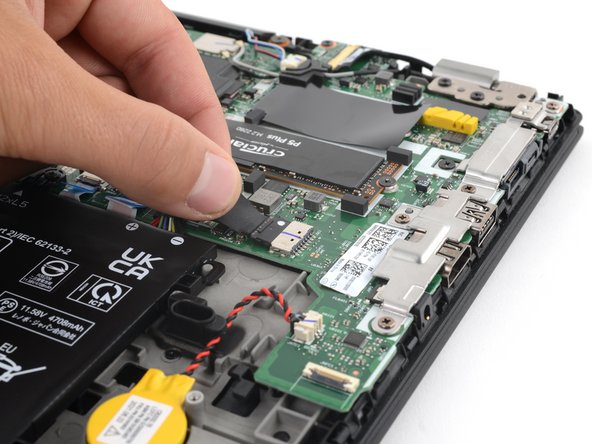
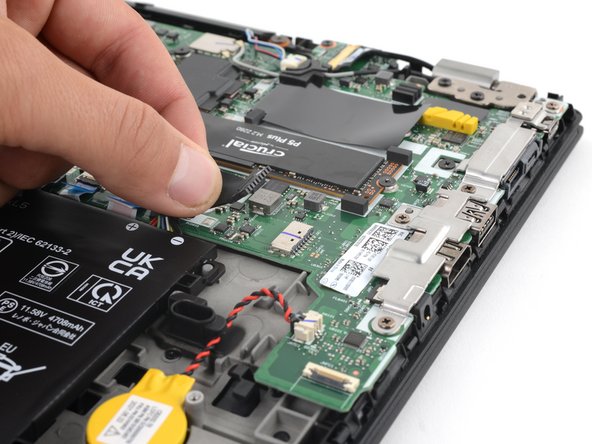
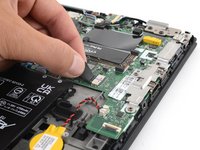
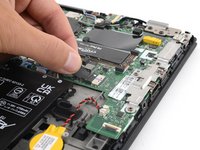
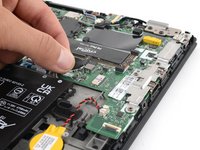
    1. Battery Disconnect, Disconnect the battery: step 8, image 1 of 3 Battery Disconnect, Disconnect the battery: step 8, image 2 of 3 Battery Disconnect, Disconnect the battery: step 8, image 3 of 3
      • Grip the pull tab on the battery connector with your fingers and gently pull away from the socket to disconnect it.

      Ask FixBot

      Add Comment

Conclusion

To reassemble your device, follow these instructions in reverse order.

Cancel: I did not complete this guide.

Spencer Day

Member since: 09/14/22

206,507 Reputation

1,266 Guides authored

Team

iFixit Member of iFixit

Staff

121 Members

72,882 Guides authored

0 Guide Comments

Add Comment

View Statistics:

Past 24 Hours: 0

Past 7 Days: 7

Past 30 Days: 22

All Time: 192