Free Shipping on Domestic Orders $75+

Background setup - DIY *V1*

Prerequisite Only
This is a prerequisite-only guide! This guide is part of another procedure and isn’t meant to be used alone.
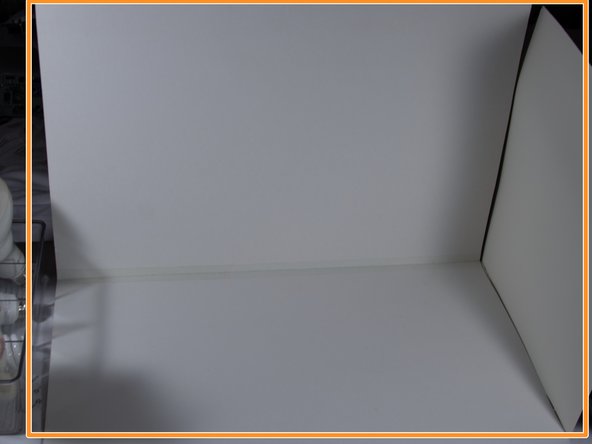
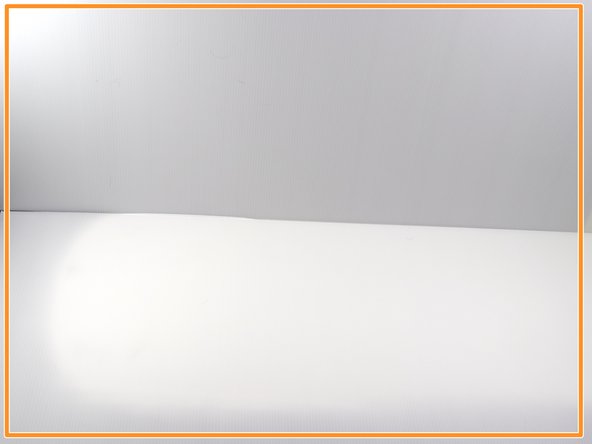
    1. Background setup - DIY *V1*, Making a backdrop: step 1, image 1 of 3 Background setup - DIY *V1*, Making a backdrop: step 1, image 2 of 3 Background setup - DIY *V1*, Making a backdrop: step 1, image 3 of 3
      • THIS STEP SHOWS TWO EXAMPLE SETUPS. As long as there is no nonwhite background visible (or it is correctable in post), build this how you see fit.

      • When using posterboard, use the MATTE side. Glossy materials and light do not mix, and reflect light in ways not found with matte materials.

      • Setup a backdrop support. This can be anything from a trifold board cut in half (the style you used in "school") or a custom design. I chose a custom design to conform it to my design spec and make the modifications I wanted.

      • Setup your white background. Once the backdrop is stable, minimize as many unsightly areas as possible. You are ready.

      • Take a few test photos (Optional). If you are unsure about the end result, take 1-2 test shots for review. Make adjustments until you are happy with the end result.

      Ask FixBot

      Add Comment

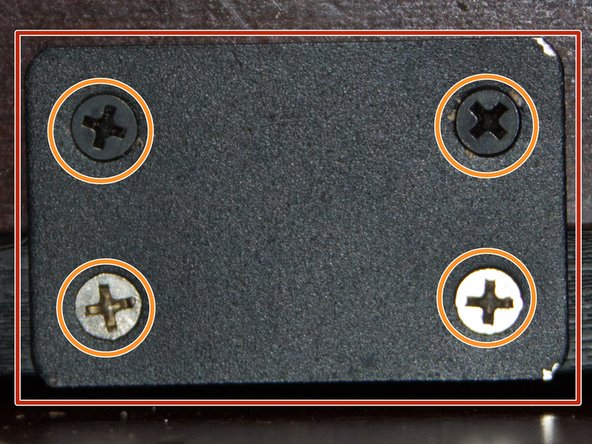
    2. Background setup - DIY *V1*, Wood backdrop (small spaces): step 2, image 1 of 3 Background setup - DIY *V1*, Wood backdrop (small spaces): step 2, image 2 of 3 Background setup - DIY *V1*, Wood backdrop (small spaces): step 2, image 3 of 3
      • Authors note: Reinforce your hinges, or do the hinge mounting internally (L bracket) and externally and just deal with the bump - I had to break this one down due to shoddy assembly work catching up to me. I will rebuild this in the future and show how to get it right.

      • I have already assembled this one, but assembly is simple.

      • Place a few support brackets on the lower piece. Add screws as your brackets permit.

      • Hold the top piece up and add screws to the top side.

      • Once assembled, you are ready to use the backdrop.

      Ask FixBot

      Add Comment

Conclusion

To reassemble your device, follow these instructions in reverse order.

Cancel: I did not complete this guide.

Nick

Member since: 11/10/09

106,062 Reputation

72 Guides authored

Team

Master Techs Member of Master Techs

Community

335 Members

8,260 Guides authored

0 Guide Comments

Add Comment

View Statistics:

Past 24 Hours: 0

Past 7 Days: 0

Past 30 Days: 4

All Time: 130