Back Cover Replacement

What you need

  1. Back Cover Replacement, Back Cover: step 1, image 1 of 1
    • Power off Zoomer Dino Boomer before disassembly.

    • Remove the eight 9.3mm Phillips #1 screws.

  2. Back Cover Replacement: step 2, image 1 of 2 Back Cover Replacement: step 2, image 2 of 2
    • Turn dinosaur over and hold upright.

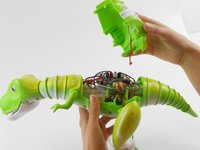
    • Use the spudger to pry apart the back cover from the remainder of the Zoomer Dino Boomer.

    • Be gentle while removing the back cover. The back cover of the Zoomer Dino Boomer is still connected to the electronic system by a wire.

  3. Back Cover Replacement: step 3, image 1 of 3 Back Cover Replacement: step 3, image 2 of 3 Back Cover Replacement: step 3, image 3 of 3
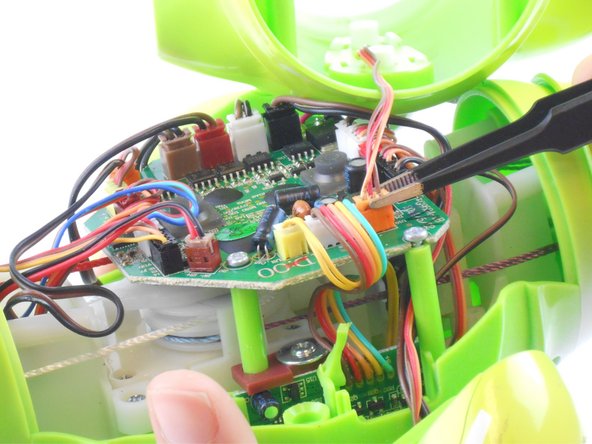
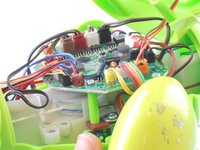
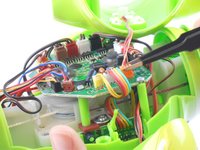
    • Disconnect the wire that connects the back cover of the dino to the main circuit board by carefully pulling on the orange wire connector with tweezers.

    • Remove back cover.

    • If you are having difficulty removing the connector from its socket, push in the small tabs on the side of the connector with the tweezers. This step may take some work.

    • Do not damage the wires or circuit board.

Conclusion

To reassemble your device, follow these instructions in reverse order.

One other person completed this guide.

Desiree DesJardins

Member since: 09/02/15

452 Reputation

2 Guides authored

Team

USF Tampa, Team 16-1, Wollert Fall 2015 Member of USF Tampa, Team 16-1, Wollert Fall 2015

USFT-WOLLERT-F15S16G1

3 Members

10 Guides authored

0 Comments

Add Comment

View Statistics:

Past 24 Hours: 0

Past 7 Days: 7

Past 30 Days: 22

All Time: 700