Introduction
Use this guide to replace the motherboard in your BLU Energy X.
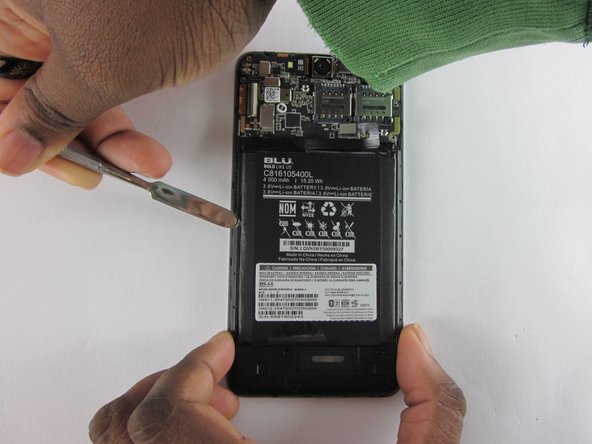
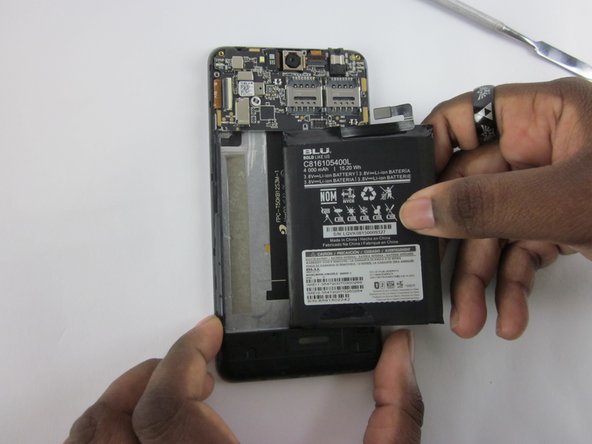
What you need
-
-
-
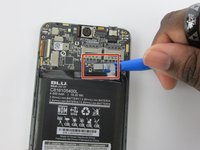
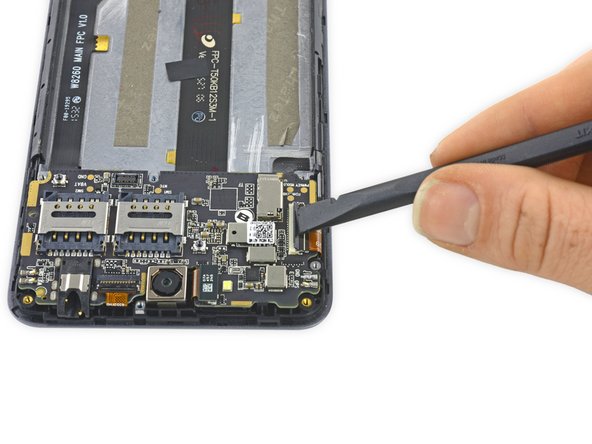
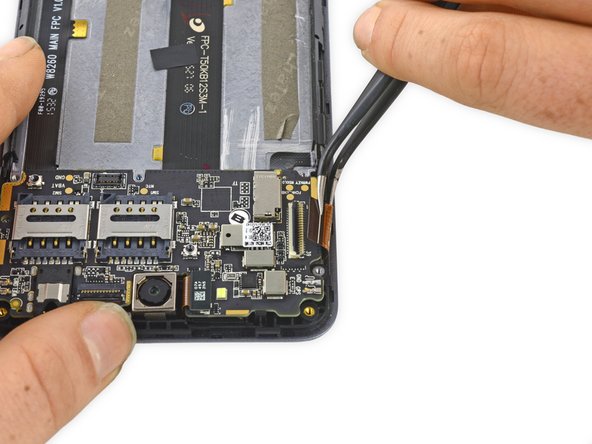
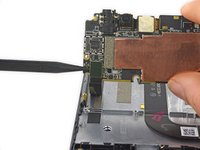
Use the flat end of a spudger to flip up the black retaining flap on the ZIF connector.
-


Conclusion
To reassemble your device, follow these instructions in reverse order.
Cancel: I did not complete this guide.
One other person completed this guide.
