Introduction
The guide is for replacing the phone's external screen.
What you need
-
-
With the back camera on the top side and facing you, find a notch on the bottom right side of the phone.
-
Unclip the cover by raising it up from the notch and sliding a flat rigid tool along the edge.
-
-
-
Remove the battery.
-
Remove 3 screws from each side with a Phillips 00 screwdriver.
-
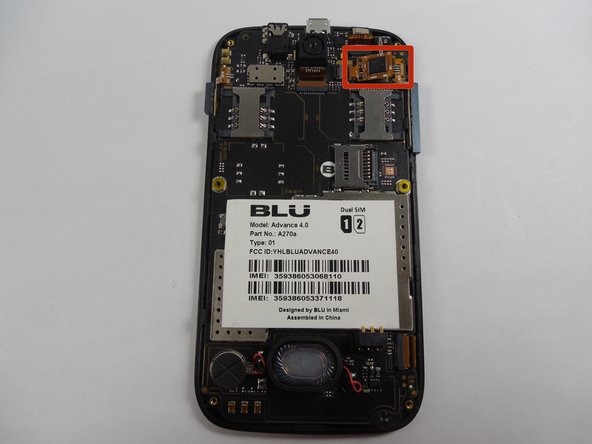
Unclip the screen by sliding a flat rigid tool between the black and the blue side-band.
-
Pop off the blue side-band to be exposed to the motherboard.
-
-
-
-
Remove 2 black plastic buttons from each side, exposing metallic padding.
-
Gently pry the metallic padding off the motherboard with a flat rigid tool.
-
Carefully separate the clip-on tabs while lifting the motherboard away from the screen.
-
-
-
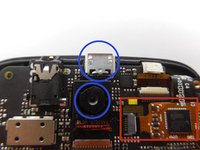
The screen connector is located near the back camera and charger port.
-
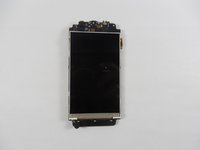
Remove the attached screen by gently tugging the cord that connects it to main frame.
-
-
-
Work backwards by carefully sliding in the new screen's plug-in tab into the screen connector.
-


To reassemble your device, follow these instructions in reverse order.
Cancel: I did not complete this guide.
One other person completed this guide.
Team

UMass Dartmouth, Team 6-2, Vijaybhaskar Fall 2014 Member of UMass Dartmouth, Team 6-2, Vijaybhaskar Fall 2014
UMASSD-VIJAYBHASKAR-F14S6G2
3 Members
6 Guides authored