Introduction
This guide will show you how to properly locate and replace the front camera on your Azpen 1045 tablet. If your camera is blurry, cracked, or not working, follow these simple steps to safely remove and install a new one. No advanced tools or skills are needed just patience and care.
What you need
-
-
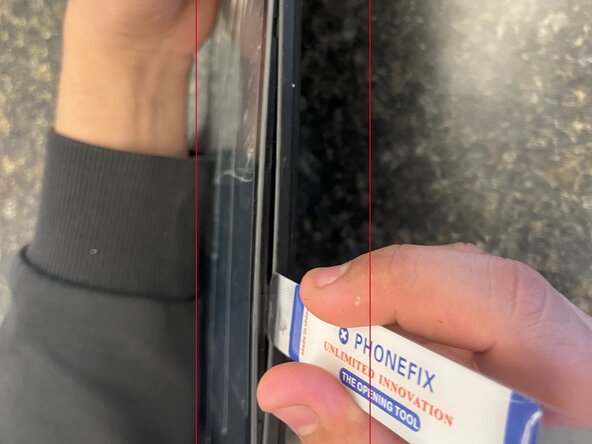
Power off the tablet by holding the side button for five seconds.
-
Insert an opening tool into one of the sides and lift until the screen comes off.
 Ask FixBot
-
-
-
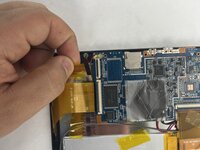
Start by locating the camera, which is directly above the battery if you are holding the tablet front side up.
-
-
-
-
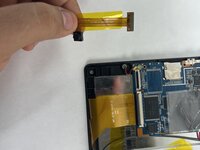
Using your iFixit opening tool, gently lift the black tab holding the orange ribbon cable.
-


To reassemble your device, follow these instructions in reverse order.
Cancel: I did not complete this guide.
One other person completed this guide.
Team

UMass Dartmouth, Team 5-1, Biswokarma Spring 2025 Member of UMass Dartmouth, Team 5-1, Biswokarma Spring 2025
UMASSD-BISWOKARMA-S25S5G1
7 Members
4 Guides authored