Shop the Holiday Gift Guide
Free Shipping on Domestic Orders $75+

AvertX HD810 IR LED Lightboard Replacement

Views: 953

View statistics:

Past 24 Hours:
2
Past 7 Days:
17
Past 30 Days:
77
All Time:
953
Comments: 1

1 guide comment.

Go to guide comments
Completed: 1

1 person has marked this guide "completed." Will you be next?

Favorites: 0

No one has favorited (and subscribed to) this guide. Will you be the first?

Time Required: 4 - 10 minutes
Difficulty: Moderate
AvertX HD810 IR LED Lightboard Replacement

Introduction

Go to step 1 ↓

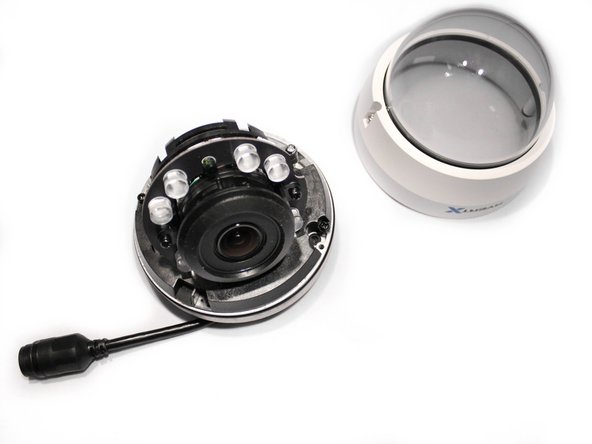
This guide will demonstrate how to replace the IR LED lightboard for your AvertX HD810 dome camera. This guide has one prerequisite guide labeled, 'Clear Dome Camera'. The two tools required for this guide are the T10 Torx security bit screwdriver and the PH1 (Phillips Head) screwdriver. It's important to that the camera turned off, and optimally, unplugged for this procedure.

What you need

Tools

    1. AvertX HD810 IR LED Lightboard Replacement, Clear Dome Cover: step 1, image 1 of 3 AvertX HD810 IR LED Lightboard Replacement, Clear Dome Cover: step 1, image 2 of 3 AvertX HD810 IR LED Lightboard Replacement, Clear Dome Cover: step 1, image 3 of 3
      • Lift off the paintable snap-on cover from the AvertX HD810 dome security camera.

      • Optimally, the device should be turned off and the PoE (Power over Ethernet) unplugged.

      Ask FixBot

      Add Comment

    2. AvertX HD810 IR LED Lightboard Replacement: step 2, image 1 of 2 AvertX HD810 IR LED Lightboard Replacement: step 2, image 2 of 2
      • Loosen both 10mm screws on either side of the clear dome cover housing using a T10 Torx security screwdriver.

      • It is not recommended to remove the screws from the clear dome cover housing. The screws are apart of the cover and not intended to come out.

      Ask FixBot

      Add Comment

    3. AvertX HD810 IR LED Lightboard Replacement: step 3, image 1 of 3 AvertX HD810 IR LED Lightboard Replacement: step 3, image 2 of 3 AvertX HD810 IR LED Lightboard Replacement: step 3, image 3 of 3
      • Gently pull off the clear dome cover from the camera base.

      Ask FixBot

      Add Comment

    1. AvertX HD810 IR LED Lightboard Replacement, IR LED Lightboard: step 4, image 1 of 3 AvertX HD810 IR LED Lightboard Replacement, IR LED Lightboard: step 4, image 2 of 3 AvertX HD810 IR LED Lightboard Replacement, IR LED Lightboard: step 4, image 3 of 3
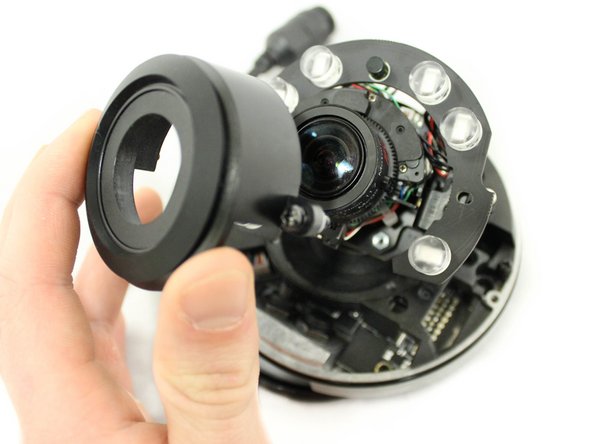
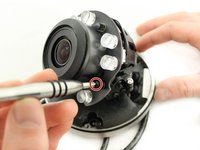
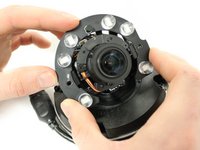
      • Use the PH1 screwdriver to remove or loosen both 10mm screws on either side of the inner protective lens cover. This will loosen both the cover and the IR LED lightboard.

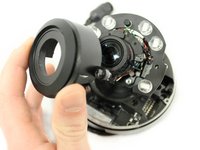
      • The cover and the lightboard are two separate pieces held in place by these two screws. The cover should be set aside first before continuing with the lightboard.

      Ask FixBot

      Add Comment

    2. AvertX HD810 IR LED Lightboard Replacement: step 5, image 1 of 3 AvertX HD810 IR LED Lightboard Replacement: step 5, image 2 of 3 AvertX HD810 IR LED Lightboard Replacement: step 5, image 3 of 3
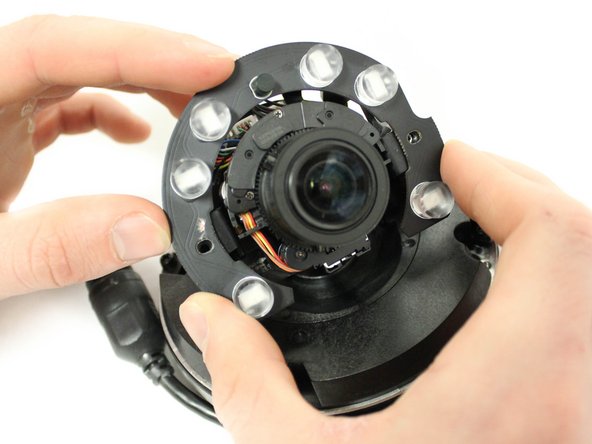
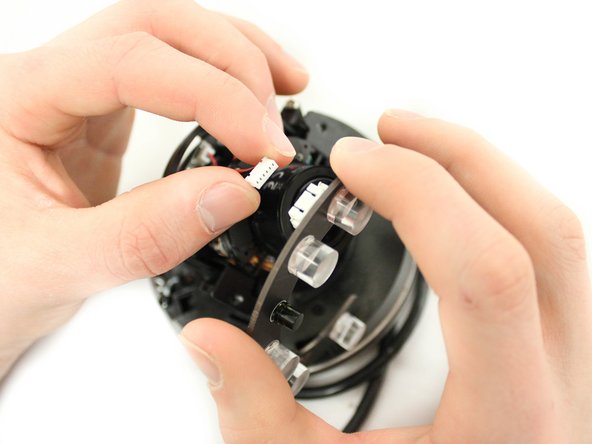
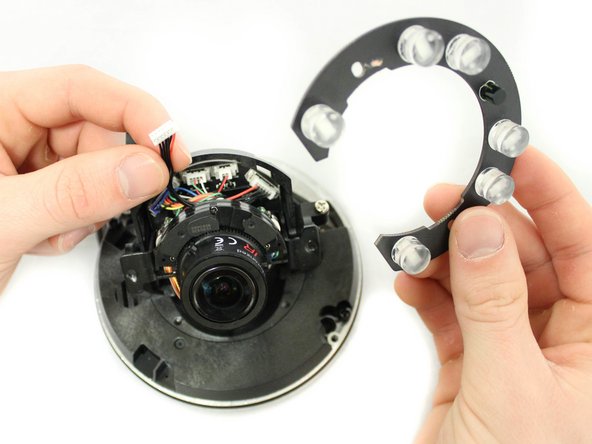
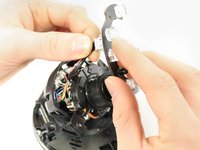
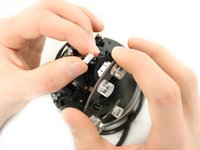
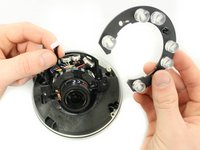
      • Pull the IR LED light board gently away from the camera to expose the connecting cable.

      • Firmly but gently detach the IR lED light board from its cable connector by pulling directly away from the connection port.

      • A spudger may be used to loosen a stubborn cable connection. Wedge the flat end of the spudger between the connector and the port to ease it off of the port's prongs.

      Ask FixBot

      Add Comment

Conclusion

To reassemble your device, follow these instructions in reverse order.

Cancel: I did not complete this guide.

One other person completed this guide.

Author

with

Luke Browning

Member since: 01/18/17

316 Reputation

3 Guides authored

1 Guide Comment

Hi Luke, do you know of a source for parts (IR LED Board, Motherboard etc…) for this AvertX HD810 camera ? Thanks for the great writeup, Toy

Toy Camry - Reply Share

Add Comment

View Statistics:

Past 24 Hours: 2

Past 7 Days: 17

Past 30 Days: 77

All Time: 953