Introduction
This guide will show you how to replace an unresponsive, faulty, sticky, or worn-out key switch on the Attack Shark K86 mechanical keyboard. Mechanical switches can fail over time from dust, wear, or other electrical issues. Replacing a single switch or a few keys is a quick and cheaper repair that can fully restore the function of your keyboard.
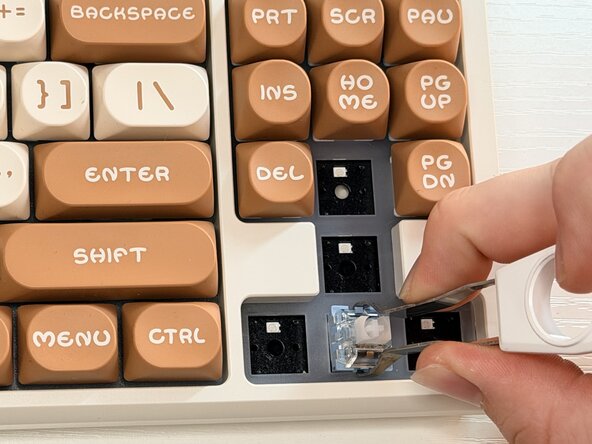
The Attack Shark K86 uses hot-swap sockets, so most MX-style switches will work as replacements, provided the pins match the keyboard's hot-swap layout.
What you need


Finish Line
Team

University of Memphis, Team 51-3, Sneed Fall 2025 Member of University of Memphis, Team 51-3, Sneed Fall 2025
UM-SNEED-F25S51G3
1 Member
1 Guide authored