
Atari Flashback 2 Joystick Replacement

Faith Julian and
Last updated on Feb 3, 2020
Views: 2.3K
View statistics:
- Past 24 Hours:
- 7
- Past 7 Days:
- 17
- Past 30 Days:
- 85
- All Time:
- 2,307
Comments: 0
No one has left comments on this guide. Will you be first?
Go to guide commentsCompleted: 0 1
No one has marked this guide "completed." Will you be the first?
1 person has marked this guide "completed." It's you — great job!
Favorites: 0 1
No one has favorited (and subscribed to) this guide. Will you be the first?
1 person has favorited (and subscribed to) this guide — and that's you!
Introduction
Go to step 1 ↓If the joystick on an Atari Flashback 2 controller is sticking or broken, then it will need to be cleaned or replaced. This guide covers the steps necessary to disassemble the controller in order to access the joystick efficiently.
What you need
Tools
-
Spudger4.9


-
-
-
Using the screwdriver and the PH1 bit, unscrew the four 10.0 mm screws on the bottom of the joystick.
-
Remove the bottom panel from the joystick.
 Ask FixBot
-
-
-
Use the screwdriver with the PH1 bit to remove the one 10.0 mm screw on the circuit board.
-
Remove the circuit board.
-
-
-
-
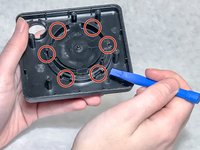
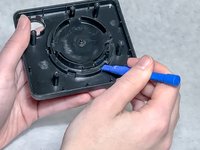
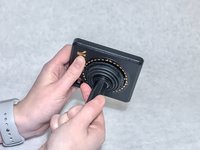
Using a plastic opening tool, poke into the six notches around the bottom of the joystick housing.
-
-
-
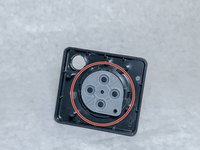
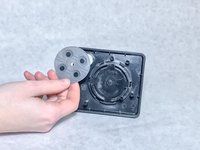
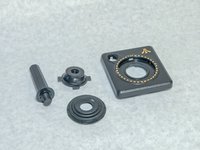
The joystick will now unscrew (counter-clockwise) and you can disassemble the top of the controller into these four parts.
-
-






To reassemble your device, follow these instructions in reverse order.

Team

Washington State, Team S1-G2, Hope Fall 2018 Member of Washington State, Team S1-G2, Hope Fall 2018
WSU-HOPE-F18S1G2
4 Members
60 Guides authored
