Free Shipping on Domestic Orders $75+

Asus Zenbook UX32VD GPU Fan Replacement

What you need

    1. Asus Zenbook UX32VD GPU Fan Replacement, Bottom Panel: step 1, image 1 of 3 Asus Zenbook UX32VD GPU Fan Replacement, Bottom Panel: step 1, image 2 of 3 Asus Zenbook UX32VD GPU Fan Replacement, Bottom Panel: step 1, image 3 of 3
      Tool used on this step:
      T5 Torx Screwdriver
      $9.99
      Buy
      Ask FixBot

      Add Comment

    2. Asus Zenbook UX32VD GPU Fan Replacement: step 2, image 1 of 3 Asus Zenbook UX32VD GPU Fan Replacement: step 2, image 2 of 3 Asus Zenbook UX32VD GPU Fan Replacement: step 2, image 3 of 3
      • Use a plastic opening tool to pry along the perimeter of the bottom panel until it can be easily removed.

      • Remove the bottom panel from the body of the laptop.

      • Set aside the bottom panel.

      Ask FixBot

      Add Comment

    1. Asus Zenbook UX32VD GPU Fan Replacement, Fan: step 3, image 1 of 3 Asus Zenbook UX32VD GPU Fan Replacement, Fan: step 3, image 2 of 3 Asus Zenbook UX32VD GPU Fan Replacement, Fan: step 3, image 3 of 3
      Tool used on this step:
      Spudger
      $2.99
      Buy
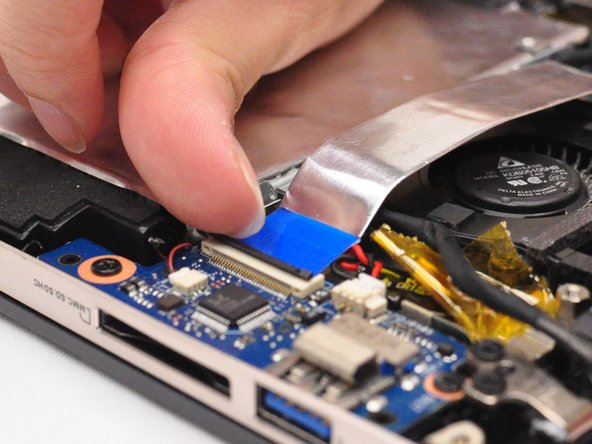
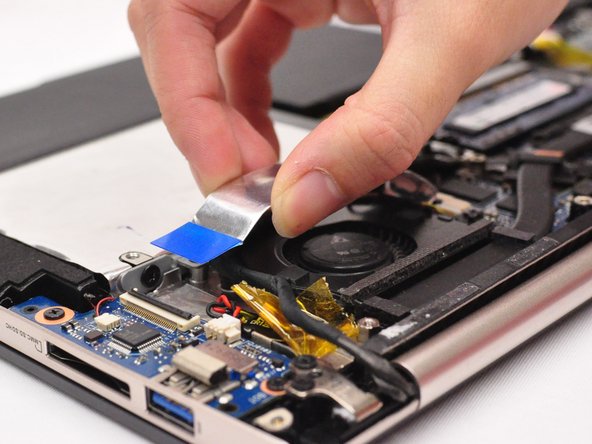
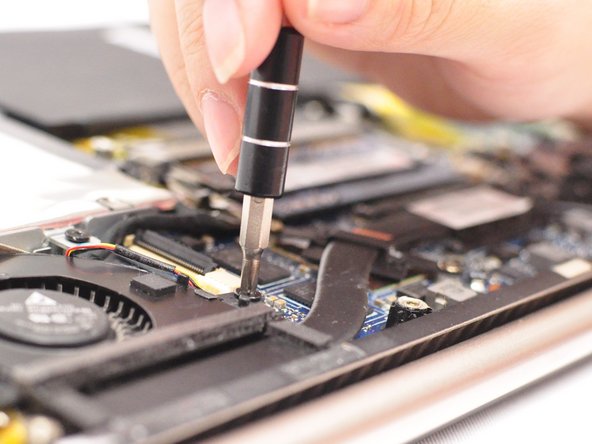
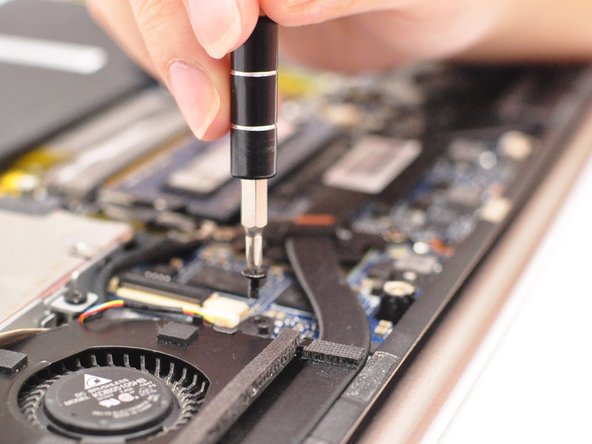
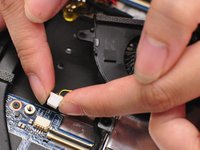
      • Use the tip of your spudger or your fingernail to open the ZIF connector on the I/O board.

      • Be sure to pry up on the hinged retaining flap, not the connector itself.

      • Remove the metallic ribbon cable from the connector .

      • No force is needed to remove or insert the cable.

      Ask FixBot

      Add Comment

    2. Asus Zenbook UX32VD GPU Fan Replacement: step 4, image 1 of 3 Asus Zenbook UX32VD GPU Fan Replacement: step 4, image 2 of 3 Asus Zenbook UX32VD GPU Fan Replacement: step 4, image 3 of 3
      Tool used on this step:
      Phillips #0 Screwdriver
      $5.49
      Buy
      Ask FixBot

      Add Comment

    3. Asus Zenbook UX32VD GPU Fan Replacement: step 5, image 1 of 3 Asus Zenbook UX32VD GPU Fan Replacement: step 5, image 2 of 3 Asus Zenbook UX32VD GPU Fan Replacement: step 5, image 3 of 3
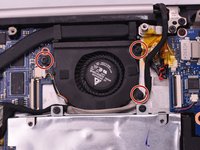
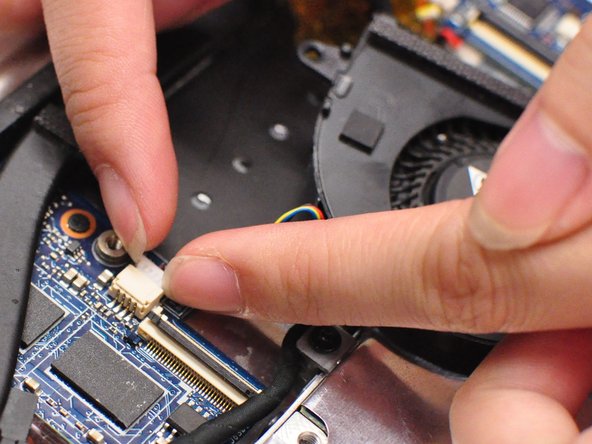
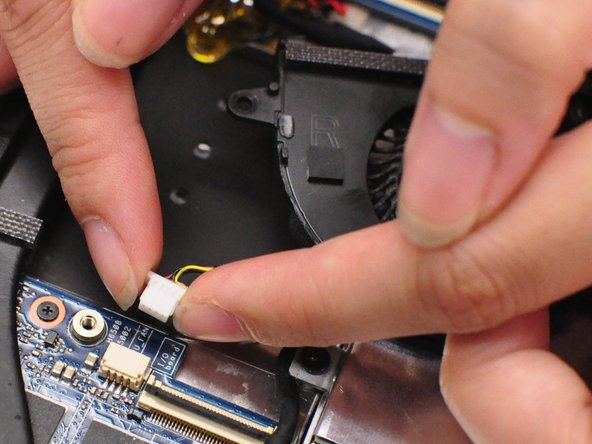
      • Unplug the bundled cable connector.

      • Move the fan as shown in the first picture to better access the connector.

      • Pull the cable away from the connector in the same direction as the individual wires are running.

      • Pull evenly on the full width of the cable so that no individual wires are overly strained.

      Ask FixBot

      Add Comment

    4. Asus Zenbook UX32VD GPU Fan Replacement: step 6, image 1 of 1
      • Remove the fan completely.

      Ask FixBot

      Add Comment

Conclusion

To reassemble your device, follow these instructions in reverse order.

Cancel: I did not complete this guide.

Miguel Angel Felix

Member since: 09/17/15

113 Reputation

1 Guide authored

Team

CSU Fullerton, Team 2-2, Bruce Fall 2015 Member of CSU Fullerton, Team 2-2, Bruce Fall 2015

CSUF-BRUCE-F15S2G2

4 Members

54 Guides authored

0 Guide Comments

Add Comment

View Statistics:

Past 24 Hours: 2

Past 7 Days: 5

Past 30 Days: 23

All Time: 2,571