Free Shipping on Domestic Orders $75+

Asus Zenbook UX32VD HD Web Camera Replacement

What you need

    1. Asus Zenbook UX32VD  HD Web Camera Replacement, HD Web Camera: step 1, image 1 of 1
      • Heat the adhesive behind the screen frame with a hair dryer or a heat gun.

      • Use low heat with the heat gun. Over heating could damage delicate electronic components.

      Ask FixBot

      Add Comment

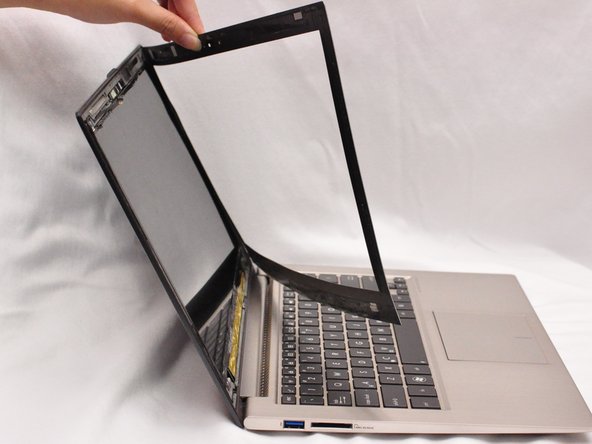
    2. Asus Zenbook UX32VD  HD Web Camera Replacement: step 2, image 1 of 3 Asus Zenbook UX32VD  HD Web Camera Replacement: step 2, image 2 of 3 Asus Zenbook UX32VD  HD Web Camera Replacement: step 2, image 3 of 3
      • Insert a spudger between the display screen frame and the back screen panel.

      • Pry the display screen frame away from the back screen panel.

      • Continue to heat and remove the display screen frame along the whole perimeter.

      Ask FixBot

      Add Comment

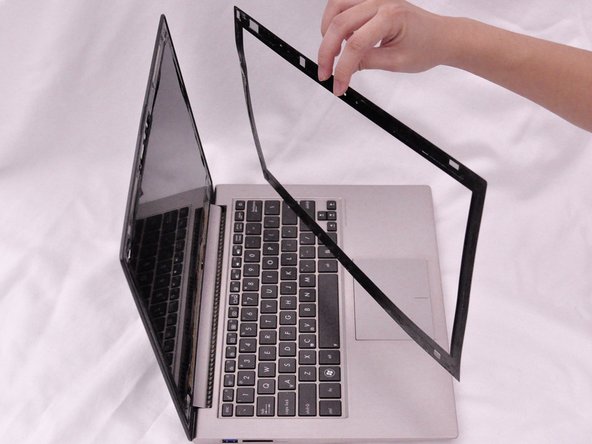
    3. Asus Zenbook UX32VD  HD Web Camera Replacement: step 3, image 1 of 3 Asus Zenbook UX32VD  HD Web Camera Replacement: step 3, image 2 of 3 Asus Zenbook UX32VD  HD Web Camera Replacement: step 3, image 3 of 3
      • Remove display screen frame completely before adhesive cools and hardens.

      Ask FixBot

      Add Comment

    4. Asus Zenbook UX32VD  HD Web Camera Replacement: step 4, image 1 of 2 Asus Zenbook UX32VD  HD Web Camera Replacement: step 4, image 2 of 2
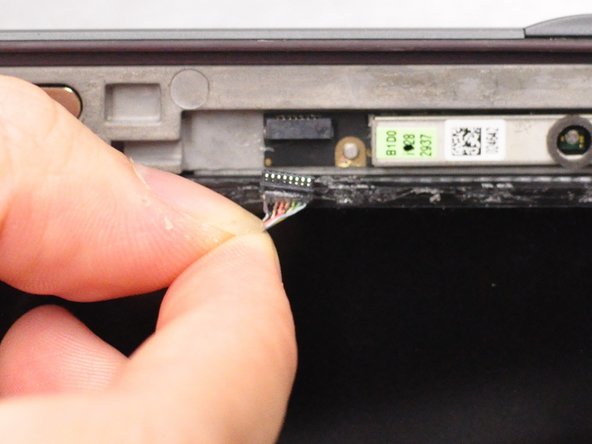
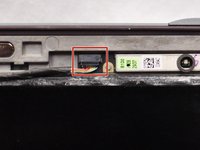
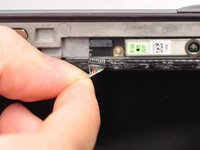
      • Unplug the bundled cable connector.

      • Pull the cable away from the connector in the same direction as the individual wires are running.

      • Pull evenly on the full width of the cable so that no individual wires are overly strained.

      Ask FixBot

      Add Comment

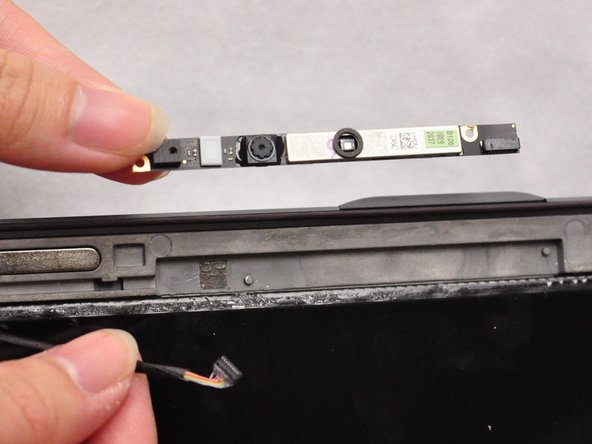
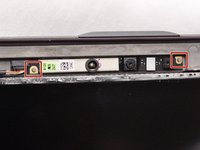
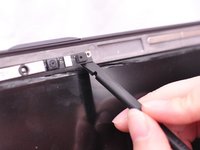
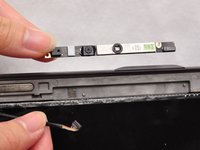
    5. Asus Zenbook UX32VD  HD Web Camera Replacement: step 5, image 1 of 3 Asus Zenbook UX32VD  HD Web Camera Replacement: step 5, image 2 of 3 Asus Zenbook UX32VD  HD Web Camera Replacement: step 5, image 3 of 3
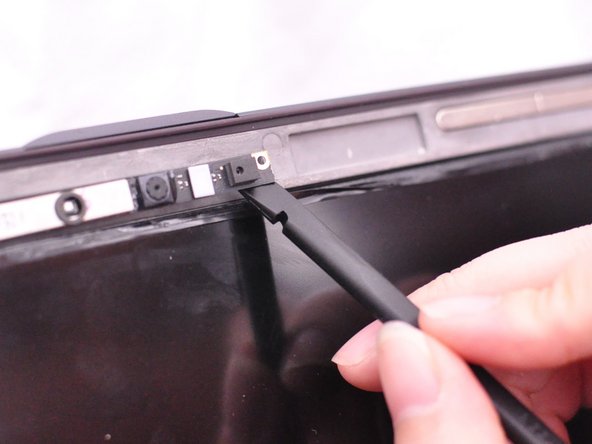
      • Pry the camera out from the two pins on the left and right of the camera with the tip of a spudger.

      • Remove the camera completely.

      Ask FixBot

      Add Comment

Conclusion

To reassemble your device, follow these instructions in reverse order.

Cancel: I did not complete this guide.

Michael Remmel

Member since: 09/17/15

718 Reputation

3 Guides authored

Team

CSU Fullerton, Team 2-2, Bruce Fall 2015 Member of CSU Fullerton, Team 2-2, Bruce Fall 2015

CSUF-BRUCE-F15S2G2

4 Members

54 Guides authored

2 Guide Comments

what type/model/code for its replacement camera ? so i cant find it in part store...

tukangsedot - Reply Share

Thank you for the demo. It appears to be easy to replace the camera per your instructions. Kind regards. Mehran Gerami

Mehran Gerami - Reply Share

Add Comment

View Statistics:

Past 24 Hours: 0

Past 7 Days: 12

Past 30 Days: 39

All Time: 2,404