What you need
-
-
Remove all the nine screws from the bottom of the device using a T5 screwdriver.
-
Carefully remove the bottom cover.
-
-
-
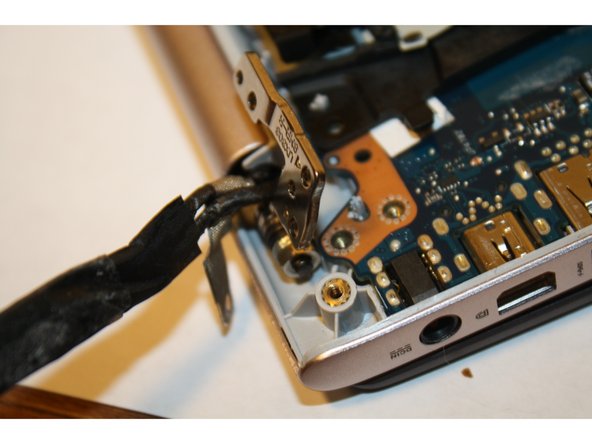
Remove the three screws from the hinges using a PH-1 screwdriver.
-
Open the device at a 90 degree angle to free the hinges.
-
-
-
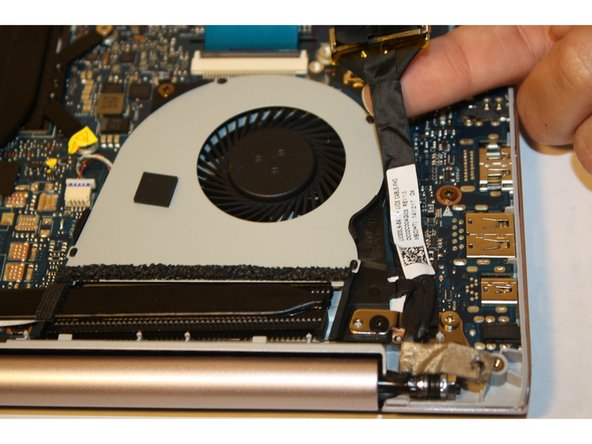
Remove the screw attaching the cooling fan to the motherboard by using a PH-1 screwdriver.
-
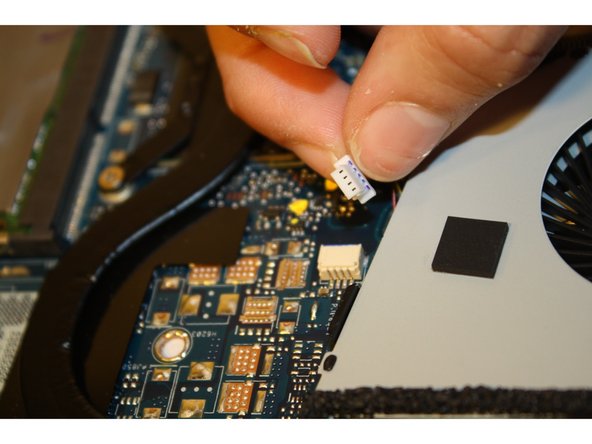
Disconnect the wire attaching the cooling fan to the motherboard.
-
Gently lift and pull out the cooling fan.
-
-
-
-
Remove the four screws attached to the black covered copper bar next to the cooling fan using a PH-1 screwdriver.
-
Gently lift and remove the copper bar.
-
-
-
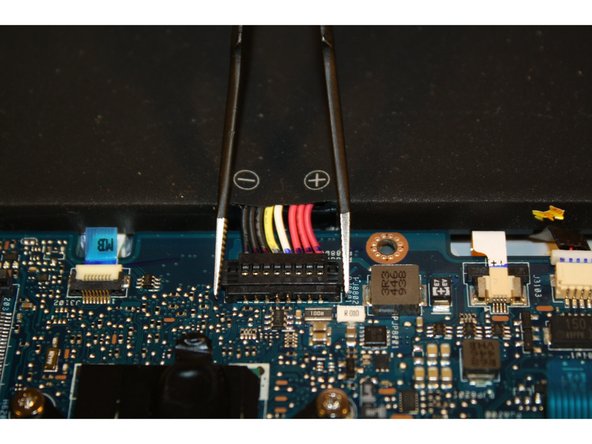
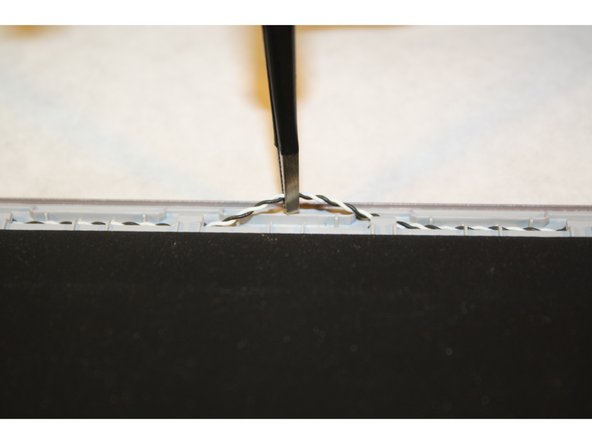
Unhook the black, red, and white switch using the tweezers.
-
Detach the positive and negative red, white, yellow, and black switch.
-
Unhook the black and white coiled wire.
-
Lift and remove the battery pack.
-
-
-
Remove the three screws attaching the drive to the motherboard using a PH-1 screwdriver.
-
Gently lift and pull out the drive.
-
-
-
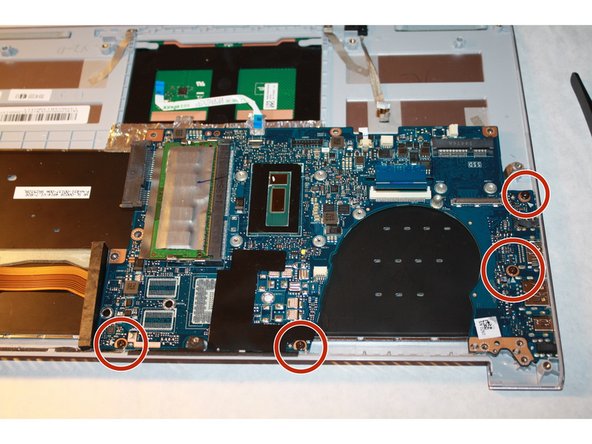
Remove the silver tape to free the fourth screw attaching the motherboard.
-
Remove the four screws attaching the motherboard using a PH-1 screwdriver.
-
-
-
Detach the four wires connected to the motherboard using tweezers.
-
Gently lift up and pull out the motherboard.
-
-
-
Remove the small piece of the motherboard on the lower left hand corner by removing the four screws using a PH-1 screwdriver.
-
Detach the black and red coiled wire from the motherboard using tweezers.
-
Gently lift and remove the small piece of the motherboard.
-
-
-
Place the plastic opening tool under the corners of the keyboard and use it to detach the keyboard all around.
-
Gently lift and remove the keyboard from its place.
-


Team

Sam Houston State, Team 1-3, Blackburne Fall 2015 Member of Sam Houston State, Team 1-3, Blackburne Fall 2015
SHSU-BLACKBURNE-F15S1G3
3 Members
4 Guides authored