Introduction
The optical disc drive allows the laptop to read and play CDs and DVDs. If it is not functioning properly, this guide will explain how to replace it.
What you need
-
-
Turn the laptop upside down so that the underside is facing up and locate the two switches that are on each side of the battery.
-
Slide the switch on the top right corner to the right.
-
Slide and hold the switch on the top left corner to the left and carefully remove the battery.
-
-
-
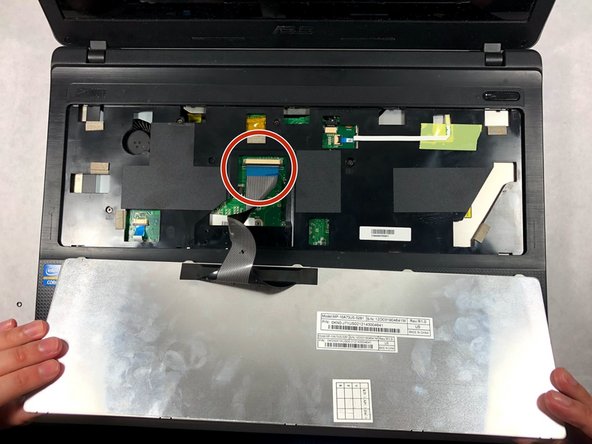
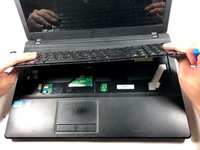
Turn the laptop to its normal position and open the display to show the keyboard.
-
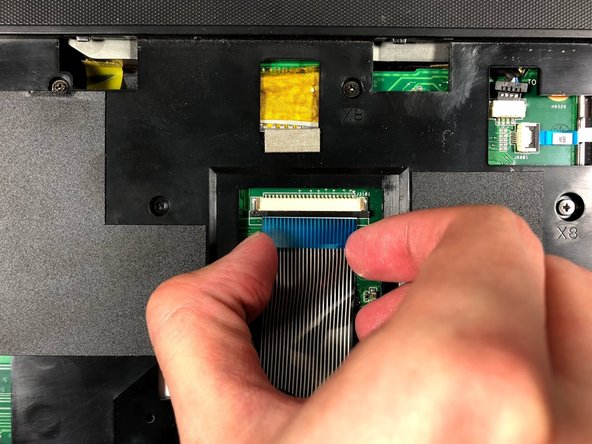
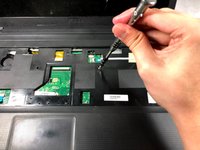
Gently push back the five tabs holding the keyboard down using the plastic opening tool.
-
-
-
-
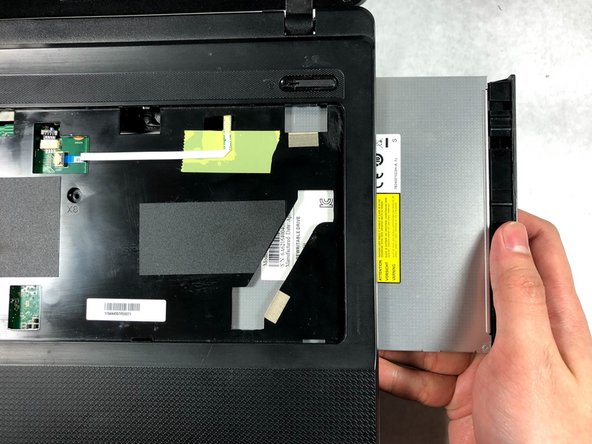
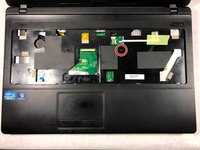
Remove the 3mm screw with a Phillips #000 screwdriver.
-
Slide out the optical disc drive by pulling it away from the laptop.
-


To reassemble your device, follow these instructions in reverse order.
Team

UMass Dartmouth, Team S3-G1, Bailey Fall 2017 Member of UMass Dartmouth, Team S3-G1, Bailey Fall 2017
UMASSD-BAILEY-F17S3G1
2 Members
8 Guides authored