Introduction
This guide will walk you through the process of replacing a broken or faulty battery on the Asus X751L.
What you need
-
-
-
With the screen closed, place your laptop upside-down with the front facing you.
-
Remove the six 14.6mm Phillips #00 screws.
-
Remove the four 6.6mm Phillips #00 screws.
 Ask FixBot
-
-
-
Flip the laptop over and open the lid.
-
Pry around the edges of the laptop base using the plastic opening tool.
-
-
-
-
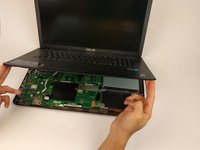
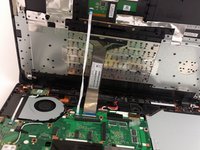
Carefully lift the keyboard up.
-
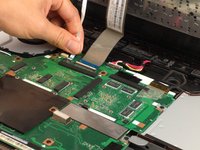
Disconnect the two ZIF connectors from the motherboard using your fingernail to lift the cream-colored tab.
-
-
-
-
-
Remove the two 6.6mm Phillips #00 screws holding the battery in place.
-
-
-
Lift the battery from the cable-side to maneuver it around the plastic clips.
-
-
-
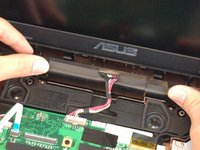
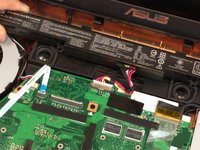
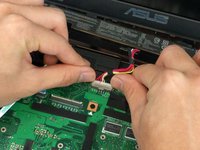
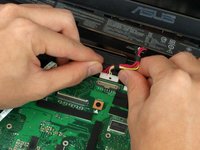
Using your finger nails, gently push the battery cable out of the connector on the motherboard.
-
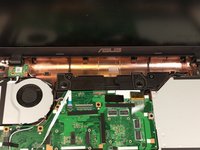
Once the cable is disconnected, you can remove the battery.
-
-






To reassemble your device, follow these instructions in reverse order.
Cancel: I did not complete this guide.
5 other people completed this guide.

Team

USF Tampa, Team 17-2, Blackwell Spring 2017 Member of USF Tampa, Team 17-2, Blackwell Spring 2017
USFT-BLACKWELL-S17S17G2
4 Members
60 Guides authored
6 Guide Comments
Very nice, thank you !
very nice, thank you !
Took me awhile to figure out how to get the cables back. Other than that, good insturctions.
Your instructions were easy to follow. Thank you!!!
