Introduction
The front display bezel holds the LCD screen to the base of the laptop.
What you need
-
-
-
Turn the laptop upside-down and remove the following screws using a Phillips #0 driver:
-
Two 9.5 mm screws in the middle of the back edge, and one 9.5 mm screw in the right edge
-
Two 4.3 mm screws in the back corners
-
One 17.5 mm screw at the left edge near the optical drive
-
Three 4.3 mm screws in the front edge
 Ask FixBot
-
-
-
Use the plastic opening tool to separate the keyboard plate cover from the bottom cover. In order to do this, insert the plastic opening tool in between the keyboard plate cover and the bottom cover, then slide along edges to pry open.
-
-
-
Locate the three ribbons connecting the keyboard plate cover to the bottom cover.
-
-
-
Invert the laptop in order to gain access to the ribbons.
-
Remove each ribbon by flipping the small white plastic flap up and gently pulling on the ribbon.
-
-
-
Now that the ribbons have been detached from the bottom cover, carefully remove the keyboard plate cover. Once it has been removed, place it in a safe and moisture free area so it does not get damaged.
-
-
-
-
-
Unscrew the three 5.5 mm Phillips #0 screws with the Phillips #0 Screwdriver.
-
-
-
Once the screws have been removed, place your fingers on the left corners and push the hard drive towards the right edge of the laptop (relative to the picture).
-
-
-
-
-
Using the Phillips #0 Screwdriver, unscrew the 5.5 mm Phillips #0 screw that holds the spacer in place.
-
-
-
Remove the spacer from the laptop by gently sliding it towards the right edge of the laptop.
-
-
-
-
-
-
Use the Phillips #0 Screwdriver to unscrew the 3.2 mm Phillips #0 screw which attaches the WiFi card to the motherboard.
-
-
-
Disconnect the Wifi card from the motherboard by gently sliding it towards the right edge of the laptop.
-
-
-
Remove each of the two small antenna connections by disconnecting one wire at a time. Each wire should easily unsnap from the Wifi card.
-
-
-
-
-
Remove the battery from the laptop by applying pressure on both ends and lifting it out of the case.
-
-
-
-
-
With the Phillips #0 Screwdriver, remove the nine 5.5 mm Phillips #0 screws which hold the motherboard in place.
-
-
-
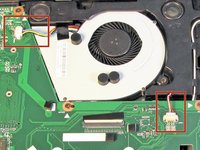
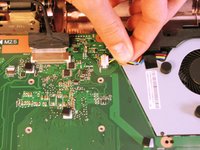
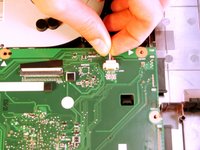
Remove the wires by easily pulling them parallel to the motherboard's surface.
-
-
-
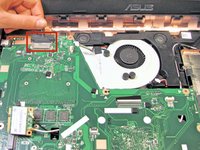
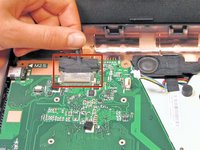
Remove the LCD display connection by gently pulling on the attached wire.
-
Gently lift any tape that may be holding the connection.
-
-
-
-
-
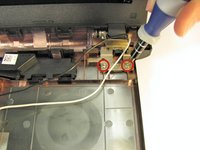
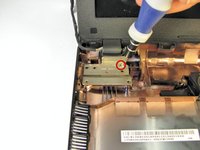
Locate both of the hinges that connect the monitor to the bottom plate cover.
-
-
-
Use the Phillips #0 screwdriver to unscrew the two 4.8 mm Phillips #0 screws on the right hinge, and the one 4.8 mm Phillips #0 screw on the left hinge.
-
-
-
Once the screws are removed, the monitor should easily lift away from the bottom plate cover
-
-
-
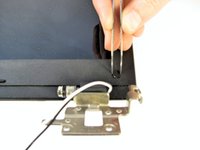
Locate the two stickers that cover up the screws that hold the front bezel in place
-
-
Tool used on this step:Tweezers$4.99
-
Use a pair of tweezers to remove these stickers.
-
-
-
Once the stickers are removed, the two screws that hold the front bezel in place will be exposed.
-
-
-
Use the Phillips #0 screwdriver to remove the two 4.8 mm Phillips #0 screws.
-
-
-
Once the screws are taken out, the front bezel is ready to be removed.
-
Insert the Plastic Opening Tool inbetween the front and back bezels and slide along the edges to pry open.
-
-
-
Once pried away from the back bezel, the front bezel will easily lift away from the LCD.
-
-


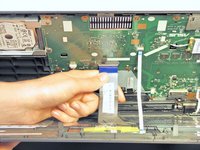
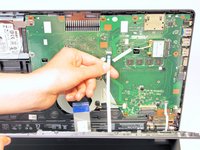
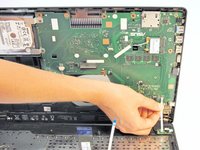


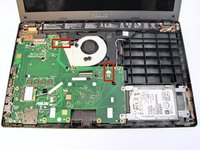








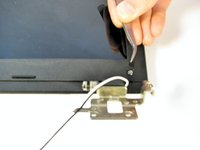


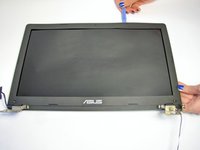
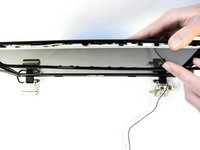

To reassemble your device, follow these instructions in reverse order.
Cancel: I did not complete this guide.
5 other people completed this guide.

Team

Cal Poly, Team 7-22, Regan Spring 2014 Member of Cal Poly, Team 7-22, Regan Spring 2014
CPSU-REGAN-S14S7G22
5 Members
180 Guides authored
