
Asus Vivobook S500CA Screen Hinges Replacement

What you need

  1. Asus Vivobook S500CA Screen Hinges Replacement, Screen Hinges: step 1, image 1 of 1
    • Turn the device over so the back plate is facing up.

  2. Asus Vivobook S500CA Screen Hinges Replacement: step 2, image 1 of 1
    • Use a Phillips Head PH1 screwdriver to remove 10 screws around the perimeter of the back plate.

    • It may be helpful to lay out the screws in the orientation in which they are taken out, in order to help remember where they go.

  3. Asus Vivobook S500CA Screen Hinges Replacement: step 3, image 1 of 1
    • Remove the back plate by lifting it straight up.

  4. Asus Vivobook S500CA Screen Hinges Replacement: step 4, image 1 of 2 Asus Vivobook S500CA Screen Hinges Replacement: step 4, image 2 of 2
    • Remove 3 (.5 cm) phillips screws around the edge of the hinge. Repeat for other side.

  5. Asus Vivobook S500CA Screen Hinges Replacement: step 5, image 1 of 1
    • Disconnect the black and white wires from the “Aux” (white) and “Main” (black) ports

  6. Asus Vivobook S500CA Screen Hinges Replacement: step 6, image 1 of 2 Asus Vivobook S500CA Screen Hinges Replacement: step 6, image 2 of 2
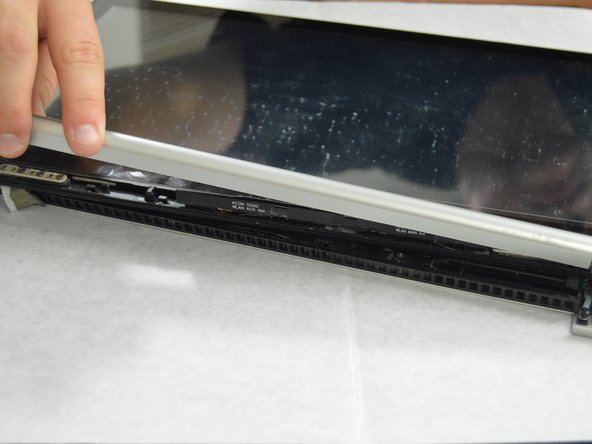
    • Open the device to access the plastic casing over the hinges.

    • Remove the casing by lifting firmly. This step can be difficult.

  7. Asus Vivobook S500CA Screen Hinges Replacement: step 7, image 1 of 2 Asus Vivobook S500CA Screen Hinges Replacement: step 7, image 2 of 2
    • Remove 4 (.5 cm) screws from the hinge. Remove the hinge and follow steps in reverse order to reassemble and complete repair.

Jermaine Carnell

Member since: 01/17/17

107 Reputation

1 Guide authored

View Statistics:

Past 24 Hours: 0

Past 7 Days: 1

Past 30 Days: 4

All Time: 2,338