Introduction
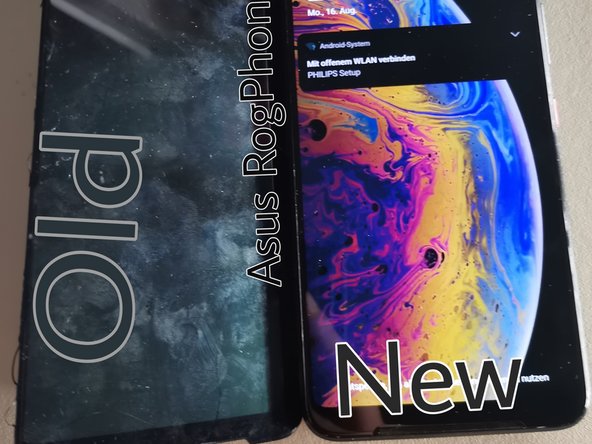
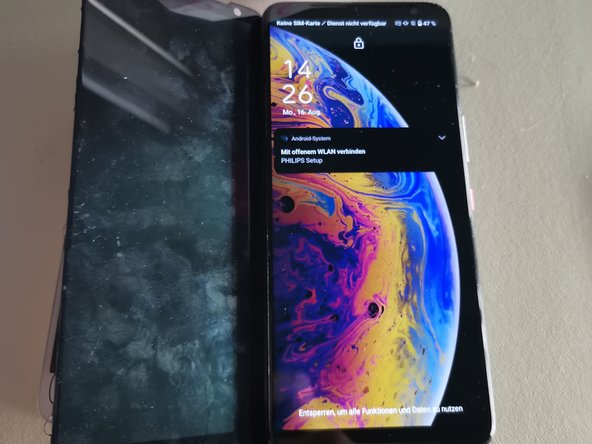
The Asus Rog Phone is a gaming smartphone developed by Asus, which is equipped with various components for heat conduction and cooling and is mainly made for use by gamers. The performance it carries is completely designed for performance and graphics.
Here I will show and describe to you in a few steps how you can replace the display of this device without any problems and without damaging the electronics and heat exchange modules.
-
-
As always, we are grounded before the start and have our tools ready. In this case our spudger, tweezers, plecks and plastic cards to open, separate and remove. Phillips screwdriver.
-
Let's start with warming up.
-
To do this, first place the RogPhone on a heating plate with the broken display facing down. Yes, with this one we start with the display first.
-
-
-
To loosen the back cover, all you need is some warmth and dexterity.
-
After it is warm enough, insert a plastic pleck about 3mm into the phone under the back cover. Once around the frame.
-
Holding with a suction cup.
-
Then loosen all the screws and take care that the thermal paste under the cover is not accidentally damaged too much. Then you can use them again. Otherwise it means making new ones!
-
-
-
-
Once the first 2 steps have been completed, we can take our time to attach the new display.
-
To do this, disconnect the battery and the other connector on the side from the circuit board and can now lift the display.
-
Again, be careful when threading the flex between the frame and the circuit board.
-
Apply the adhesive and connect the individual flexes to the circuit board, at the same time insert the display into the frame.
-
Now do the steps back in reverse order and it's done.
-


Follow the steps in reverse order to reassemble your device
Follow the steps in reverse order to reassemble your device
Cancel: I did not complete this guide.
One other person completed this guide.
Special thanks to these translators:
100%

oldturkey03 is helping us fix the world! Want to contribute?
Start translating ›

Team
