Introduction
This guide explains how to remove the screen of the Asus ROG Strix GL702VM-BHI7N09 for replacement. This replacement involves numerous screws and snap seals that add to the time it takes to replace; however, it is not a very difficult replacement.
What you need
-
-
Flip the laptop over to the back panel, with the serial numbers facing up.
-
Using a Phillips #1 screwdriver, remove the ten 12 mm screws from the back panel.
-
-
-
Wedge the sharp edge of the plastic opening tool into the seam between the back panel and the rest of the laptop, then gently pry the panel up.
-
Continue breaking the seals by sliding the plastic opening tool around the entire laptop under the seam until the back panel is free.
-
Once you have broken all the seals, carefully lift the panel off.
-
-
-
Using a Phillips #1 screwdriver, remove the one 4 mm screw from the motherboard to release the Intel chip.
-
-
-
-
Disconnect the black wire adjacent to the fan from the motherboard by gently pulling it upward.
-
-
-
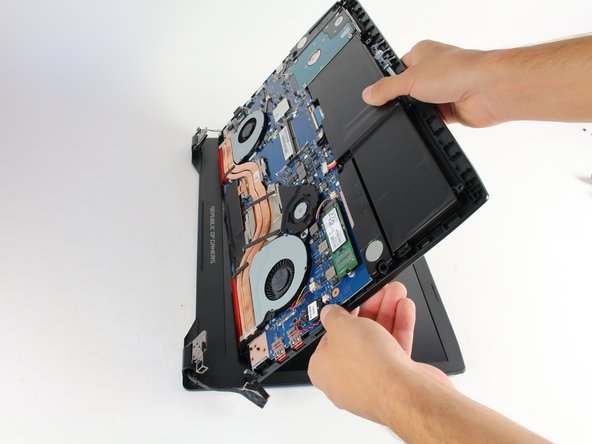
While holding down the screen, lift the base of the laptop to an angle between 45 and 90 degrees.
-
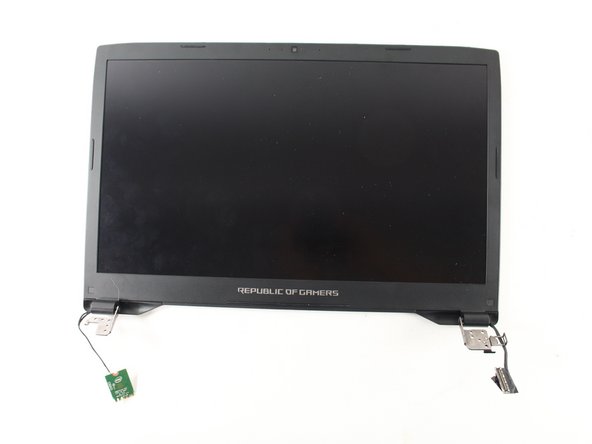
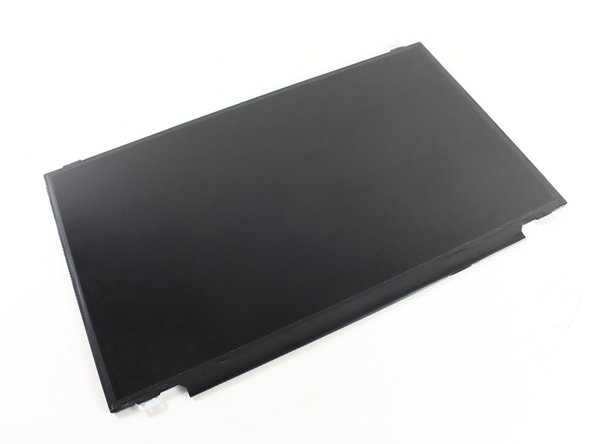
Remove the screen from the base by gently pulling the base in the direction of the screen, parallel to the ground.
-
-
-
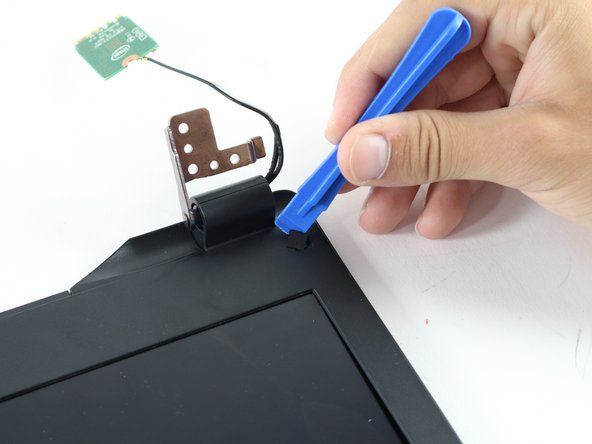
Using the blue plastic opening tool, pry up the squares that cover two screws on the front of the screen.
-
-
-
Use the plastic opening tool to pry the plastic covering away from the screen, it does not matter where you start.
-
-
-
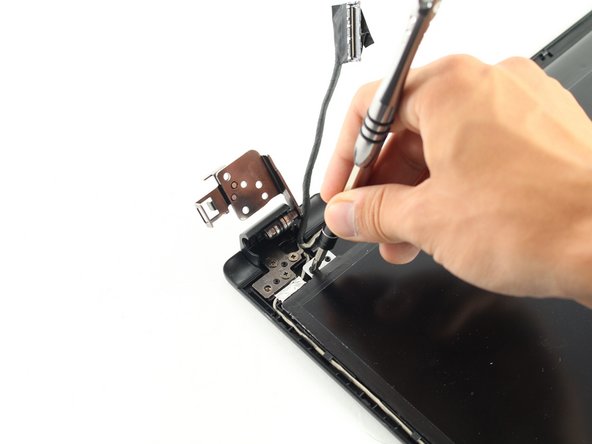
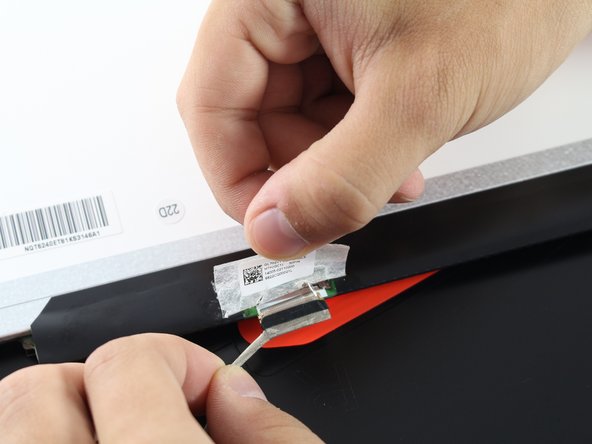
Gently peel off the tape over the wire connection.
-
Disconnect the wire by pulling it directly away from the screen.
-


Team

Cal Poly, Team S13-G2, Forte Spring 2017 Member of Cal Poly, Team S13-G2, Forte Spring 2017
CPSU-FORTE-S17S13G2
4 Members
4 Guides authored