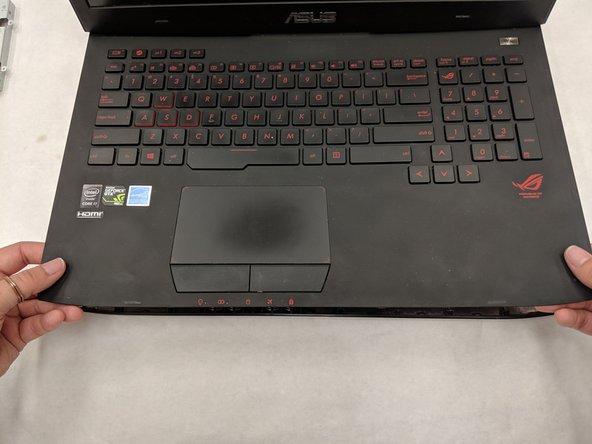
Asus ROG G751JL-DS71 Fan Replacement

What you need

  1. Asus ROG G751JL-DS71 Fan Replacement, Fan: step 1, image 1 of 2 Asus ROG G751JL-DS71 Fan Replacement, Fan: step 1, image 2 of 2
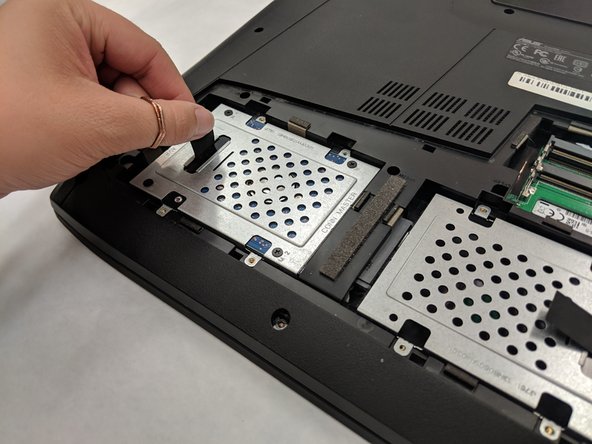
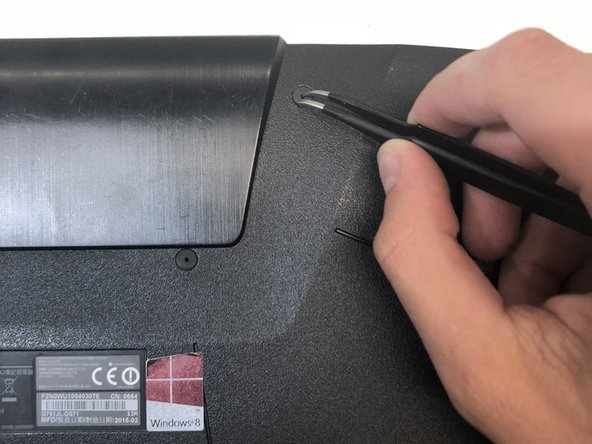
    • Lift the rubber cover found on the bottom of the laptop.

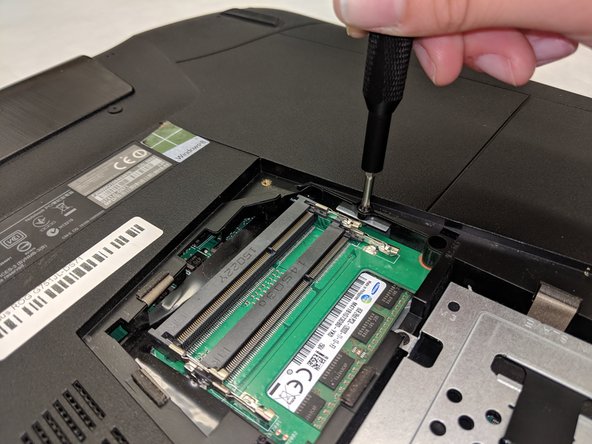
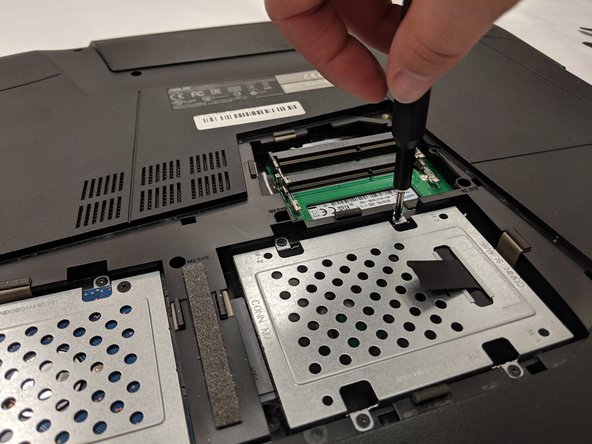
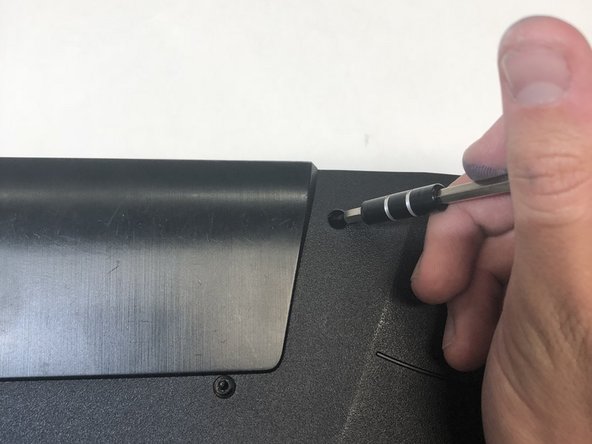
    • Remove the 5.2 mm screw with a Phillips 1 Screwdriver.

  2. Asus ROG G751JL-DS71 Fan Replacement: step 2, image 1 of 3 Asus ROG G751JL-DS71 Fan Replacement: step 2, image 2 of 3 Asus ROG G751JL-DS71 Fan Replacement: step 2, image 3 of 3
    • Use the standard spudger to remove the back center panel.

  3. Asus ROG G751JL-DS71 Fan Replacement: step 3, image 1 of 3 Asus ROG G751JL-DS71 Fan Replacement: step 3, image 2 of 3 Asus ROG G751JL-DS71 Fan Replacement: step 3, image 3 of 3
    • Use a Phillips 1 Screwdriver to remove the 5 mm screw that is located underneath the back panel.

  4. Asus ROG G751JL-DS71 Fan Replacement: step 4, image 1 of 2 Asus ROG G751JL-DS71 Fan Replacement: step 4, image 2 of 2
    • Pull out the optical drive found on the side of the laptop.

  5. Asus ROG G751JL-DS71 Fan Replacement: step 5, image 1 of 3 Asus ROG G751JL-DS71 Fan Replacement: step 5, image 2 of 3 Asus ROG G751JL-DS71 Fan Replacement: step 5, image 3 of 3
    • Remove the screws holding the hard drives in place using a phillips #1 screwdriver.

    • Using the small flaps, remove the hard drives by hand.

  6. Asus ROG G751JL-DS71 Fan Replacement: step 6, image 1 of 2 Asus ROG G751JL-DS71 Fan Replacement: step 6, image 2 of 2
    • Use a pair of tweezers to remove the top four rubber stoppers found on the bottom of the laptop.

  7. Asus ROG G751JL-DS71 Fan Replacement: step 7, image 1 of 2 Asus ROG G751JL-DS71 Fan Replacement: step 7, image 2 of 2
    • Use a Phillips 1 Screwdriver to remove the top four 8.5 mm screws.

  8. Asus ROG G751JL-DS71 Fan Replacement: step 8, image 1 of 3 Asus ROG G751JL-DS71 Fan Replacement: step 8, image 2 of 3 Asus ROG G751JL-DS71 Fan Replacement: step 8, image 3 of 3
    • Use a metal spudger to carefully pry the top back panel off.

    • While removing the top back panel, be careful not to break the four pin connector located underneath.

    • Disconnect the four-pin connector and remove the top back panel from the computer.

  9. Asus ROG G751JL-DS71 Fan Replacement: step 9, image 1 of 1
    • Use a Phillips 1 Screwdriver to remove the four 6.8 mm screws underneath the back panel.

  10. Asus ROG G751JL-DS71 Fan Replacement: step 10, image 1 of 1
    • Use a Phillips 1 Screwdriver to remove the ten 5.2 mm screws holding the main panel in place.

  11. Asus ROG G751JL-DS71 Fan Replacement: step 11, image 1 of 3 Asus ROG G751JL-DS71 Fan Replacement: step 11, image 2 of 3 Asus ROG G751JL-DS71 Fan Replacement: step 11, image 3 of 3
    • Use a metal opening tool to pry the keyboard from the base of the laptop.

    • Lift the keyboard carefully so as to not tear or break the four ribbon connectors underneath the keyboard.

  12. Asus ROG G751JL-DS71 Fan Replacement: step 12, image 1 of 2 Asus ROG G751JL-DS71 Fan Replacement: step 12, image 2 of 2
    • Use a pair of tweezers to undo each of the four ribbon connectors.

    • The keyboard is now completely disconnected from the laptop and you can remove it.

  13. Asus ROG G751JL-DS71 Fan Replacement: step 13, image 1 of 3 Asus ROG G751JL-DS71 Fan Replacement: step 13, image 2 of 3 Asus ROG G751JL-DS71 Fan Replacement: step 13, image 3 of 3
    • Disconnect the four-pin connectors from each fan and remove them

    • The fans are now completely disconnected from the laptop and you can remove them

Conclusion

To reassemble your device, follow these instructions in reverse order.

One other person completed this guide.

Ashley Twigg

Member since: 04/01/19

237 Reputation

1 Guide authored

Team

IUPUI, Team S8-G8, Wilson Spring 2019 Member of IUPUI, Team S8-G8, Wilson Spring 2019

IUPUI-WILSON-S19S8G8

4 Members

3 Guides authored

One Comment

i was wondering if i can swap the bottom case of g751jl with bottom case of g751jy? thanks a ton

Avkash - Reply

Add Comment

View Statistics:

Past 24 Hours: 0

Past 7 Days: 2

Past 30 Days: 4

All Time: 971