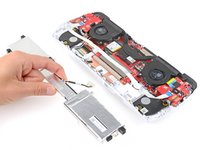
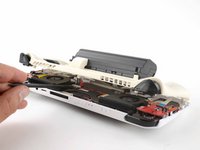
Asus ROG Ally Battery Mod

What you need

  1. Asus ROG Ally Battery Mod, Prepare your device for disassembly: step 1, image 1 of 3 Asus ROG Ally Battery Mod, Prepare your device for disassembly: step 1, image 2 of 3 Asus ROG Ally Battery Mod, Prepare your device for disassembly: step 1, image 3 of 3
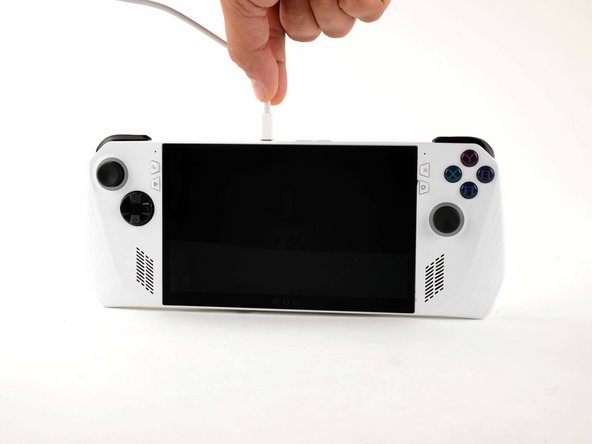
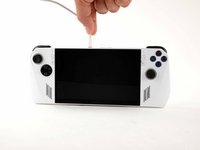
    • Let your device's battery drain below 25% before starting this repair—a charged lithium‑ion battery may catch fire if damaged.

    • Completely power off your device and unplug all cables.

    • Consider laying your device on a soft cloth to prevent scratching or damaging the screen during your repair.

  2. Asus ROG Ally Battery Mod, Unfasten the back cover: step 2, image 1 of 2 Asus ROG Ally Battery Mod, Unfasten the back cover: step 2, image 2 of 2
    Tool used on this step:
    FixMat
    $36.95
    Buy
    • Throughout this repair, keep track of each screw and make sure it goes back exactly where it came from.

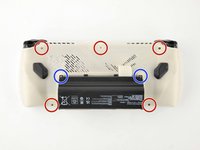
    • Use a Phillips #0 screwdriver to remove the five 17.2 mm‑long screws securing the top edge and bottom corners of the back cover.

    • Use a Phillips #0 screwdriver to fully loosen the remaining captive screw at the center of the bottom edge. This should create a small gap between the back cover and chassis.

    • Don't try to remove this screw.

  3. Asus ROG Ally Battery Mod, Insert an opening pick: step 3, image 1 of 3 Asus ROG Ally Battery Mod, Insert an opening pick: step 3, image 2 of 3 Asus ROG Ally Battery Mod, Insert an opening pick: step 3, image 3 of 3
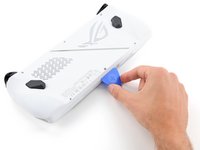
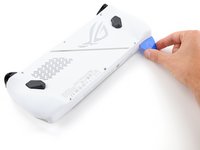
    • Insert the flat edge of an opening pick between the bottom edge of the back cover and chassis, near the captive screw.

    • Angle the pick upward and push it under the back cover.

  4. Asus ROG Ally Battery Mod, Release the back cover's clips: step 4, image 1 of 3 Asus ROG Ally Battery Mod, Release the back cover's clips: step 4, image 2 of 3 Asus ROG Ally Battery Mod, Release the back cover's clips: step 4, image 3 of 3
    • Plastic clips secure the perimeter of the back cover. You should feel and hear them release during this step.

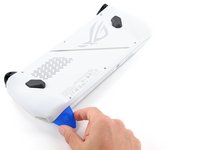
    • Slide the opening pick along the bottom edge and around the corners of the back cover to release the clips securing it.

    • Keep the pick at an upward angle under the back cover to help release the clips.

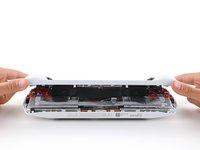
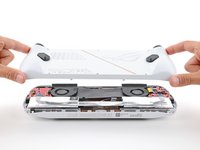
  5. Asus ROG Ally Battery Mod, Remove the back cover: step 5, image 1 of 3 Asus ROG Ally Battery Mod, Remove the back cover: step 5, image 2 of 3 Asus ROG Ally Battery Mod, Remove the back cover: step 5, image 3 of 3
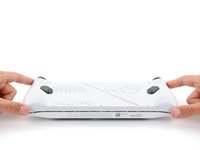
    • Lift the bottom edge of the back cover off the chassis to release the remaining clips.

    • Remove the back cover.

    • During reassembly, lay the back cover onto your device and firmly push down around the perimeter to engage the clips.

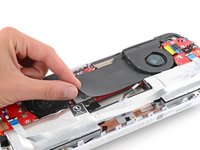
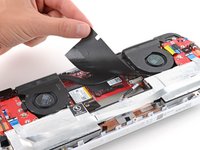
  6. Asus ROG Ally Battery Mod, Remove the plastic cover: step 6, image 1 of 3 Asus ROG Ally Battery Mod, Remove the plastic cover: step 6, image 2 of 3 Asus ROG Ally Battery Mod, Remove the plastic cover: step 6, image 3 of 3
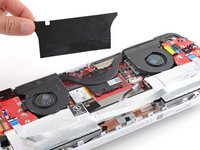
    • Use your fingers to peel up and remove the black plastic cover between the fans.

    • Put the cover aside—you'll use it during reassembly.

  7. Asus ROG Ally Battery Mod, Unlatch the locking bar: step 7, image 1 of 3 Asus ROG Ally Battery Mod, Unlatch the locking bar: step 7, image 2 of 3 Asus ROG Ally Battery Mod, Unlatch the locking bar: step 7, image 3 of 3
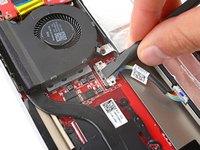
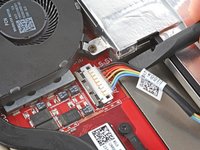
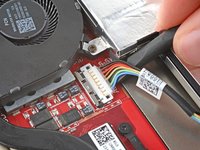
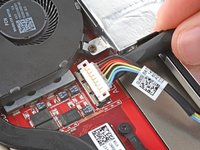
    • A metal locking bar secures the top edge of the battery connector

    • Use the flat end of a spudger to gently push the locking bar away from the connector to unlatch it.

  8. Asus ROG Ally Battery Mod, Disconnect the battery: step 8, image 1 of 3 Asus ROG Ally Battery Mod, Disconnect the battery: step 8, image 2 of 3 Asus ROG Ally Battery Mod, Disconnect the battery: step 8, image 3 of 3
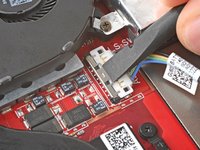
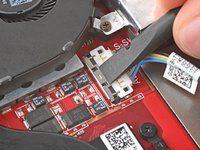
    • Make sure the locking bar is not covering the battery connector at all, or you may damage the socket and the locking bar.

    • Insert the flat end of a spudger under the center of the battery connector.

    • Lift the connector straight up and out of its socket to disconnect the battery.

    • During reassembly, use your fingers or the flat end of a spudger to firmly push the connector onto its socket until it clicks into place.

  9. Asus ROG Ally Battery Mod, Unfasten the battery: step 9, image 1 of 3 Asus ROG Ally Battery Mod, Unfasten the battery: step 9, image 2 of 3 Asus ROG Ally Battery Mod, Unfasten the battery: step 9, image 3 of 3
    • Use a Phillips #00 screwdriver to remove the four screws securing the battery:

    • Two 9.6 mm‑long screws near the center of the top edge

    • The screw near the left speaker has a warning sticker on it. Pierce through it with your screwdriver or use tweezers to remove it.

    • Two 3.4 mm‑long screws at the left and right edges

  10. Asus ROG Ally Battery Mod, Remove the battery: step 10, image 1 of 3 Asus ROG Ally Battery Mod, Remove the battery: step 10, image 2 of 3 Asus ROG Ally Battery Mod, Remove the battery: step 10, image 3 of 3
    • With one hand, hold the ribbon cable that runs along the top of the battery out of the way.

    • With your free hand, lift the battery straight up and remove it.

  11. Asus ROG Ally Battery Mod, Remove the battery cable: step 11, image 1 of 3 Asus ROG Ally Battery Mod, Remove the battery cable: step 11, image 2 of 3 Asus ROG Ally Battery Mod, Remove the battery cable: step 11, image 3 of 3
    • If your replacement battery doesn't come with a cable installed, follow this step to remove and transfer the old one.

    • With one hand, firmly secure the outer battery cells.

    • With your free hand, use the point of a spudger to push on alternating sides of the battery connector to walk it out of its socket.

    • To install the cable:

    • Gently push the connector partially into its socket.

    • Use a spudger to push in the outer edges of the connector until it slides fully into its socket.

    • Do not push on the cables themselves, as this can easily damage them.

  12. Asus ROG Ally Battery Mod, Remove the battery cable: step 12, image 1 of 2 Asus ROG Ally Battery Mod, Remove the battery cable: step 12, image 2 of 2
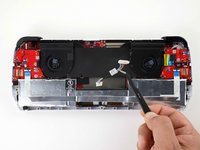
    • We need the cable connecting the battery pouch to the mainboard.

    • This cable will be destroyed. If you want to preserve your original cable, you can find spare parts online thanks to ASUS's repair friendly approach to this device.

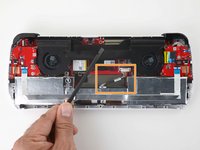
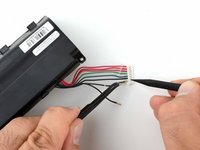
  13. Asus ROG Ally Battery Mod, Detach the connector head: step 13, image 1 of 2 Asus ROG Ally Battery Mod, Detach the connector head: step 13, image 2 of 2
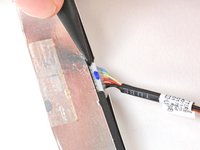
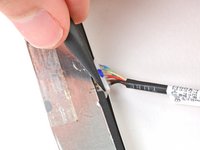
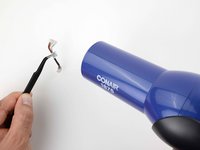
    • Use a bit of heat to loosen the glue around the base of the connector that connects to the mainboard.

    • Once the glue around the base is soft, pry the glue away.

    • Most glues will melt at around 100-110F (37-43C). Be careful not to apply too much heat or the plastic connector will start to melt and deform.

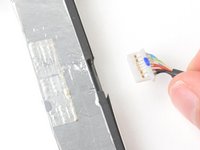
    • Gently lift the small white tabs holding each wire in place and remove the wires one by one.

    • Save the connector head for step 16.

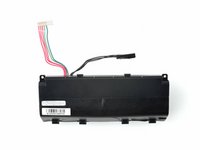
  14. Asus ROG Ally Battery Mod, Prepare replacement battery connector: step 14, image 1 of 3 Asus ROG Ally Battery Mod, Prepare replacement battery connector: step 14, image 2 of 3 Asus ROG Ally Battery Mod, Prepare replacement battery connector: step 14, image 3 of 3
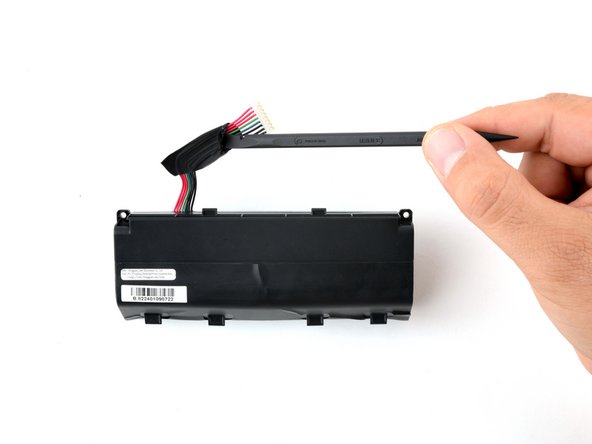
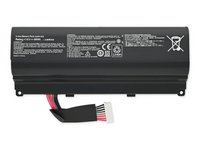
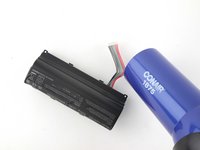
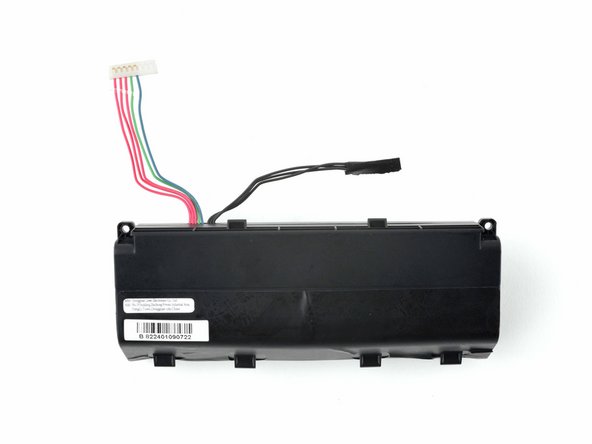
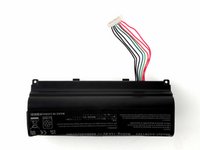
    • Remove the black tape around the wires on the A42N1403 battery.

    • Do not use any metal tools to avoid unintentional damage to the battery.

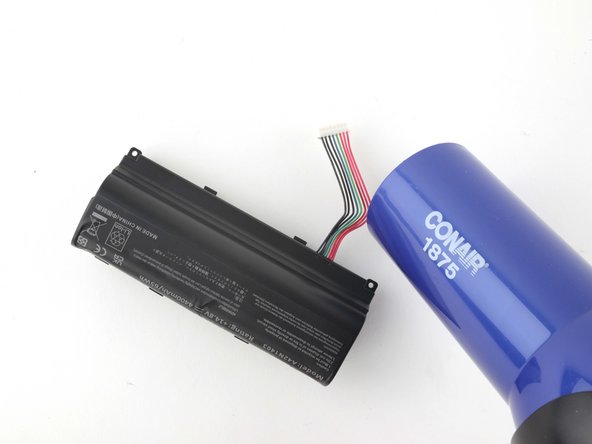
    • Position your hair dryer in a way that directs heat towards the connector but away from the battery.

    • Do not apply heat to the battery pack! Ensure that the hot air is always directed away from the battery.

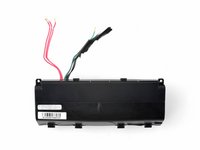
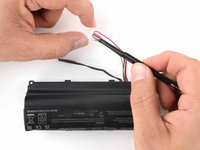
  15. Asus ROG Ally Battery Mod, Remove the black wires: step 15, image 1 of 3 Asus ROG Ally Battery Mod, Remove the black wires: step 15, image 2 of 3 Asus ROG Ally Battery Mod, Remove the black wires: step 15, image 3 of 3
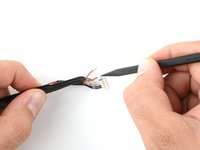
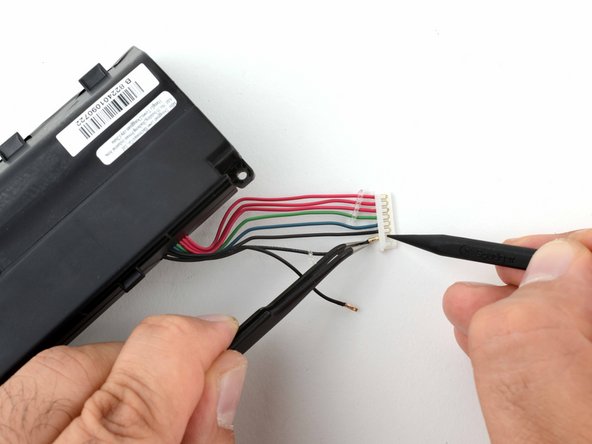
    • Pry away the glue at the base of the connector.

    • It is possible to remove the glue without applying heat but the risk of damage to the cables increases.

    • Use a spudger to lift the plastic tabs on the connector and remove the black wires.

    • Tape the three black wires together.

    • Make sure the ends of the red wires don't touch any of the other wires. This could damage the battery circuitry.

  16. Asus ROG Ally Battery Mod, Replace connector heads: step 16, image 1 of 3 Asus ROG Ally Battery Mod, Replace connector heads: step 16, image 2 of 3 Asus ROG Ally Battery Mod, Replace connector heads: step 16, image 3 of 3
    Tool used on this step:
    E6000 Adhesive Glue
    $2.99
    Buy
    • Remove the remaining wires and discard the connector.

    • Retrieve the connector head you salvaged from the ROG Ally and place it with the row of small white tabs facing up.

    • Attach the red wires first and glue them in place with an adhesive of your choice (I used this).

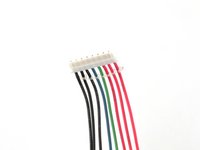
    • Attach the orange/green and blue wires, followed by the three black wires as shown in the picture. Glue them all in place.

    • Make sure you place the wires in the correct order otherwise your ROG Ally won't power on! Starting with the first red wire in the far right socket, proceed to insert each wire in the same order they extrude from the battery.

  17. Asus ROG Ally Battery Mod, Prepare your 3D printed backplate: step 17, image 1 of 3 Asus ROG Ally Battery Mod, Prepare your 3D printed backplate: step 17, image 2 of 3 Asus ROG Ally Battery Mod, Prepare your 3D printed backplate: step 17, image 3 of 3
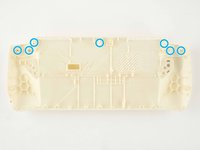
    • It's a good idea to run pilot holes through any screw pillars before proceeding further.

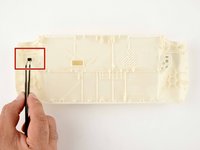
    • Make sure to grab the light blocker from the original back cover and place it in the new shell.

    • This piece of foam covers a light sensor on the ROG Ally mainboard. If the sensor is not covered, the system will not boot.

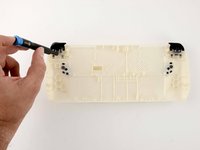
    • Transfer the paddles and triggers from the original cover over to the newly printed back plate.

  18. Asus ROG Ally Battery Mod, Install a new battery: step 18, image 1 of 3 Asus ROG Ally Battery Mod, Install a new battery: step 18, image 2 of 3 Asus ROG Ally Battery Mod, Install a new battery: step 18, image 3 of 3
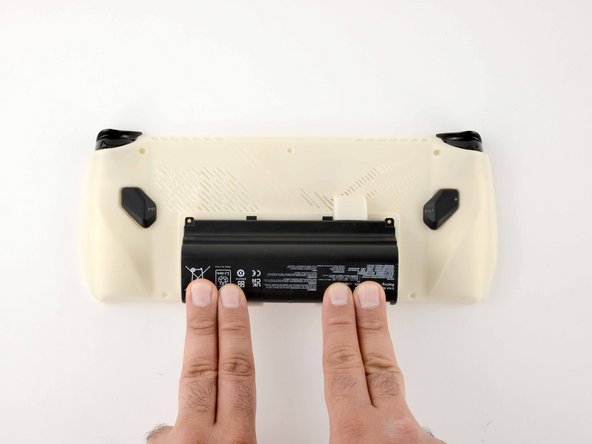
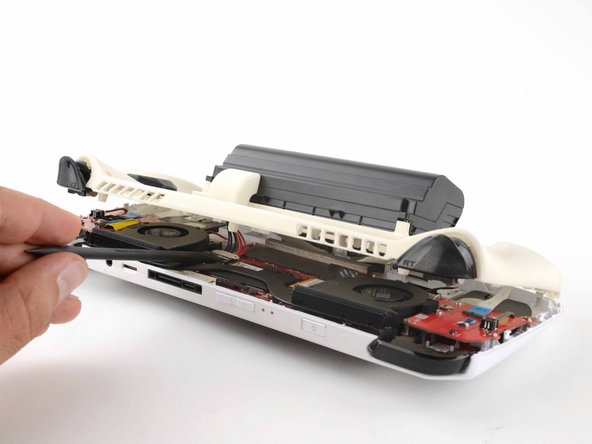
    • Pass the battery cable through the opening in the new back plate.

    • Turn the connector head 180 degrees so the small white tabs are facing towards the mainboard.

    • Ensure the battery is correctly positioned and firmly press down on the base of the battery pack until you hear a click.

    • Check to ensure both case clips are engaged against the battery clips.

    • With the back plate loose, you need to carefully connect the battery connector and slide the metal bracket into its locked position.

    • This step is a bit fiddly but take your time and you'll get it to work.

  19. Asus ROG Ally Battery Mod, Boot from mains: step 19, image 1 of 3 Asus ROG Ally Battery Mod, Boot from mains: step 19, image 2 of 3 Asus ROG Ally Battery Mod, Boot from mains: step 19, image 3 of 3
    • You can replace five of the original six screws used to secure the backplate.

    • Use two of the screws from the original battery pack to further secure the new battery.

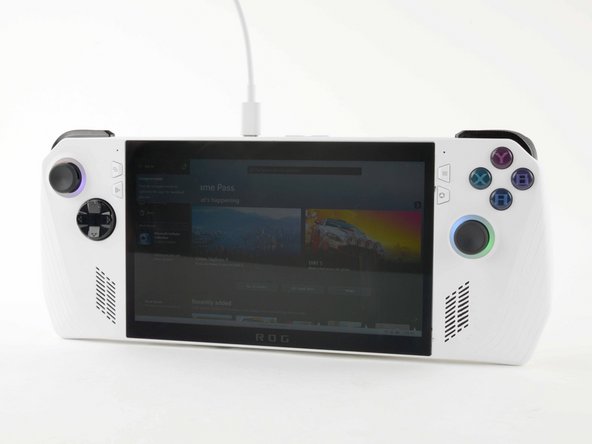
    • Plug in your ROG Ally to its power supply.

    • The ROG Ally will not power on after the battery has been disconnected without mains power.

    • Your ROG Ally should now be able to run off the new battery pack.

  20. Asus ROG Ally Battery Mod, Check battery stats: step 20, image 1 of 2 Asus ROG Ally Battery Mod, Check battery stats: step 20, image 2 of 2
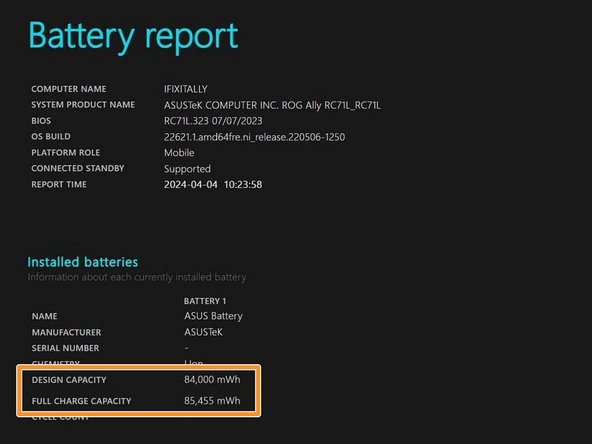
    • You can check the status of your new battery by opening PowerShell in Admin mode and typing: powercfg /batteryreport /output "C:\report.html". The report will be saved to your C: drive with the given filename.

    • OEM battery pack capacity.

    • Upgraded battery pack capacity.

    • Game on.

  21. Asus ROG Ally Battery Mod, Misc & Troubleshooting: step 21, image 1 of 1
    • For the terminally curious, this is a shot of the BMS board.

    • If your ROG Ally doesn't power on, check:

    • Did you install the light blocker on your new back cover? Did you try taping the light sensor over with black tape?

    • Did you plug your Ally into mains using the original charging brick?

    • Double check to ensure your cable is properly seated on the mainboard. The margins are tight and it can pop out easily.

    • Double check that the pins on the connector head are inserted fully. You should be able to see the copper tabs through the white plastic.

    • Check your wiring. With the connector heads little white tabs facing up, you should have 3 red wires on the right and 3 black wires on the left. When connected to the mainboard, you should have 3 red wires on the left and 3 black wires on the right.

Conclusion

To reassemble your device, follow these instructions in reverse order.

2 other people completed this guide.

Shahram Mokhtari

Member since: 02/16/21

2,731 Reputation

12 Guides authored

Team

iFixit Member of iFixit

Staff

135 Members

17,125 Guides authored

8 Comments

Ich würde gerne diese Mod machen, aber ich kann die Batterie nicht nach Deutschland bestellen. Gibt es da eine Möglichkeit?

Prezly - Reply

The batteries should be available from third party sellers on other platforms. Our EU store doesn't currently stock this battery.

Shahram Mokhtari -

I'm the creator of the original battery mod. It's so cool to see ifitit do their own spin off!

I'll need to add this to allymods.com

Tekgnome - Reply

Glad you liked it! Feel free to refine it further, there's always room for improvement :)

Shahram Mokhtari -

And how much battery time did you actually won with this mod?

Donjon Hawadoo L - Reply

Add Comment

View Statistics:

Past 24 Hours: 55

Past 7 Days: 722

Past 30 Days: 7,942

All Time: 7,947