Asus Q325U SSD Replacement

What you need

  1. Asus Q325U SSD Replacement, Back Panel: step 1, image 1 of 3 Asus Q325U SSD Replacement, Back Panel: step 1, image 2 of 3 Asus Q325U SSD Replacement, Back Panel: step 1, image 3 of 3
    • Remove the ten 5mm screws using a T5 Torx screwdriver.

  2. Asus Q325U SSD Replacement: step 2, image 1 of 3 Asus Q325U SSD Replacement: step 2, image 2 of 3 Asus Q325U SSD Replacement: step 2, image 3 of 3
    • Lift the back panel upward using the suction tool.

  3. Asus Q325U SSD Replacement, SSD: step 3, image 1 of 2 Asus Q325U SSD Replacement, SSD: step 3, image 2 of 2
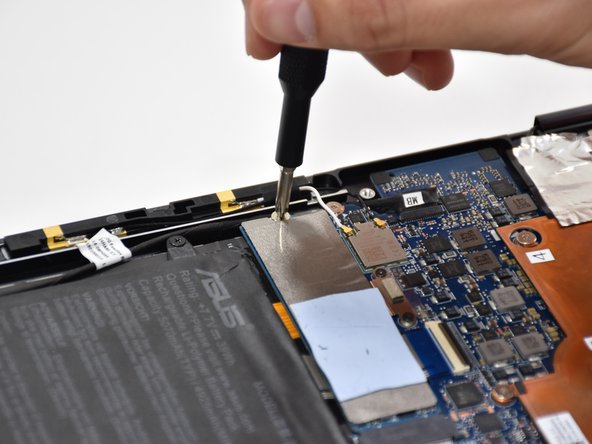
    • Remove one 2mm screw on top of the SSD using a Phillips #1 screwdriver.

  4. Asus Q325U SSD Replacement: step 4, image 1 of 2 Asus Q325U SSD Replacement: step 4, image 2 of 2
    • Carefully slide and lift the SSD to remove it.

Conclusion

To reassemble your device, follow these instructions in reverse order.

2 other people completed this guide.

Jacob Tang

Member since: 01/24/19

401 Reputation

3 Guides authored

Team

Cal Poly, Team S19-G1, White Winter 2019 Member of Cal Poly, Team S19-G1, White Winter 2019

CPSU-WHITE-W19S19G1

3 Members

6 Guides authored

0 Comments

Add Comment

View Statistics:

Past 24 Hours: 0

Past 7 Days: 2

Past 30 Days: 4

All Time: 1,009