
Asus K55VD Fan Replacement

What you need

  1. Careful: step 1 is sourced from a guide that's marked as in-progress.

    • Power off the device completely

    • Flip the device over to its back cover.

    • Use the switches to release the battery from its adapter.

  2. Asus K55VD Fan Replacement, Hard Drive: step 2, image 1 of 2 Asus K55VD Fan Replacement, Hard Drive: step 2, image 2 of 2
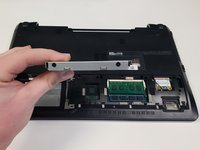
    • Use a Phillips #0 screwdriver to remove the two 1.5 mm screws in the smaller portion of the bottom cover.

    • After removing the screws, remove the smaller cover.

  3. Asus K55VD Fan Replacement: step 3, image 1 of 1
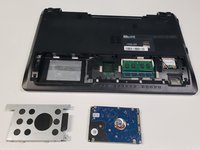
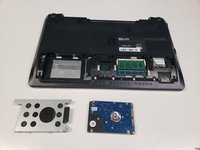
    • Use a Phillips #0 screwdriver to remove the 1.5 mm screws that hold down the hard drive.

  4. Asus K55VD Fan Replacement: step 4, image 1 of 2 Asus K55VD Fan Replacement: step 4, image 2 of 2
    • Remove the hard drive from the slot.

    • Remove the hard drive from its shell.

  5. Asus K55VD Fan Replacement, Fan: step 5, image 1 of 3 Asus K55VD Fan Replacement, Fan: step 5, image 2 of 3 Asus K55VD Fan Replacement, Fan: step 5, image 3 of 3
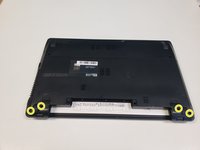
    • Remove all 12 screws from the bottom cover with a Phillips #0 screwdriver.

    • The four screws nearest the display hinges are longer.

    • The single screw in the middle of the bottom cover is shorter than the rest.

  6. Asus K55VD Fan Replacement: step 6, image 1 of 3 Asus K55VD Fan Replacement: step 6, image 2 of 3 Asus K55VD Fan Replacement: step 6, image 3 of 3
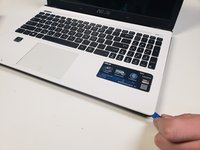
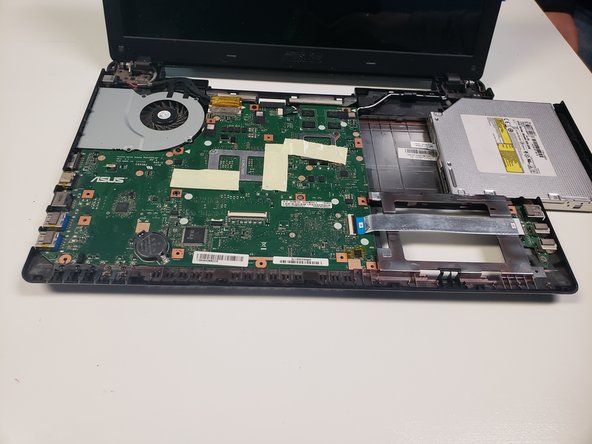
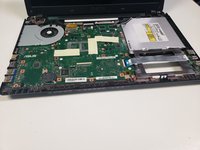
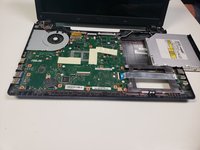
    • After the screws are removed, Orientate the device so that the keyboard is shown.

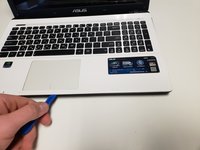
    • Using the Plastic Pry tool separate the keyboard panel from the rest of the laptop.

  7. Asus K55VD Fan Replacement: step 7, image 1 of 2 Asus K55VD Fan Replacement: step 7, image 2 of 2
    • Before the keyboard panel can be fully removed, detach the three cords that connect to the keyboard.

    • Lift up on the black tab and the cord will fall out.

  8. Asus K55VD Fan Replacement: step 8, image 1 of 3 Asus K55VD Fan Replacement: step 8, image 2 of 3 Asus K55VD Fan Replacement: step 8, image 3 of 3
    • Remove the optical dive by sliding it outward.

  9. Asus K55VD Fan Replacement: step 9, image 1 of 3 Asus K55VD Fan Replacement: step 9, image 2 of 3 Asus K55VD Fan Replacement: step 9, image 3 of 3
    • Now remove the two wires shown by pulling away from the motherboard.

  10. Asus K55VD Fan Replacement: step 10, image 1 of 3 Asus K55VD Fan Replacement: step 10, image 2 of 3 Asus K55VD Fan Replacement: step 10, image 3 of 3
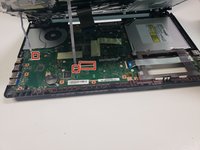
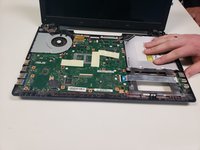
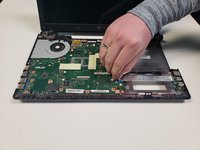
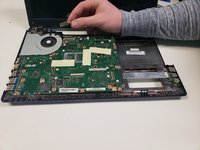
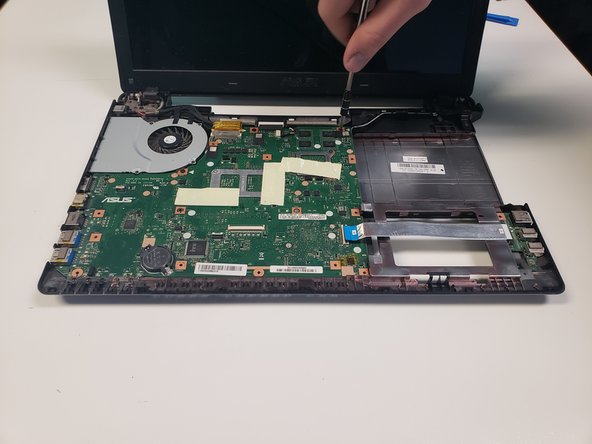
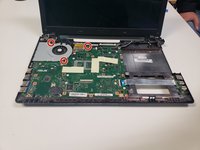
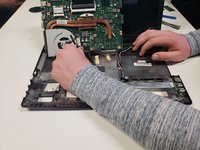
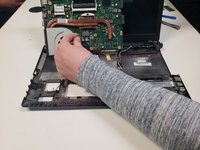
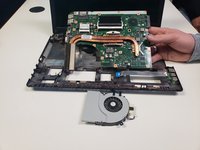
    • Remove the three screws holding the motherboard and fan in place using the Phillips #0 bit.

    • The top left screw shown in the first picture is easily broken

  11. Asus K55VD Fan Replacement: step 11, image 1 of 3 Asus K55VD Fan Replacement: step 11, image 2 of 3 Asus K55VD Fan Replacement: step 11, image 3 of 3
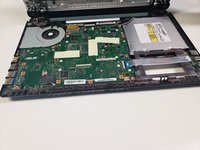
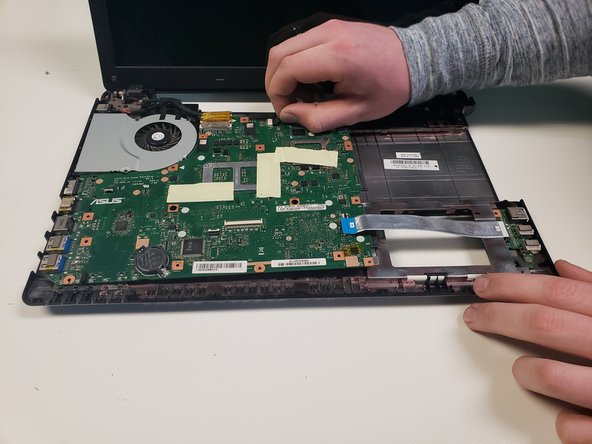
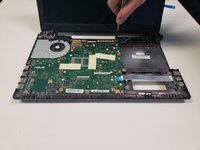
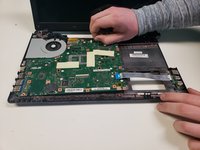
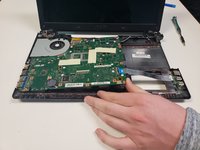
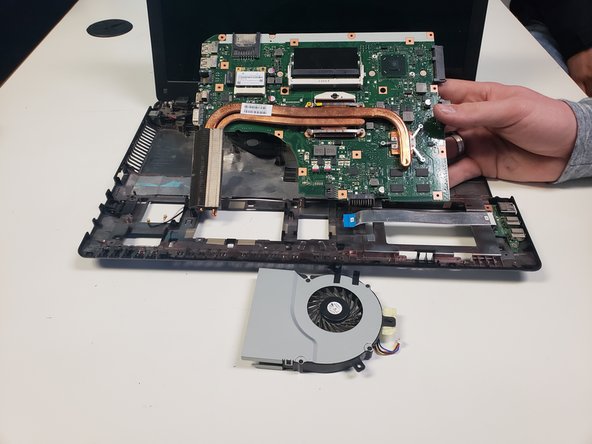
    • lift up on the entire motherboard and unplug the bottom wires connected to the fan.

  12. Asus K55VD Fan Replacement: step 12, image 1 of 2 Asus K55VD Fan Replacement: step 12, image 2 of 2
    • After all cords have been removed, the fan can be removed as well.

Conclusion

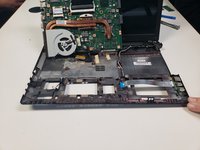
To reassemble your device, follow these instructions in reverse order.

7 other people completed this guide.

2 Comments

At step 5, you should also unscrew the bottom silver screw and unplug the wifi antennas.

https://i.imgur.com/vRrlRkv.png

Daniel - Reply

At step 3, the bottom left screw does not hold down the drive bay. Unsrew that screw in step 5.

Daniel - Reply

Add Comment

View Statistics:

Past 24 Hours: 0

Past 7 Days: 2

Past 30 Days: 37

All Time: 2,670