Introduction
Is your optical drive no longer reading discs? If so, here is the guide to fix the problem by simply removing the disc, buying a new one and installing it. All you need is the standard Phillips #0 screwdriver in order to remove the screws and plastic opening tools to remove covers.
What you need
-
-
-
Slide the left slider to the left so that it locks in place.
-
Slide the right slider to the right while pushing the battery away from you. The battery should disconnect.
-
-
-
-
-
Turn the device off and remove any power cords. Dissassembling the device while it is under power may result in electric shock and potential damage to the device.
-
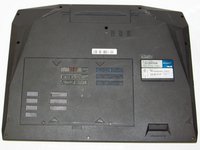
Rotate the device so the battery port is facing away.
-
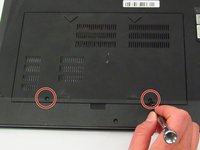
Remove two 5.5 mm Phillips #0 screws on the back panel.
-
-
-
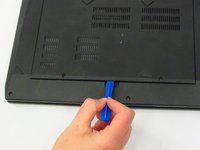
Insert the opener tool into the small groove at the edge of the panel.
-
Using opener tool, gently pry the back panel upward until it lifts free from the device.
-
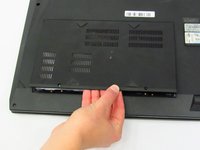
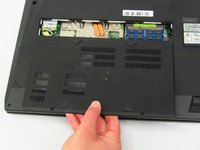
Gently lift the panel off with your fingers.
-
-
-
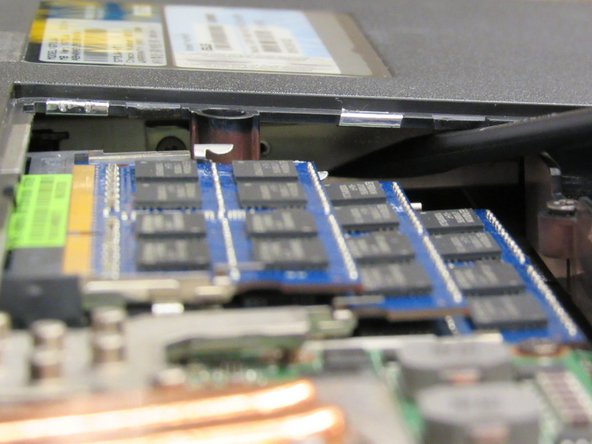
Insert the plastic opening tool in the gap between the motherboard and the back panel, directly to the right of the RAM cards.
-
Gently push the optical drive outwards. This should require very little pressure.
-
Grab the loose optical drive with your fingers and pull it free.
-
-


To reassemble your device, follow these instructions in reverse order.
Cancel: I did not complete this guide.
One other person completed this guide.
Team

Oregon Institute of Technology, Team S1-G3, Lancaster Fall 2018 Member of Oregon Institute of Technology, Team S1-G3, Lancaster Fall 2018
OIT-LANCASTER-F18S1G3
3 Members
10 Guides authored