
Asus G73JH-RBBX05 Fan Replacement

Trevor Sprosty and 3 other contributors
Last updated on Oct 12, 2017
Views: 2.1K
View statistics:
- Past 24 Hours:
- 3
- Past 7 Days:
- 19
- Past 30 Days:
- 90
- All Time:
- 2,102
Comments: 1
1 guide comment.
Go to guide commentsCompleted: 3 4
3 people have marked this guide "completed." Will you be next?
4 people have marked this guide "completed." Including you — great job!
Favorites: 1 2
1 person has favorited (and subscribed to) this guide. Will you be next?
2 people have favorited (and subscribed to) this guide — including you!
Introduction
Go to step 1 ↓Use this guide will help you access the fans in order to clean or replace them.
Tools needed: size 0 Phillips head screwdriver, opening tool, metal spudger
What you need


-
-
-
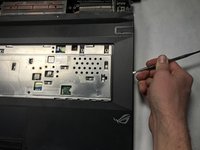
Locate the 5 clips located at the top of the keyboard. Insert a metal spudger into the clip openings on the keyboard to remove the keyboard.
 Ask FixBot
-
-
-
Before fully removing the keyboard, remove the back lighting cable and keyboard data strip.
-
In order to remove these cables, push forward the black retention clips and pull out the cables.
-
-
-
-
-
Remove the 4mm screws located under the keyboard with the PH0 screwdriver.
-
-
-
-
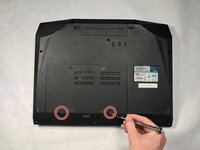
Using a PH0 screwdriver, remove the two, 4mm screws .
-
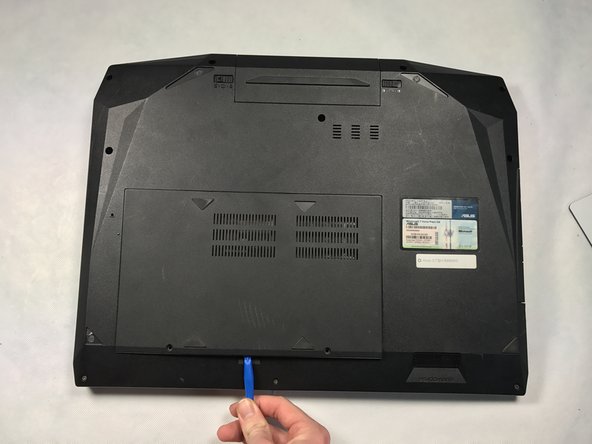
Using either your finger or a plastic opening tool, remove the back panel.
-
-
-
Using the PH0 screwdriver, remove the nine, 4mm screws on the bottom of the laptop.
-
-
-
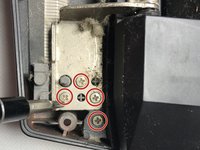
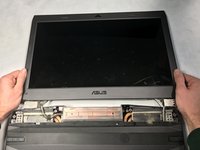
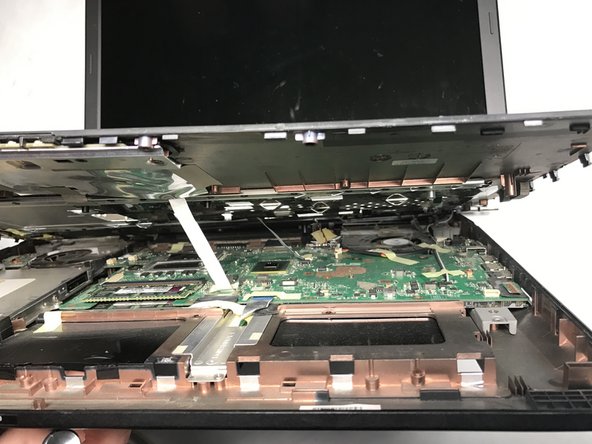
Remove the four, 4mm screws located on both of the hinges using the PH0 screwdriver and flip open the device.
-
-







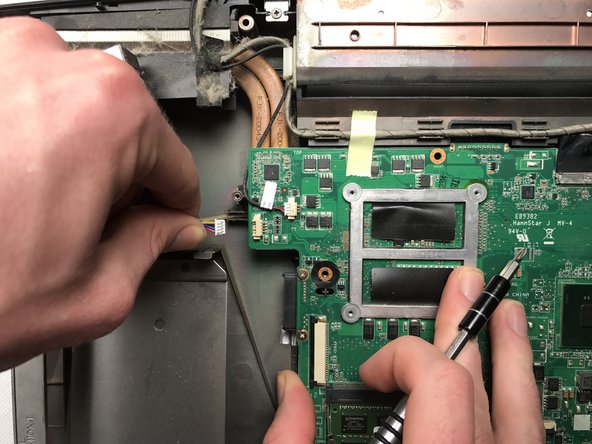
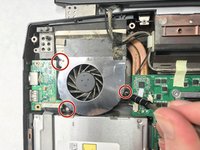
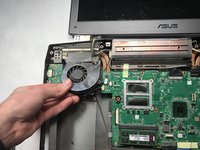
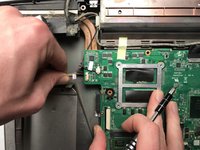
To reassemble your device, follow these instructions in reverse order.
Cancel: I did not complete this guide.
3 other people completed this guide.

Team

Cal Poly, Team 22-11, Maness Winter 2017 Member of Cal Poly, Team 22-11, Maness Winter 2017
CPSU-MANESS-W17S22G11
3 Members
60 Guides authored
1 Guide Comment
Some steps missing, regarding screws to remove: 1 screw that holds optical drive; once that is removed, 2 screws in the drive compartment; 2 screws in the battery compartment; 3 screws from the bottom of the motherboard.
