
Asus F554LA-WS52 Disc Drive

Aaron Ratliff and
Last updated on Jan 9, 2019
Views: 1.2K
View statistics:
- Past 24 Hours:
- 7
- Past 7 Days:
- 22
- Past 30 Days:
- 62
- All Time:
- 1,200
Comments: 1
1 comment on steps.
Completed: 3 4
3 people have marked this guide "completed." Will you be next?
4 people have marked this guide "completed." Including you — great job!
Favorites: 0 1
No one has favorited (and subscribed to) this guide. Will you be the first?
1 person has favorited (and subscribed to) this guide — and that's you!
Introduction
Go to step 1 ↓Many of the Asus F554LA-WS52 notebook's components take several steps to remove and replace. This sequential guide shows the necessary steps. For this guide, you will need a plastic opening tool and a Phillips #00 screwdriver head.
What you need
Tools


-
-
-
Flip the notebook over and remove the 10 screws from the back plate with a #0 Phillips head screwdriver.
 Ask FixBot
-
-
-
With a plastic opening tool, gently lift and remove the back cover to expose the internal components.
-
-
-
-
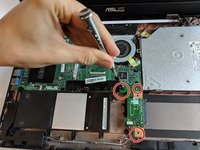
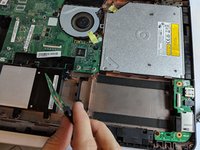
Unscrew the three 5.7 mm hard drive-motherboard connection screws with a #0 Phillips head screwdriver.
-
Remove the small rectangular hard drive-motherboard connection board.
-
-
-
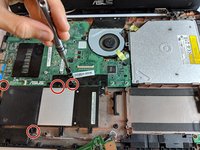
Unscrew the four 5.7 mm battery screws with a #0 Phillips head screwdriver.
-
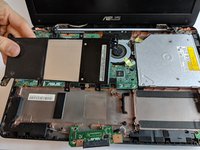
Remove the battery.
-
-
-
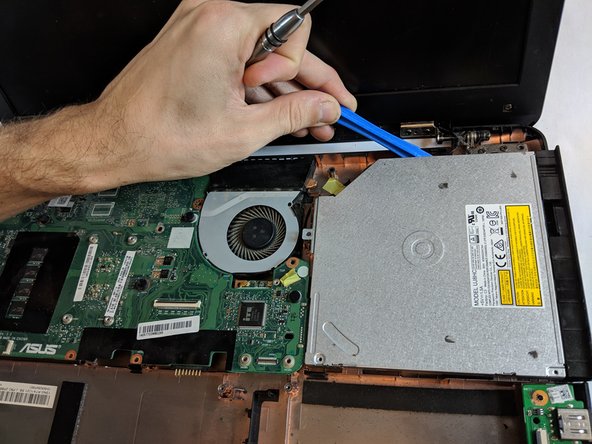
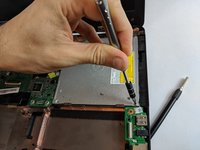
Unscrew the two 2.7 mm and one 5.7 mm CD drive screws with the Phillips #00 screwdriver.
-
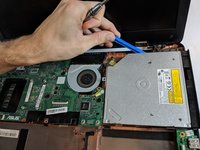
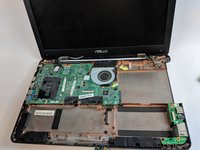
With the plastic opening tool, gently pry the drive out from the metal brackets that hold it in place.
-
-






To reassemble your device, follow these instructions in reverse order.
Cancel: I did not complete this guide.
3 other people completed this guide.
Team

USF Tampa, Team S1-G2, Leahy Fall 2018 Member of USF Tampa, Team S1-G2, Leahy Fall 2018
USFT-LEAHY-F18S1G2
4 Members
72 Guides authored
