Introduction
RAM acts as temporary storage on your device that will occasionally fault or run out of memory. If you need to replace or install new RAM on your Asus Eee PC 900, follow the directions below. Before beginning, make sure the device is powered off and is not connected to any power source.
What you need
-
-
Slide the battery's locking tabs from the locked position to unlocked positions.
 Ask FixBot
-
-
-
Slide the battery out while holding the left locking tab in the unlocked position.
-
-
Tool used on this step:Tweezers$4.99
-
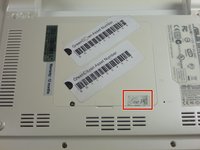
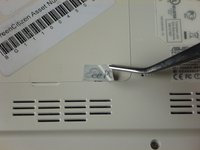
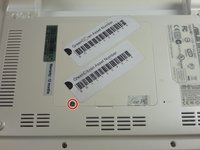
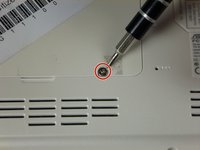
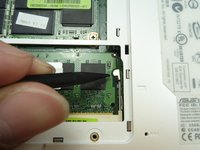
Remove the sticker from the RAM compartment using a pair of tweezers.
-
-
-
-
Open up the cover from the bottom by carefully prying it open with a plastic opening tool.
-
-
-
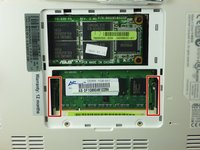
Use a spudger to push the top of the pin on the right towards the right (so it isn't holding the RAM chip).
-
Do the same for the left pin. Push the top of the pin towards the left.
-


To reassemble your device, follow these instructions in reverse order.
Cancel: I did not complete this guide.
5 other people completed this guide.
Team

Cal Poly, Team 3-27, Amido Winter 2012 Member of Cal Poly, Team 3-27, Amido Winter 2012
CPSU-AMIDO-W12S3G27
4 Members
16 Guides authored