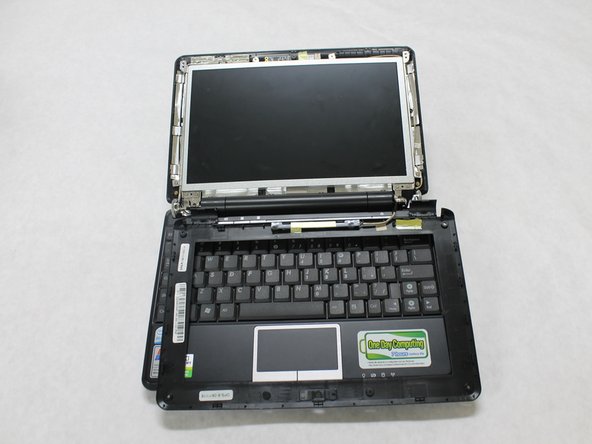
Asus Eee PC 1000HA Screen Replacement

What you need

  1. Asus Eee PC 1000HA Screen Replacement, Screen: step 1, image 1 of 2 Asus Eee PC 1000HA Screen Replacement, Screen: step 1, image 2 of 2
    • Remove the battery before working on your device. See this LINK for a step-by-step guide.

    • Use the metal tweezers to remove all of the rubber pads from the face of the lap top.

    • Removing the rubber pads will reveal 6 screws.

  2. Asus Eee PC 1000HA Screen Replacement: step 2, image 1 of 1
    • Use a #00 Phillips Head screw driver to remove the 4.8mm screws.

    • There will be 6 screws total.

  3. Asus Eee PC 1000HA Screen Replacement: step 3, image 1 of 2 Asus Eee PC 1000HA Screen Replacement: step 3, image 2 of 2
    • Use the metal spudger to pry off the outside frame of the screen.

  4. Asus Eee PC 1000HA Screen Replacement: step 4, image 1 of 1
    • Use the #00 Phillips Head screw driver to remove the 5.44mm screws.

    • There are 6 screws total.

  5. Asus Eee PC 1000HA Screen Replacement: step 5, image 1 of 3 Asus Eee PC 1000HA Screen Replacement: step 5, image 2 of 3 Asus Eee PC 1000HA Screen Replacement: step 5, image 3 of 3
    • Use the metal spudger to gently remove the screen from the laptop.

  6. Asus Eee PC 1000HA Screen Replacement: step 6, image 1 of 3 Asus Eee PC 1000HA Screen Replacement: step 6, image 2 of 3 Asus Eee PC 1000HA Screen Replacement: step 6, image 3 of 3
    • Gently pull the tab that is connecting the laptop to the screen, to fully disconnect the screen from the laptop.

Conclusion

To reassemble your device, follow these instructions in reverse order.

One other person completed this guide.

Ashlee Stickle

Member since: 10/13/15

675 Reputation

5 Guides authored

Team

One Comment

Merci beaucoup ! Great tutorial.

Joffrey Abeilard - Reply

Add Comment

View Statistics:

Past 24 Hours: 1

Past 7 Days: 4

Past 30 Days: 9

All Time: 1,165