
Asus A52F RAM Replacement

Bradley Varnum and 4 other contributors
Last updated on Jul 10, 2017
Views: 1.5K
View statistics:
- Past 24 Hours:
- 4
- Past 7 Days:
- 16
- Past 30 Days:
- 77
- All Time:
- 1,516
Comments: 0
No one has left comments on this guide. Will you be first?
Go to guide commentsCompleted: 3 4
3 people have marked this guide "completed." Will you be next?
4 people have marked this guide "completed." Including you — great job!
Favorites: 0 1
No one has favorited (and subscribed to) this guide. Will you be the first?
1 person has favorited (and subscribed to) this guide — and that's you!
Introduction
Go to step 1 ↓This guide is used to show the steps necessary to remove the RAM in the Asus A52F. This could be used for upgrading your existing RAM with new RAM.
What you need


-
-
-
Place the laptop face down with the battery facing away from you.
-
Locate the two buttons next to the battery.
-
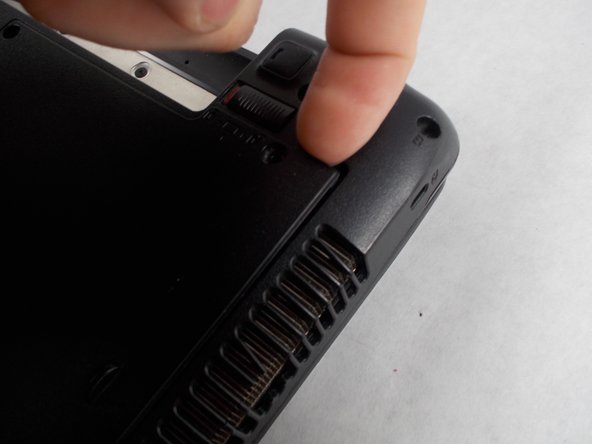
Slide the right slider to the unlocked (red) position.
 Ask FixBot
-
-
-
Hold the left button to the left.
-
Slide the battery with your other hand away from you and it should disconnect.
-
-
-
-
-
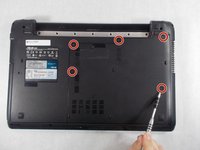
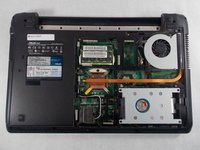
Remove the five Phillips # 0 screws from the back panel.
-
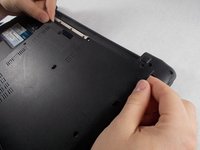
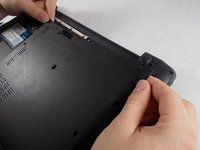
Using your finger or a plastic spudger start to carefully pry up the back planel.
-
-
-
-
-
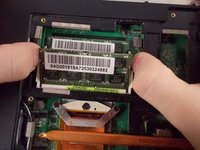
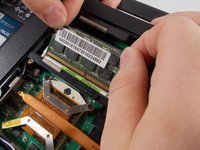
Gently push the metal retaining arms away from the center of the RAM module.
-
-
-
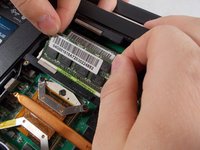
Carefully grab the top edge of the RAM and gently pull it it out at it's angle.
-
-
-
-
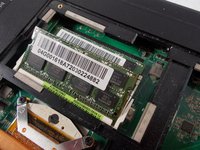
To insert new RAM line up notch in the connector and slide in at a 30° angle.
-
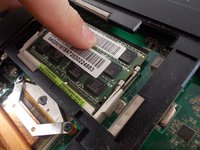
Push straight down until the metal clips on both sides click into place
-
-









To reassemble your device, follow these instructions in reverse order.
Cancel: I did not complete this guide.
3 other people completed this guide.

Team

UMass Dartmouth, Team S5-G1, Botvin Spring 2017 Member of UMass Dartmouth, Team S5-G1, Botvin Spring 2017
UMASSD-BOTVIN-S17S5G1
4 Members
84 Guides authored
