Introduction
This guide if for the purpose of demonstrating how to replace an Asus A52F hard drive. Like any laptop, the hard drive is a vulnerable part and over time can become damaged or corrupted, which can lead to data loss or even a complete system crash. There are no safety hazards for this fix, and the difficulty level is moderate. It's an easy, fast fix with no specific experience or knowledge aside from screws.
What you need
-
-
-
Place the laptop face down with the battery facing away from you.
-
Locate the two buttons next to the battery.
-
Slide the right slider to the unlocked (red) position.
 Ask FixBot
-
-
-
Hold the left button to the left.
-
Slide the battery with your other hand away from you and it should disconnect.
-
-
-
-
-
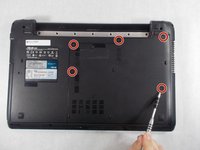
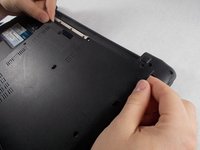
Remove the five Phillips # 0 screws from the back panel.
-
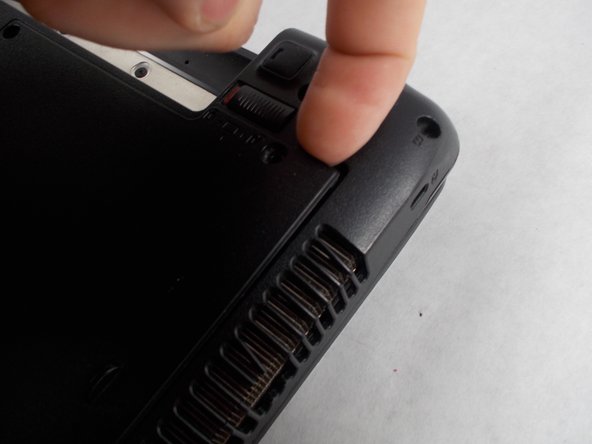
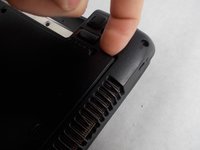
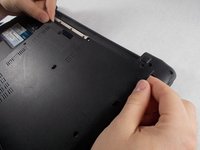
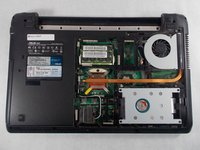
Using your finger or a plastic spudger start to carefully pry up the back planel.
-
-
-
-
-
-
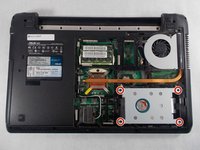
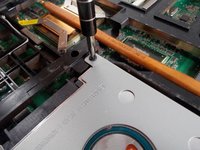
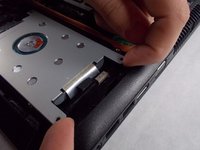
Remove the four Phillips #0 screws holding the hard drive case to the laptop.
-
Lift the hard drive upwards by the two arms in order to remove the hard drive case from the laptop.
-
-
-
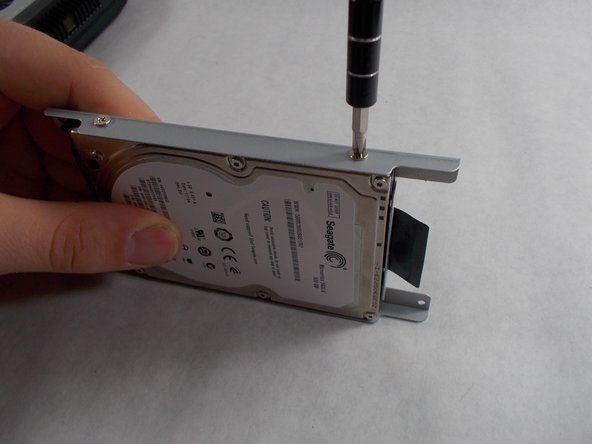
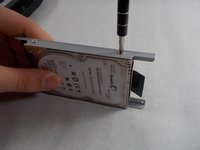
Using a Phillips #0 screwdriver, remove the cage screws on the side of the hard drive.
-
-
-
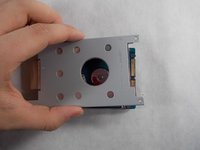
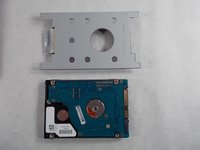
Next, slide the case off of the broken hard drive.
-
Slide the working hard drive into the case and screw it on.
-
-










To reassemble your device, follow these instructions in reverse order.
Cancel: I did not complete this guide.
3 other people completed this guide.

Team

UMass Dartmouth, Team S5-G1, Botvin Spring 2017 Member of UMass Dartmouth, Team S5-G1, Botvin Spring 2017
UMASSD-BOTVIN-S17S5G1
4 Members
84 Guides authored
