Free Shipping on Domestic Orders $75+

Astro A10 Gen2 Tighten Microphone

What you need

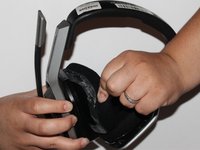
    1. Astro A10 Gen2 Tighten Microphone, Cushion: step 1, image 1 of 1
      • Place one hand on the hard side of the headset ear portion and on the cushion.

      • Lift the small portion on the edge of the cushion.

      Ask FixBot

      Add Comment

    2. Astro A10 Gen2 Tighten Microphone: step 2, image 1 of 1
      • Slide the metal spudger underneath the lift part of the ear cushion.

      • Pull the ear cushion while wedging the spudge around the edge of the ear cushion.

      Ask FixBot

      Add Comment

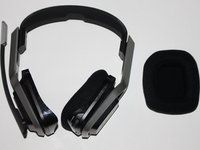
    3. Astro A10 Gen2 Tighten Microphone: step 3, image 1 of 2 Astro A10 Gen2 Tighten Microphone: step 3, image 2 of 2
      • Remove the ear cushion from the headset.

      Ask FixBot

      Add Comment

    1. Astro A10 Gen2 Tighten Microphone, Microphone: step 4, image 1 of 1
      • Place one hand on the back of the speaker.

      Ask FixBot

      Add Comment

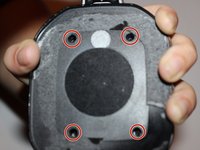
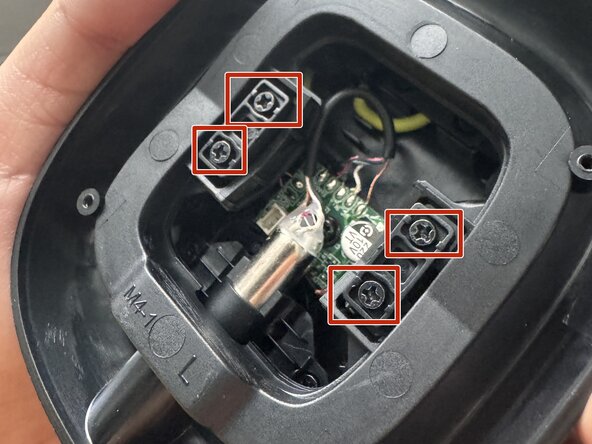
    2. Astro A10 Gen2 Tighten Microphone: step 5, image 1 of 2 Astro A10 Gen2 Tighten Microphone: step 5, image 2 of 2
      • Remove the four 7mm screws with a Phillips #1 screwdriver.

      • You may want to use a 60mm screwdriver extension to reach the screws inside of the headset.

      Ask FixBot

      Add Comment

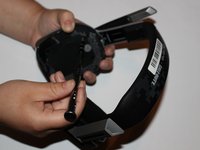
    3. Astro A10 Gen2 Tighten Microphone: step 6, image 1 of 2 Astro A10 Gen2 Tighten Microphone: step 6, image 2 of 2
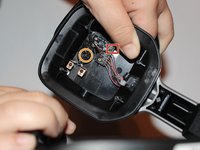
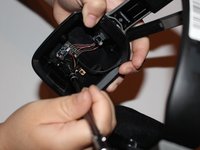
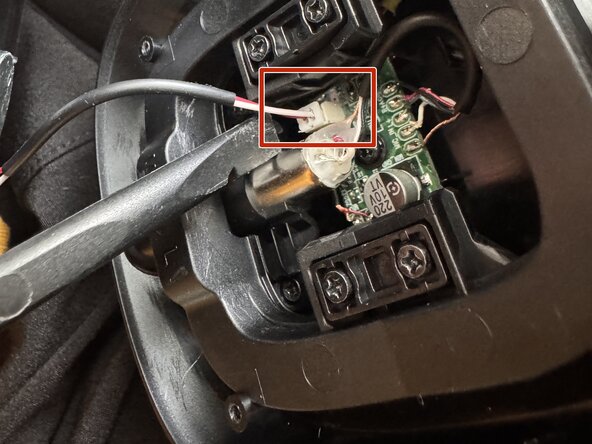
      • Lift the speaker area.

      • Disconnect the wires that connect the microphone.

      • Remove the 7mm screw with a Phillips #1 screwdriver.

      Ask FixBot

      Add Comment

    1. Astro A10 Gen2 Tighten Microphone, Lift Ear Cushion: step 7, image 1 of 2 Astro A10 Gen2 Tighten Microphone, Lift Ear Cushion: step 7, image 2 of 2
      • Gently lift the ear cup around the edges of the headphone, starting with one point and making your way around until all the clear edges of the cushion are pulled out.

      Ask FixBot

      Add Comment

    2. Astro A10 Gen2 Tighten Microphone, Open Housing: step 8, image 1 of 2 Astro A10 Gen2 Tighten Microphone, Open Housing: step 8, image 2 of 2
      • Using the Torx screwdriver, remove the 4 screws holding the housing together.

      Ask FixBot

      Add Comment

    3. Astro A10 Gen2 Tighten Microphone, Disconnect Battery Wire: step 9, image 1 of 1
      • Using a plastic pry tool, disconnect the battery (it may take some wiggling from each side).

      • Be careful with hitting any other wires or pieces.

      Ask FixBot

      Add Comment

    4. Astro A10 Gen2 Tighten Microphone, Unscrew Plastic Frame: step 10, image 1 of 2 Astro A10 Gen2 Tighten Microphone, Unscrew Plastic Frame: step 10, image 2 of 2
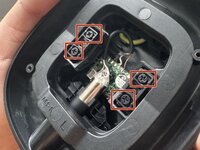
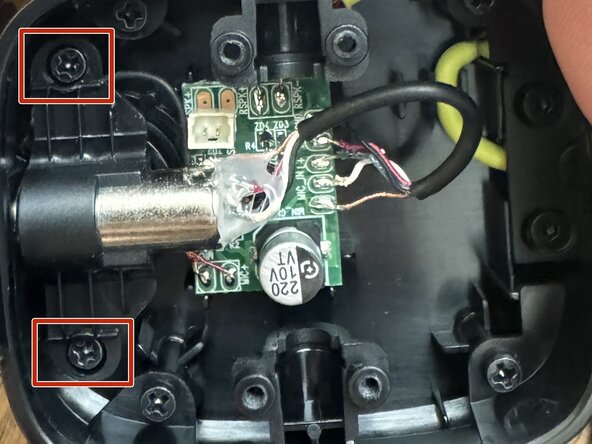
      • Using the Phillips screwdriver, unscrew the 4 screws holding the plastic piece and the frame together.

      Ask FixBot

      Add Comment

    5. Astro A10 Gen2 Tighten Microphone, Plastic Frame Pieces: step 11, image 1 of 3 Astro A10 Gen2 Tighten Microphone, Plastic Frame Pieces: step 11, image 2 of 3 Astro A10 Gen2 Tighten Microphone, Plastic Frame Pieces: step 11, image 3 of 3
      • Take care to not lose the plastic pieces the screws were attached to, as well as take note of the direction they were facing.

      • Lift the frame away from the headphone housing.

      Ask FixBot

      Add Comment

    6. Astro A10 Gen2 Tighten Microphone, Aux Port: step 12, image 1 of 3 Astro A10 Gen2 Tighten Microphone, Aux Port: step 12, image 2 of 3 Astro A10 Gen2 Tighten Microphone, Aux Port: step 12, image 3 of 3
      • Unscrew the 2 Phillips screws holding the aux port.

      • Gently wiggle the port out of the enclosure.

      Ask FixBot

      Add Comment

    7. Astro A10 Gen2 Tighten Microphone, Tighten Microphone: step 13, image 1 of 2 Astro A10 Gen2 Tighten Microphone, Tighten Microphone: step 13, image 2 of 2
      • Ensure the microphone is flush against the outside of the housing.

      • Screw the microphone back in using the Phillips screw.

      • My wires were still intact and I still had the screw, so that's all I needed to do. To put everything back together, just go in reverse.

      Ask FixBot

      Add Comment

Conclusion

To reassemble your device, follow these instructions in reverse order.

Cancel: I did not complete this guide.

C.J. Tran

Member since: 07/01/26

145 Reputation

1 Guide authored

0 Guide Comments

Add Comment

View Statistics:

Past 24 Hours: 6

Past 7 Days: 18

Past 30 Days: 59

All Time: 89