Arduino Leonardo Bootloader Replacement

What you need

  1. Arduino Leonardo Bootloader Replacement, Bootloader: step 1, image 1 of 1
    • Make your way to the Arduino downloads page at https://www.arduino.cc/en/Main/Software.

    • Download the Arduino IDE that matches your operating system.

    • Follow the installation process for the application and run it.

  2. Arduino Leonardo Bootloader Replacement: step 2, image 1 of 3 Arduino Leonardo Bootloader Replacement: step 2, image 2 of 3 Arduino Leonardo Bootloader Replacement: step 2, image 3 of 3
    • Grab your USB Type-A to Type-B cable.

    • Plug the Type-B end of the cable into your Arduino UNO.

    • Insert the Type-A end into the device with the Arduino IDE software installed.

  3. Arduino Leonardo Bootloader Replacement: step 3, image 1 of 2 Arduino Leonardo Bootloader Replacement: step 3, image 2 of 2
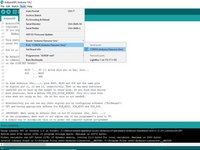
    • Open up the ArduinoISP source code by going to: File->Examples->ArduinoISP ->ArduinoISP from the toolbar.

    • A new window will open up with the ArduinoISP source code.

  4. Arduino Leonardo Bootloader Replacement: step 4, image 1 of 3 Arduino Leonardo Bootloader Replacement: step 4, image 2 of 3 Arduino Leonardo Bootloader Replacement: step 4, image 3 of 3
    • Select the proper port that your Arduino Uno is connected to by selecting: Tools->Port, and then the COM port labeled with "Arduino/Genuino Uno".

    • To upload the ArduinoISP source code to the Arduino Uno, click on the circle with an arrow in the top left corner of the Arduino IDE.

    • As soon as the code is done uploading, unplug the USB cable from your computer.

  5. Arduino Leonardo Bootloader Replacement: step 5, image 1 of 3 Arduino Leonardo Bootloader Replacement: step 5, image 2 of 3 Arduino Leonardo Bootloader Replacement: step 5, image 3 of 3
    • Insert one of your male to male jumper wires into the 5V pin.

    • Then insert a separate male to male jumper wire into the GND (Ground) pin.

  6. Arduino Leonardo Bootloader Replacement: step 6, image 1 of 2 Arduino Leonardo Bootloader Replacement: step 6, image 2 of 2
    • Insert the last male to male wire into pin 10.

    • Insert one of the male to female wires into pin 11.

  7. Arduino Leonardo Bootloader Replacement: step 7, image 1 of 3 Arduino Leonardo Bootloader Replacement: step 7, image 2 of 3 Arduino Leonardo Bootloader Replacement: step 7, image 3 of 3
    • Insert the 2nd male to female wire into pin 12.

    • Insert the 3rd and last male to female wire into pin 13.

  8. Arduino Leonardo Bootloader Replacement: step 8, image 1 of 2 Arduino Leonardo Bootloader Replacement: step 8, image 2 of 2
    • Take the wire in the 5V pin on the Uno and proceed to link it to 5V pin on the Leonardo.

    • Take the wire in the GND pin from the Uno and proceed to link it to the GND pin on the Leonardo.

  9. Arduino Leonardo Bootloader Replacement: step 9, image 1 of 2 Arduino Leonardo Bootloader Replacement: step 9, image 2 of 2
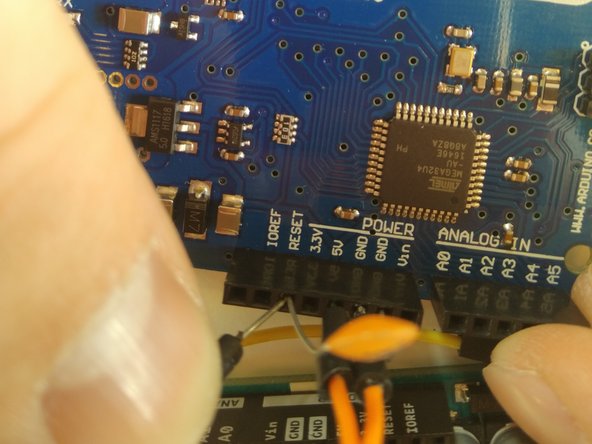
    • Now take the capacitor and plug one end into the GND pin and one end into the RESET pin.

    • Take the wire plugged into pin 10 on the Uno and link it to the RESET pin on the Leonardo

  10. Arduino Leonardo Bootloader Replacement: step 10, image 1 of 3 Arduino Leonardo Bootloader Replacement: step 10, image 2 of 3 Arduino Leonardo Bootloader Replacement: step 10, image 3 of 3
    • On the back of the Leonardo board, there is a set of six pins.

    • Take the wire connected to pin 11 on the Uno and plug it into the middle pin of the pins furthest to the back of the board.

    • Take the wire connected to pin 12 on the Uno and plug it into the first pin on the set of three pins going toward the board (the pin closest to the Leonardo label).

    • Finally, take the wire connected to pin 13 on the Uno and plug it into the middle pin of the inner row of three pins.

  11. Arduino Leonardo Bootloader Replacement: step 11, image 1 of 3 Arduino Leonardo Bootloader Replacement: step 11, image 2 of 3 Arduino Leonardo Bootloader Replacement: step 11, image 3 of 3
    • To upload the bootloader to the Arduino Leonardo, select the Arduino Leonardo board from Tools->Board->Arduino Leonardo.

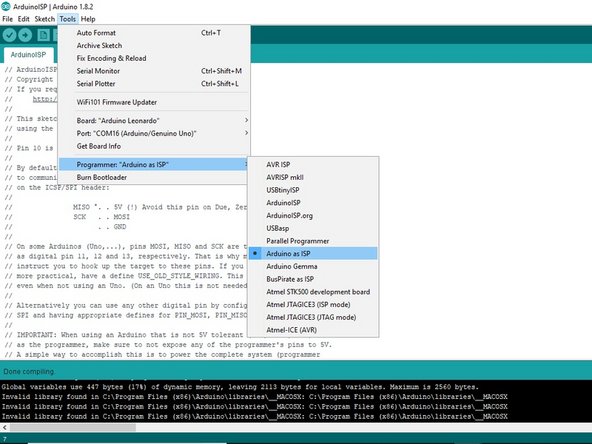
    • Next, choose the Arduino as ISP programmer from Tools->Programmer->Arduino as ISP.

    • Ensure the Arduino Uno is plugged into your computer and that the proper COM port is selected in the Arduino IDE.

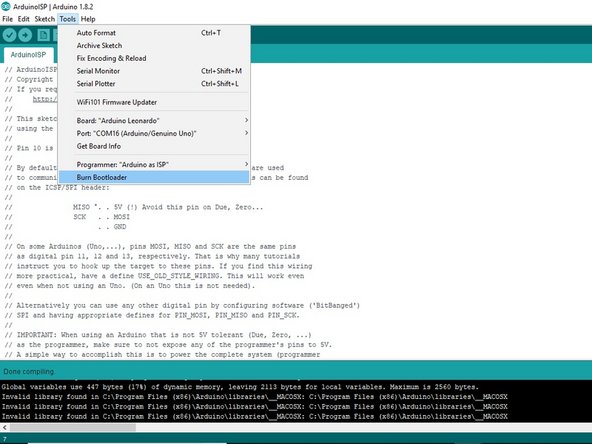
    • Finally, upload the bootloader to the Arduino Leonardo by selecting Tools->Burn Bootloader.

  12. Arduino Leonardo Bootloader Replacement: step 12, image 1 of 3 Arduino Leonardo Bootloader Replacement: step 12, image 2 of 3 Arduino Leonardo Bootloader Replacement: step 12, image 3 of 3
    • Now grab your USB Micro-B to Type-A cable

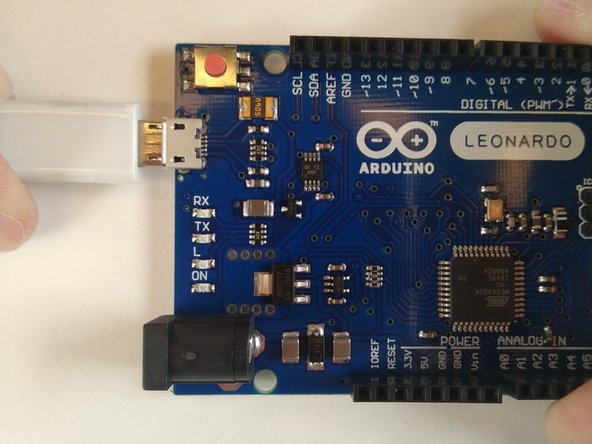
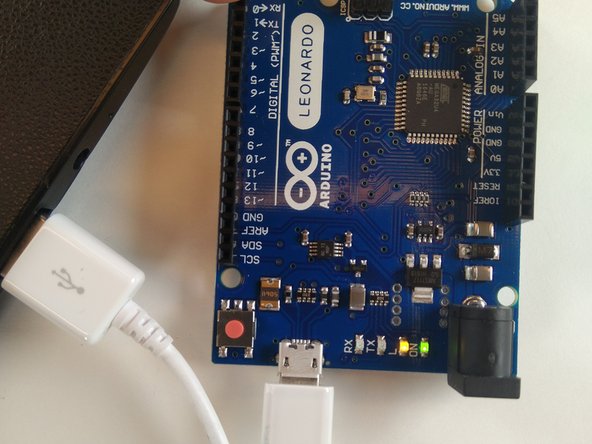
    • Plug the Micro-B end of the cable into the Arduino Leonardo.

    • Plug the Type-A end of the cable into the laptop.

    • If all has gone well, your Arduino Leonardo should no longer be sending keyboard commands to your computer.

Conclusion

Now, your Arduino Leonardo should be able to receive code from your computer over USB again.

10 other people completed this guide.

7 Comments

Can i use arduino nano instead of arduino uno ?

hleli firas - Reply

You can use the nano but you have to know which "pins" to use. This great tutorial is specific for the Uno.

Allen -

Thank you! Everything works. Keep up the good work!

Антон Петров - Reply

Dude, you have no idea how hard it was to find such a great tutorial like this! Nice job, keep doing that! Thank you soo much.

m.l.aires - Reply

Hey, nice tutorial, but I am having a problem when it comes to running the "Burn Bootloader". I am getting the following output message:

avrdude: Yikes! Invalid device signature.

Double check connections and try again, or use -F to override

this check.

Error while burning bootloader.

Any help is appreciated.

Vegard - Reply

Add Comment

View Statistics:

Past 24 Hours: 8

Past 7 Days: 36

Past 30 Days: 183

All Time: 13,012