Introduction
If your hang-on-back (HOB) aquarium style filter is making a buzzing noise, has reduced flow, or has stopped working completely, the impeller inside the motor has most likely been chipped or cracked from long-term wear.
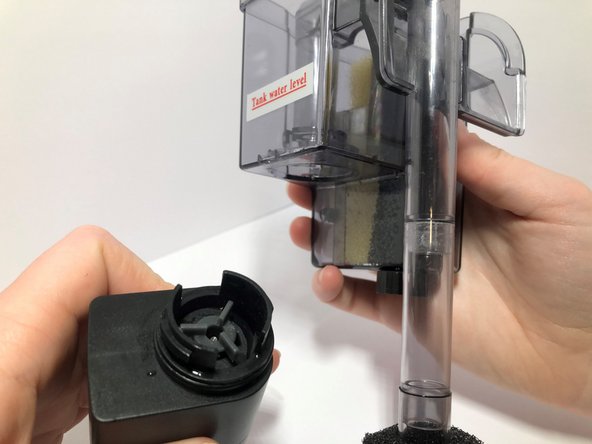
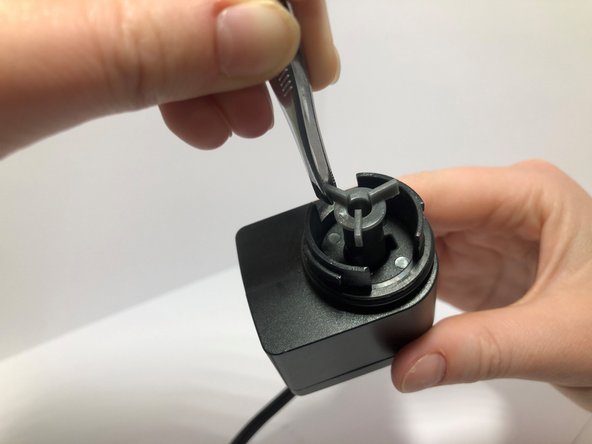
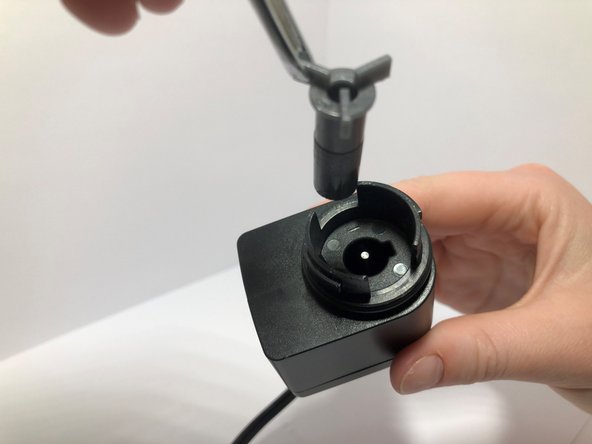
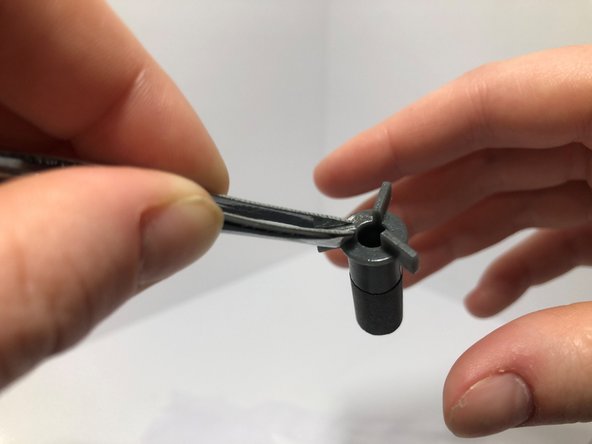
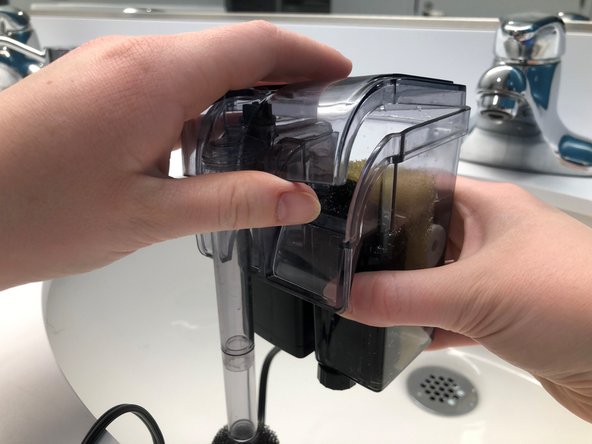
Use this guide to remove the damaged impeller and replace it with a new one. This involves removing the filter motor to access the damaged impeller and cleaning the impeller shaft before installing the new impeller.
This guide demonstrates this process on an AZOO Mignon 60 (AZ13097), but the procedure is the same for all HOB filters with a detachable motor. This includes brands like Aqua Clear, Fluval, Marineland, and Cascade. If you are using this guide for a different brand of filter, a larger impeller replacement may need to be purchased.
Working with water and electronics is a safety risk. When connecting and detaching your filter from a power source, ensure that your hands and the external area of the motor are completely dry.
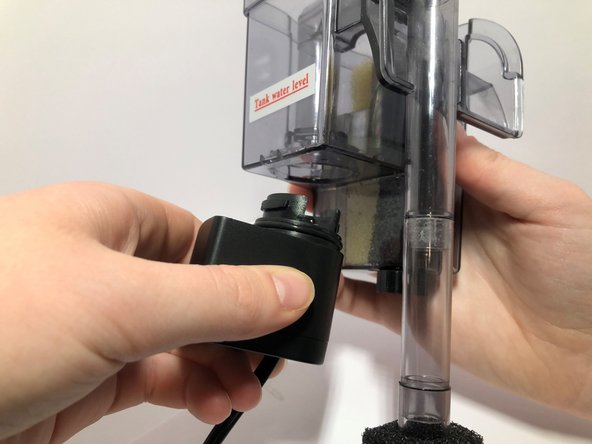
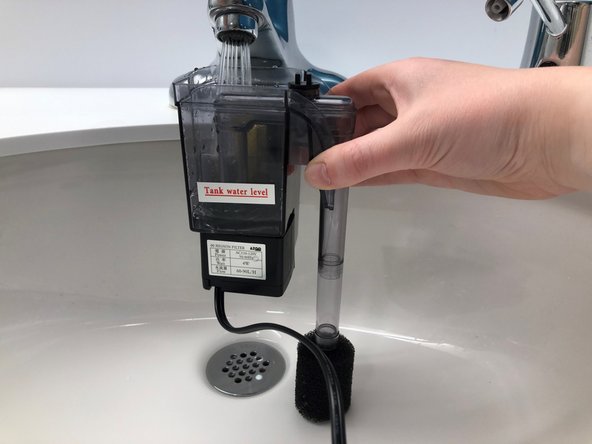
Before beginning this guide, disconnect your filter from its power source and remove it from your aquarium.
What you need


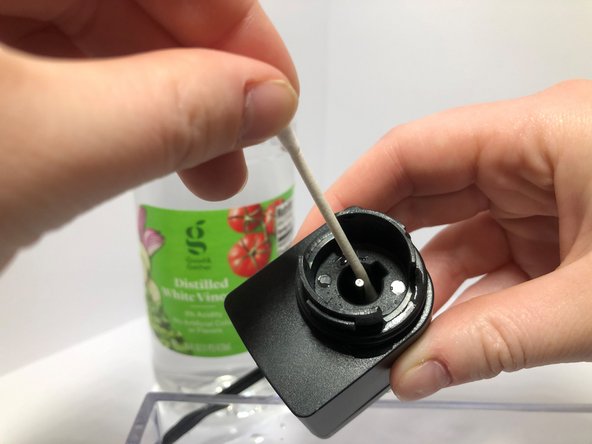
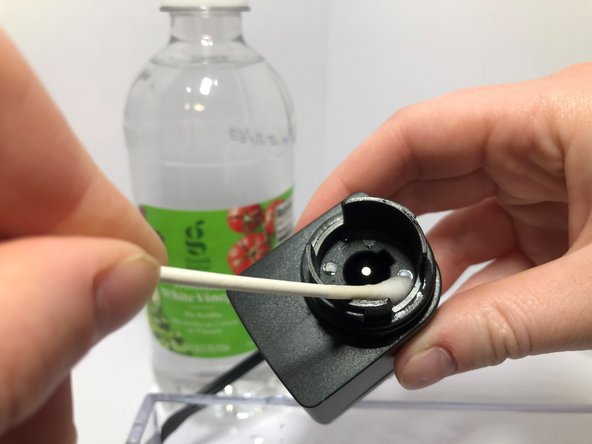


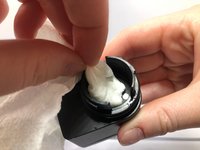


Filter is now ready to be returned to your aquarium and plugged in for use. Clean the impeller with vinegar and water semi annually to increase its longevity.
Cancel: I did not complete this guide.
4 other people completed this guide.

Team

UMass Dartmouth, Team S1-G2, Gulbrandsen Spring 2021 Member of UMass Dartmouth, Team S1-G2, Gulbrandsen Spring 2021
UMASSD-GULBRANDSEN-S21S1G2
1 Member
1 Guide authored