Introduction
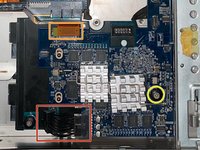
If your Xserve 2,1 is showing an error in Raid Utility about the backup battery, this guide will show you how to replace the raid battery in the system.
The raid battery serves as a way to write cached data to the system drives if there is a power failure. This ability is important in systems with raid, as it protects the user from data loss.
If the raid battery has recently been replaced, ensure that the system has been powered on for a minimum of 72 hours and battery conditioning has finished.
Before using this guide, ensure that you have a grounded working surface and anti-static wristband. Static electricity may cause damage to the internal components of the system.
Always dispose of the battery according to local laws and regulations, and if the battery has become swollen, make sure not to damage the enclosure.
What you need
-
-
-
Remove the power supplies from the system by pulling on the built-in removal bar.
-
-
-
Remove the top cover of the system by loosening the two thumb screws located on the back panel.
-
-
-
-
Remove the fan module by loosening the two Phillips #0 screws located on each side of the module.
-
-
-
Remove the SAS backplane power cable by pulling the cable out of the board.
-
Remove the data cable from the board using a spudger to lift the connector out of the socket.
-
Loosen the Phillips #0 screw holding the backplane in the system.
-
To remove the backplane from the chassis, slide the board down, tilt it to a 45 degree angle, and pull the board out.
-
-
-
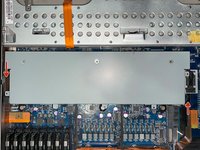
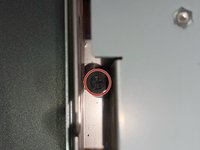
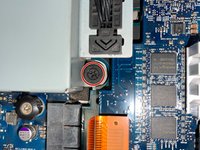
Loosen the single Phillips #0 screw on the power backplane.
-
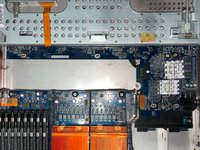
Slide the backplane out of the connector on the main board, and lift it straight out.
-


 Ask FixBot






To reassemble your device, follow these instructions in reverse order.
Cancel: I did not complete this guide.
2 other people completed this guide.

Team

Texas Tech, Team S14-G2, Cowan Fall 2020 Member of Texas Tech, Team S14-G2, Cowan Fall 2020
TTU-COWAN-F20S14G2
1 Member
9 Guides authored
