Introduction
Step by step, detailed guide on removing the LCD from the glass/digi on an Apple Watch. This is for experienced technicians only, requires expensive machinery and tools, and is recommended to be performed by professionals only.
What you need
-
-
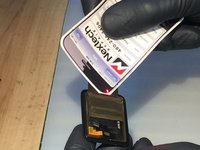
Heat the screen up so that the entire display and watch are warm. Be sure to turn the device off first by holding down the crown then sliding to power off. Using a sharp blade start at the bottom right corner and lift the glass up enough to create a gap, once you have a large enough gap use a plastic tool to break the adhesive bond around the edges
-
-
Tool used on this step:Tweezers$4.99
-
When inserting the knife & plastic tools around the edges be sure not to go further than 1mm into the AMOLED. The force touch gasket lies directly underneath the glass and is easily damaged if pushed on too hard with a knife or other metal object. The FPC clip is tricky but is easily removed using sharp point tweezers on the battery edge.
-
-
-
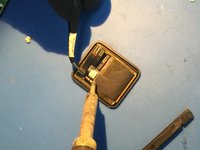
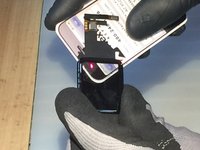
I used a solder iron tip that was larger than the solder pads. Turn your soldering iron up to a high temperature, 350C is where I kept mine at. DO NOT add any solder, just use the heat & tweezers to pull back the tabs. After unsoldering pull the flex cable out of the way and use tweezers to peel back the proximity sensor from the AMOLED. CAREFULLY.
-
-
-
-
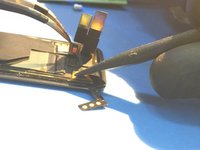
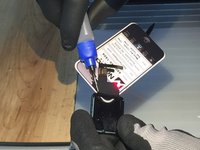
After desoldering use a plastic spudger in the exact area as the picture shows to loosen up the adhesive holding the digi flex in place. It's best if you use a small amount of heat, around 150F, to help soften the adhesive bond. Fold the digi cable back as shown in the second picture.
-
-
-
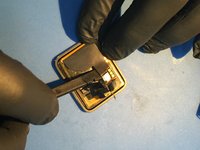
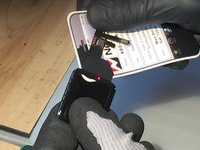
Begin by preheating the entire screen to a uniform temp, letting it sit under warm air for 10 minutes. I keep my heat gun on 300F-350F while holding the screen 3"-6" away from the nozzle to vary the temperature. Carefully insert a business card under the screen on the dig flex side. Use alcohol to weaken the OCA tape bond then move the card in slow
-
-
-
Keep inserting the card slowly while using alcohol as a de-bonder and lubricant as well as keeping uniform hot air blowing on the screen. While holding the outside of the glass continue rocking the card back and forth until the AMOLED is completely separated.
-
-
-
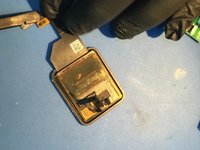
The AMOLED screen is extremely thin, but not as fragile as you might expect, remember to be gentle and use heat through the entire separation process. To remove the old OCA adhesive use your finger and "roll" the glue off, pure isopropyl alcohol also helps to de-bond the adhesive. The screen is "waterproof" alcohol seeping into the edges is okay.
-
-
-
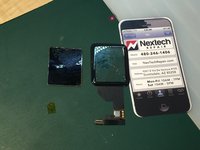
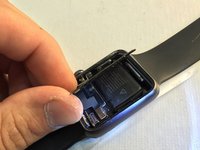
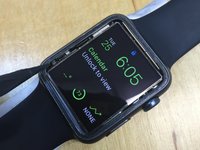
Be careful of the force touch flex cable that sticks into the frame on the bottom left of the display while removing the display assembly from the frame. The force touch gasket sits around the ENTIRE edge of the watch and is a thin silicone membrane. Test your AMOLED after separation before proceeding to the next steps.
-
-
-
I will finish this guide after the new digitizer/glass assembly arrive. They are coming from China so it will be a few days still.
-


To reassemble your device, follow these instructions in reverse order.
Cancel: I did not complete this guide.
35 other people completed this guide.
54 Guide Comments
Hi! When are you getting digitizer? Will you be completing this guide? Am really looking forward to see how you put back the watch. =)
please apple watch 38mm lcd screen and digitizer assembly Where sold?help me_
Isobyapple, do you still have that LCD/digitizer for the 38mm Apple Watch for sale?
Does anyone know where to get the 38mm lcd/digi combo (preferably for less than $200)?