Introduction
Use this guide to the missing or stuck key on an Apple Extended Keyboard A1243.
Missing or stuck keys can hinder your ability to type efficiently, making it difficult to complete tasks that require typing, such as writing emails, coding, or even chatting. Repairing the key will restore the keyboard to working order.
WARNING! Unplug or turn off the keyboard before starting the repair process to prevent potential damage to the keyboard.
What you need
-
-
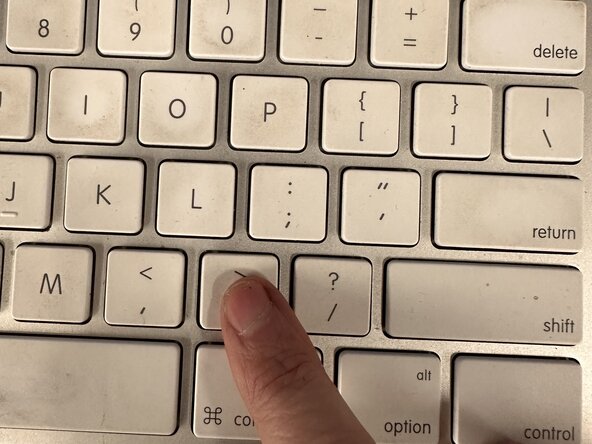
Inspect the key that is stuck or the key mechanism where the missing key was.
-
-
-
-
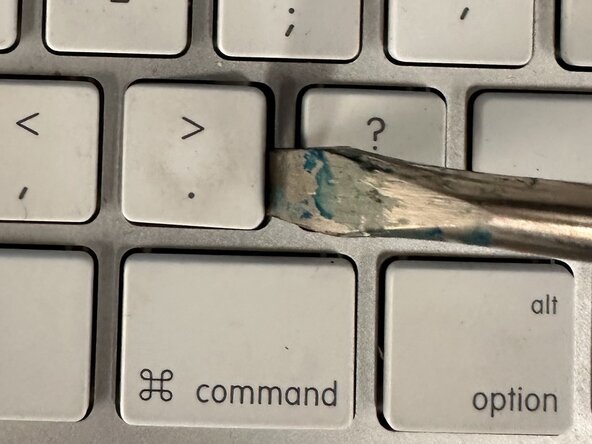
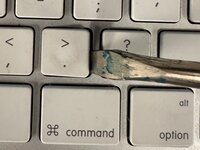
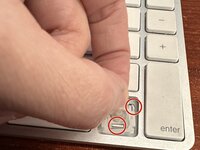
If the key is stuck, gently insert a spudger under the edge of the keycap.
-
Start from one corner and carefully pry the keycap from the keyboard, working your way around it until it pops out.
-
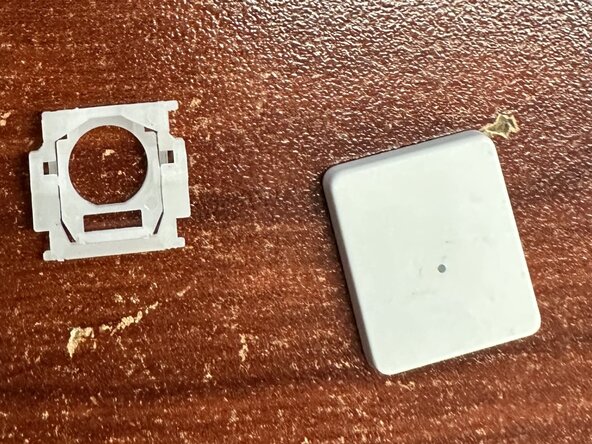
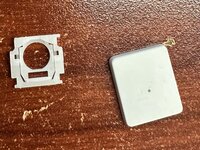
Inspect the key mechanism (scissor switch under the keycap) for any damage or debris.
-
If the keycap is dirty, clean it by soaking it in warm soapy water.
-
-
-
If the mechanism is damaged, you will need to replace it.
-
Install the new or previously removed key by aligning the keycap with the key mechanism. Align the top of the scissor-switch to the metal notches on the keyboard and then align the bottom of the switch, ensuring you hook the scissor-switch onto the metal tab on the keyboard.
-
Press down firmly on the keycap until it snaps into place.
-
-
-
Test the key by plugging in or turning the keyboard on to see if it works correctly.
-


Cancel: I did not complete this guide.
One other person completed this guide.

Team

Northern Arizona University, Team 1-3, Konrad Spring 2025 Member of Northern Arizona University, Team 1-3, Konrad Spring 2025
NAU-KONRAD-S25S1G3
5 Members
3 Guides authored