Introduction
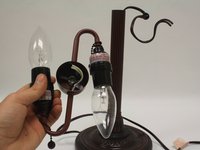
In this guide, users will learn about some of the internal workings of some older lamps. The lamp in this guide is actually a lamp from my grandmother. It was one of her favorite lamps for its unique patterns it throws on the room around it. It's a simple replacement of the threaded center support that just requires a bit of disassembly to get to it, once that is all done the lamp is reassembled the same way it came apart.
What you need
-
-
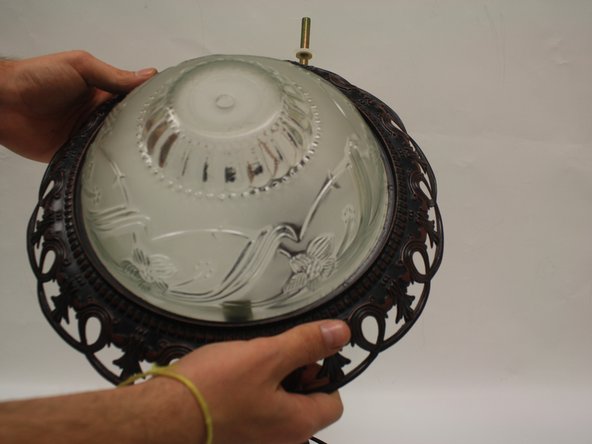
Start by unscrewing the decorative nut from the top of the canopy. Then lift the canopy off the old support.
 Ask FixBot
-
-
-
When the canopy is removed from the lamp, lift the broken support off. The wires should now be accessible from the top.
-
Save these pieces, as they might be useful in reassembly.
-
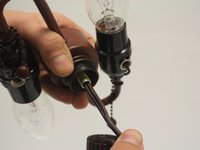
Mark the positive wire on the main power cord; this can be done with a marker, tape, or most any other method.
-
-
-
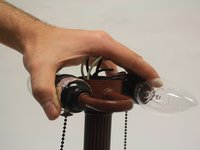
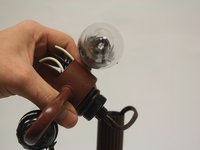
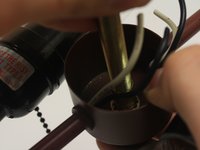
With the wires loose, unscrew the top light fixture and remove it from the lamp base.
-
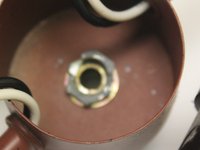
If there is a small crimp nut holding the wires in the tube of the lamp base, then unscrew the nut, but leave attached to the power cord.
-
-
-
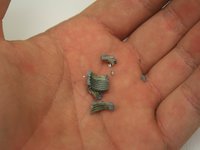
Now the broken support part from the lamp. It will simply unthread from the rest of the lamp.
-
Older lamps especially can contain pieces made of softer metals. This can cause them to crumble.
-
-
-
-
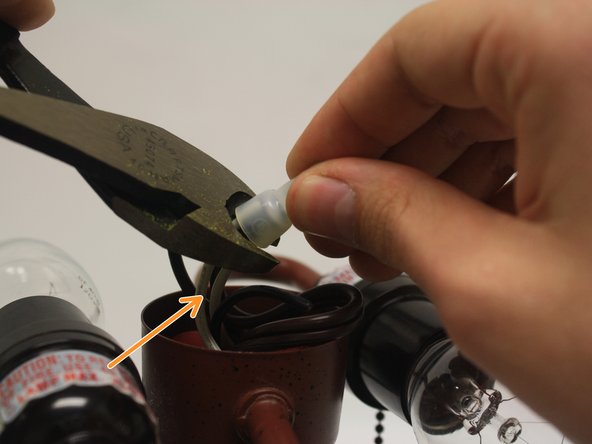
Twist the old coupling off with a pair of fingers or pliers. The couplers are often very soft on antique lamps and tend crumble easily.
-
-
-
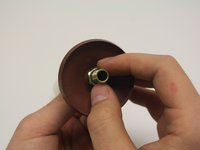
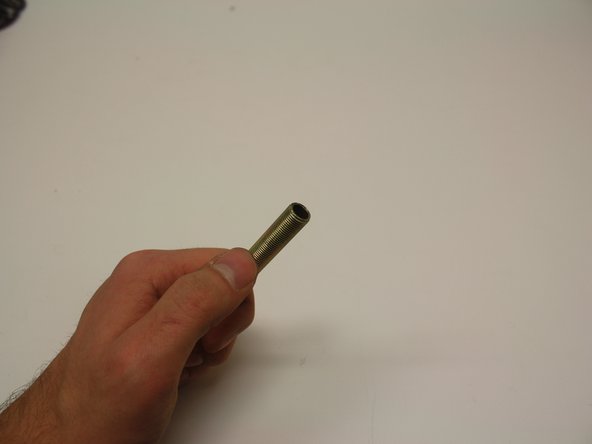
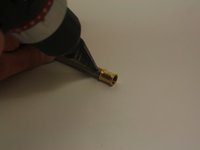
Now install the new coupler and support rod (the size of the threads on the lamp will determine the size needed).
-
-
-
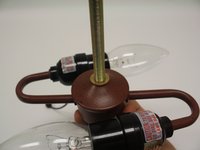
Once the rod is in place, the wire cover can be properly fitted, along with the canopy. Its better to have a support rod that is too long, as it can be cut to fit. How much is cut off depends on how high the canopy needs to sit. Mark the rod with a marker so a cut can be made.
-
-
-
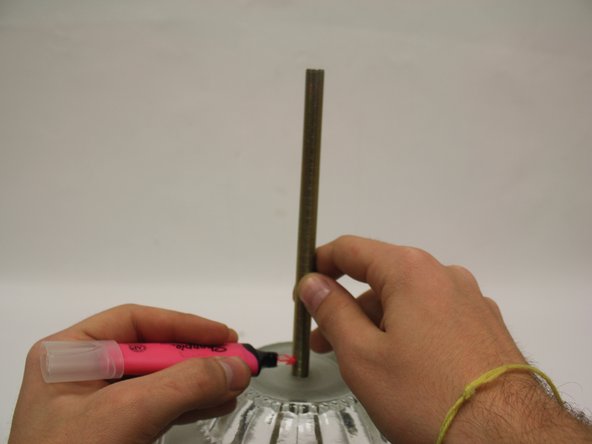
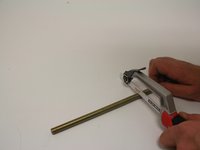
Using a metal hacksaw, cut the rod where the mark was made. Remember to measure twice, cut once.
-
-
-
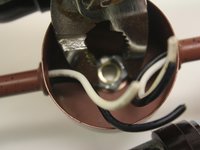
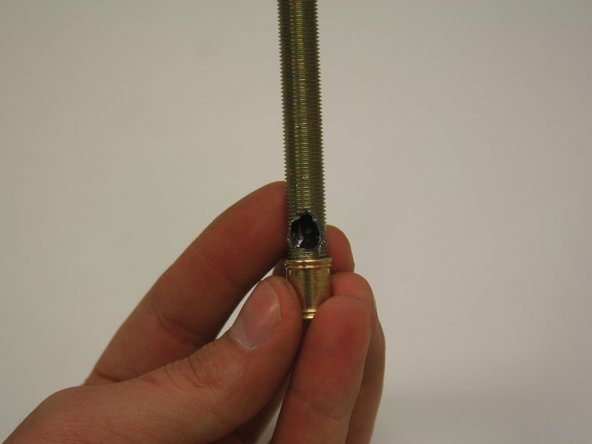
The threaded rod and coupling may need a hole for the wires to pass through. Remove the coupling and rod from the light fixture; do not move the coupler up the threaded rod. The coupler's location will serve as a reference for the hole.
-
Make a hole with the drill; if the size of the whole needed is unknown, a stepped drill bit is useful. Do not apply too much pressure as the metal is likely soft.
-
-
-
The hole only needs to be big enough for the wires to pass through, and once that's done, the lamp can be re-assembled just the way it was put together. Let there be light!
-


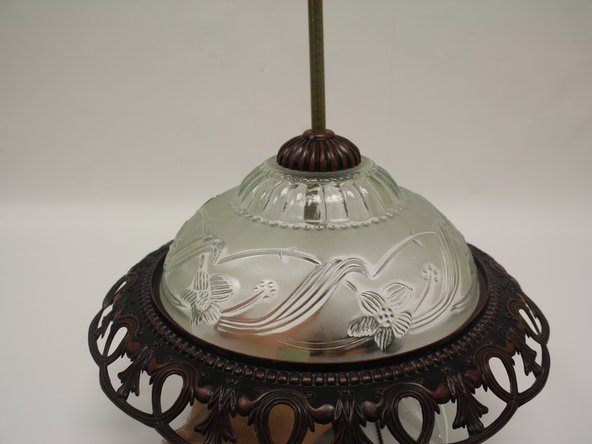


To reassemble your device, follow these instructions in reverse order.
Cancel: I did not complete this guide.
One other person completed this guide.
Team

Missouri Western, Team S40-G9, Kunkel Spring 2017 Member of Missouri Western, Team S40-G9, Kunkel Spring 2017
MWSU-KUNKEL-S17S40G9
2 Members
1 Guide authored