
Anker SoundCore 2 Microphone Replacement

Tripp Lersch and
Last updated on Jun 8, 2021
Views: 1.9K
View statistics:
- Past 24 Hours:
- 3
- Past 7 Days:
- 15
- Past 30 Days:
- 100
- All Time:
- 1,918
Comments: 1
1 comment on steps.
Completed: 1 2
1 person has marked this guide "completed." Will you be next?
2 people have marked this guide "completed." Including you — great job!
Favorites: 0 1
No one has favorited (and subscribed to) this guide. Will you be the first?
1 person has favorited (and subscribed to) this guide — and that's you!
Introduction
Go to step 1 ↓This is a step by step guide on replacing the microphone in the Anker SoundCore 2 bluetooth speaker. You made need to replace the microphone if it no longer picks up sound. Take a look at the troubleshooting page to see if you need to replace the microphone. For this guide you will need a screwdriver and possibly glue.
What you need
Tools
-
Spudger4.9


-
-
-
Insert a spudger between the front panel and the body of the speaker.
-
Pry around the edges of the front panel with the spudger to pry it away from the speaker body.
 Ask FixBot
-
-
-
-
-
-
Remove eight 10 mm screws from the speaker mount using a Phillips #0 screwdriver.
-
Insert a spudger in the gap between the speaker mount and speaker body to remove the speaker mount.
-
Flip up the speaker mount panel from the speaker housing case.
-
-
-
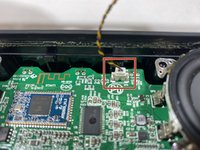
Disconnect the microphone wire from the motherboard.
-
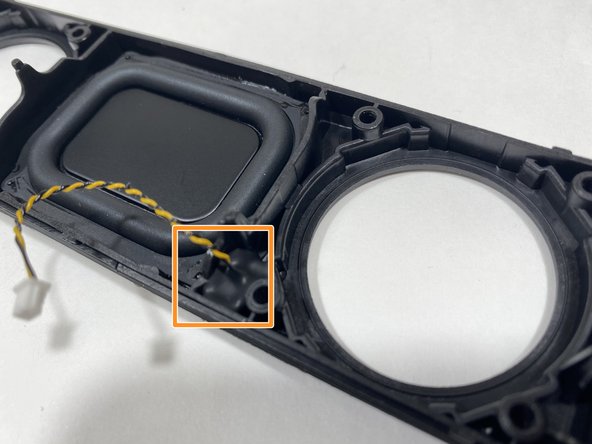
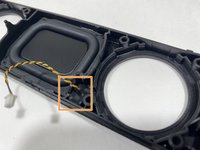
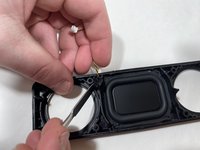
Use a spudger to pry the microphone out of the speaker mount panel.
-
-



To reassemble your device, follow these instructions in reverse order.
Cancel: I did not complete this guide.
One other person completed this guide.

Team

Illinois Wesleyan University, Team S1-G2, Bullock Spring 2021 Member of Illinois Wesleyan University, Team S1-G2, Bullock Spring 2021
IWU-BULLOCK-S21S1G2
3 Members
60 Guides authored
