
Android tablet Nobis NB09 Speaker Replacement

What you need

  1. Android tablet Nobis NB09 Speaker Replacement, Back Cover: step 1, image 1 of 1
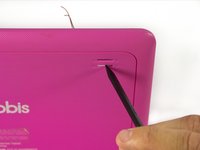
    • Remove the two 00 Phillips screws located in the right hand side of the tablet.

  2. Android tablet Nobis NB09 Speaker Replacement: step 2, image 1 of 3 Android tablet Nobis NB09 Speaker Replacement: step 2, image 2 of 3 Android tablet Nobis NB09 Speaker Replacement: step 2, image 3 of 3
    • Use plastic opening tools to loosen and pry off the back plate (pink piece).

    • When removing the cover, be careful not to pull too hard as there are wires connected to the motherboard attached to the back cover.

  3. Android tablet Nobis NB09 Speaker Replacement, Speaker: step 3, image 1 of 2 Android tablet Nobis NB09 Speaker Replacement, Speaker: step 3, image 2 of 2
    • It is recommended that a grounding bracelet be used in order to avoid damage to the device's circuits through ESD (Electro-Static Discharge).

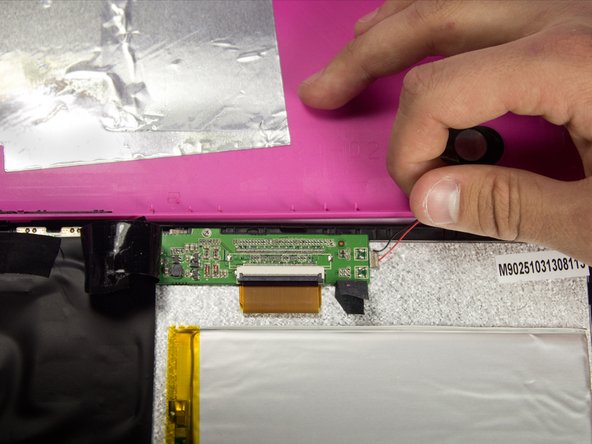
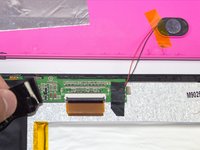
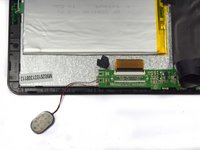
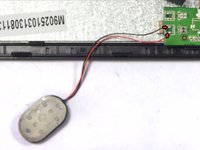
    • The speaker is located on the top left hand side of the tablet.

    • Remove the electrical tape covering the connections to expose the wires.

  4. Android tablet Nobis NB09 Speaker Replacement: step 4, image 1 of 1
    • Disconnect the faulty speaker by desoldering the two wire connections.

    • Make sure to not damage the motherboard.

  5. Android tablet Nobis NB09 Speaker Replacement: step 5, image 1 of 1
    • Remove the tape holding the speaker in its socket.

  6. Android tablet Nobis NB09 Speaker Replacement: step 6, image 1 of 2 Android tablet Nobis NB09 Speaker Replacement: step 6, image 2 of 2
    • Remove the speaker from its socket. Placing the speaker to the side of your device will give you more freedom.

    • Gently pushing the speaker from the back side of the cover with a pointy edge of spudger tool will make this step easier.

  7. Android tablet Nobis NB09 Speaker Replacement: step 7, image 1 of 2 Android tablet Nobis NB09 Speaker Replacement: step 7, image 2 of 2
    • Use a soldering iron to extract excess solder using a desoldering braid.

    • Solder the speakers wires back to the motherboard.

    • Review the iFixit soldering guide for help with soldering.

    • Connect red wire to the positive terminal marked "+", and the black wire to the negative terminal marked "-".

Conclusion

To reassemble your device, follow these instructions in reverse order. Do not forget to put electrical tape back in place.

2 other people completed this guide.

Sergey Kasyanov

Member since: 03/26/15

237 Reputation

2 Guides authored

Team

0 Comments

Add Comment

View Statistics:

Past 24 Hours: 0

Past 7 Days: 0

Past 30 Days: 2

All Time: 510