Free Shipping on Domestic Orders $75+

Dell Latitude 10-ST2e Rear Facing Camera Replacement

Views: 707

View statistics:

Past 24 Hours:
2
Past 7 Days:
16
Past 30 Days:
88
All Time:
707
Comments: 0

No one has left comments on this guide. Will you be first?

Go to guide comments
Completed: 1

1 person has marked this guide "completed." Will you be next?

Favorites: 0

No one has favorited (and subscribed to) this guide. Will you be the first?

Time Required: 30 minutes
Difficulty: Moderate
Dell Latitude 10-ST2e Rear Facing Camera Replacement

Introduction

Go to step 1 ↓

We're going teach you how to remove the rear facing camera from the Dell Latitude 10-ST2e.

What you need

Tools

    1. Dell Latitude 10-ST2e Rear Facing Camera Replacement, Motherboard: step 1, image 1 of 3 Dell Latitude 10-ST2e Rear Facing Camera Replacement, Motherboard: step 1, image 2 of 3 Dell Latitude 10-ST2e Rear Facing Camera Replacement, Motherboard: step 1, image 3 of 3
      • Using the blue opening tool, separate the back plastic cover from the device. Start in a corner, and work your way around the tablet.

      Ask FixBot

      Add Comment

    2. Dell Latitude 10-ST2e Rear Facing Camera Replacement: step 2, image 1 of 2 Dell Latitude 10-ST2e Rear Facing Camera Replacement: step 2, image 2 of 2
      • Remove the four 4.0mm black screws on the perimeter of the device using a JIS #00 screwdriver

      Ask FixBot

      Add Comment

    3. Dell Latitude 10-ST2e Rear Facing Camera Replacement: step 3, image 1 of 2 Dell Latitude 10-ST2e Rear Facing Camera Replacement: step 3, image 2 of 2
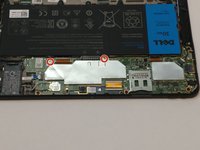
      • Remove the two 4.0mm silver screws using the JIS #00 screwdriver.

      Ask FixBot

      Add Comment

    4. Dell Latitude 10-ST2e Rear Facing Camera Replacement: step 4, image 1 of 1
      Tool used on this step:
      Tweezers
      $4.99
      Buy
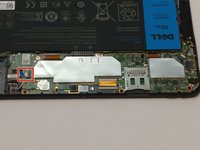
      • Disconnect the connection of the front camera clamp by releasing the clamp with tweezers.

      • Pull up on the connection from the motherboard.

      • Avoid damaging the connection.

      Ask FixBot

      Add Comment

    5. Dell Latitude 10-ST2e Rear Facing Camera Replacement: step 5, image 1 of 3 Dell Latitude 10-ST2e Rear Facing Camera Replacement: step 5, image 2 of 3 Dell Latitude 10-ST2e Rear Facing Camera Replacement: step 5, image 3 of 3
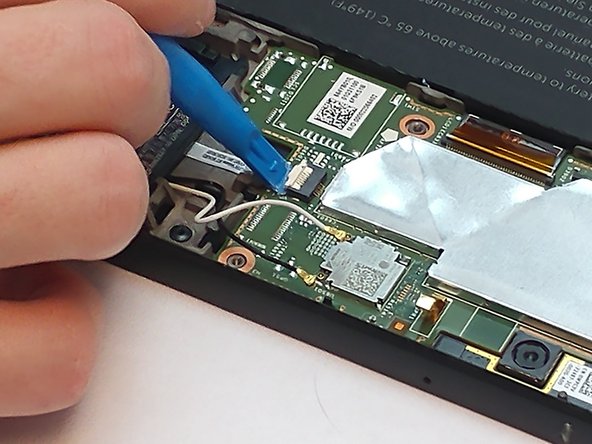
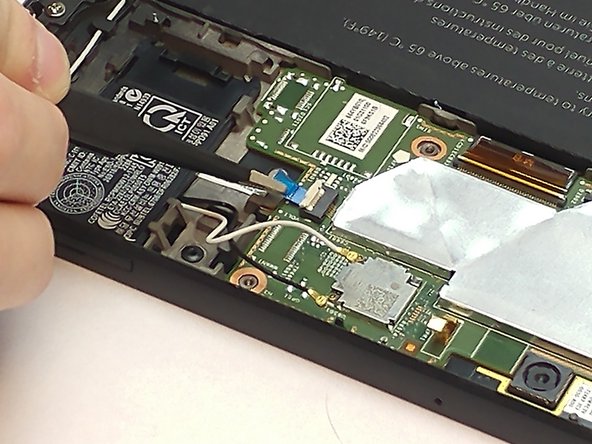
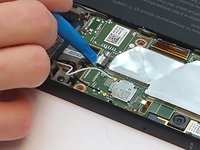
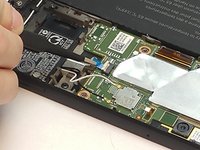
      • Using an opening tool, lift upwards on the white clamp, and pull the blue tab out of the connection with tweezers.

      Ask FixBot

      Add Comment

    6. Dell Latitude 10-ST2e Rear Facing Camera Replacement: step 6, image 1 of 2 Dell Latitude 10-ST2e Rear Facing Camera Replacement: step 6, image 2 of 2
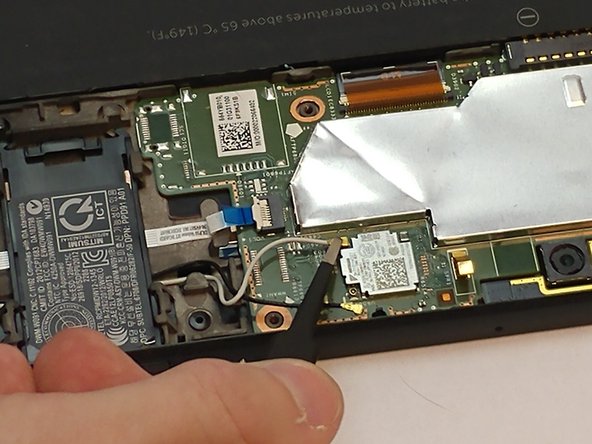
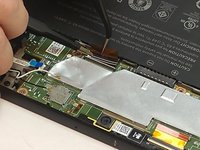
      • Using tweezers, disconnect the white and black wires from the bottom of the motherboard.

      • Pull upwards while holding the brass connections. Do not pull on the wires.

      Ask FixBot

      Add Comment

    7. Dell Latitude 10-ST2e Rear Facing Camera Replacement: step 7, image 1 of 3 Dell Latitude 10-ST2e Rear Facing Camera Replacement: step 7, image 2 of 3 Dell Latitude 10-ST2e Rear Facing Camera Replacement: step 7, image 3 of 3
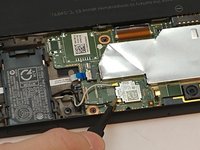
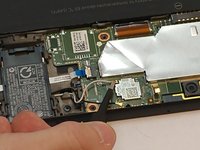
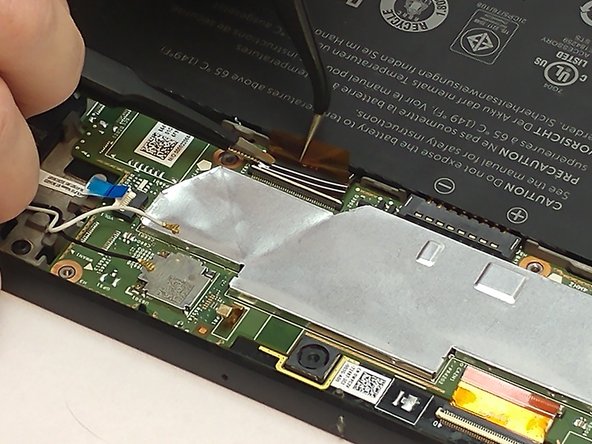
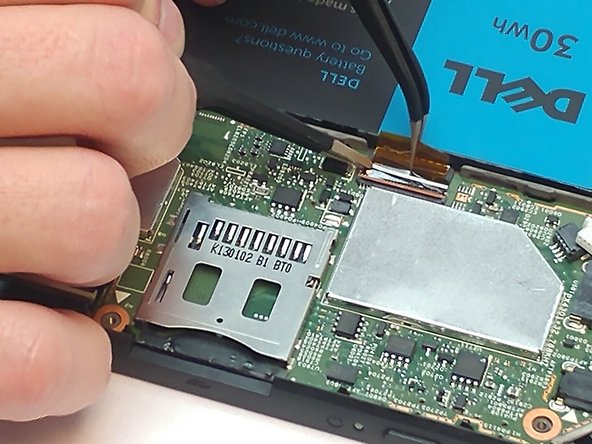
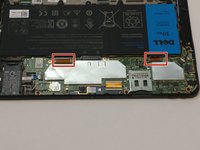
      • Disconnect the two clamps, one orange and one white, using tweezers next to the battery.

      Ask FixBot

      Add Comment

    8. Dell Latitude 10-ST2e Rear Facing Camera Replacement: step 8, image 1 of 1
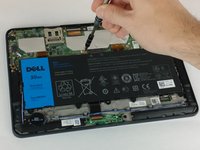
      • Remove the four 7.0mm screws securing the battery with a JIS #00 screwdriver.

      Ask FixBot

      Add Comment

    9. Dell Latitude 10-ST2e Rear Facing Camera Replacement: step 9, image 1 of 2 Dell Latitude 10-ST2e Rear Facing Camera Replacement: step 9, image 2 of 2
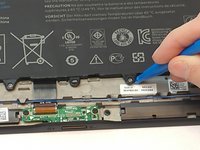
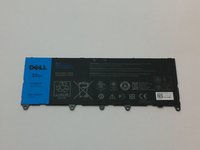
      • With the blue opening tool, gently lift up and remove the battery from the tablet.

      • Do not damage, puncture, cut, or bend the battery, as this may cause bodily harm.

      Ask FixBot

      Add Comment

    10. Dell Latitude 10-ST2e Rear Facing Camera Replacement: step 10, image 1 of 3 Dell Latitude 10-ST2e Rear Facing Camera Replacement: step 10, image 2 of 3 Dell Latitude 10-ST2e Rear Facing Camera Replacement: step 10, image 3 of 3
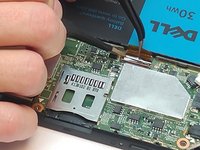
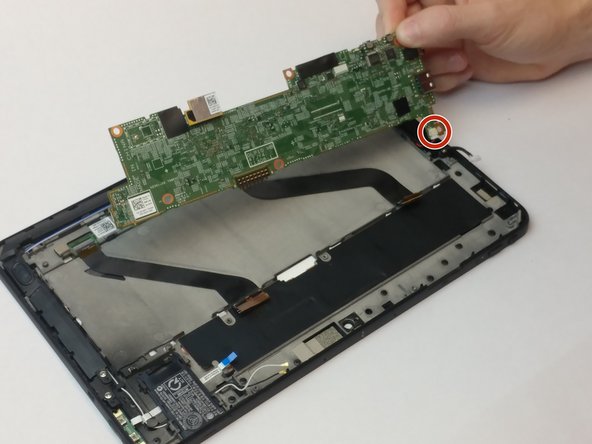
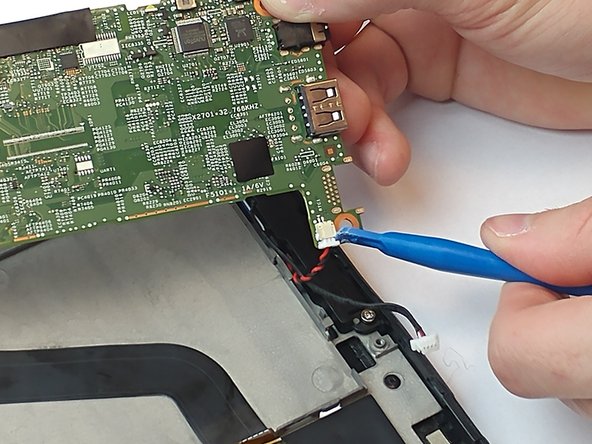
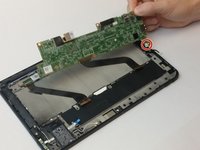
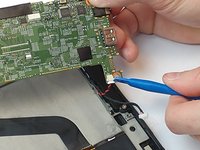
      • Rotate the motherboard upwards from the tablet using tweezers, but do not remove completely from the device. As you lift, disconnect the black and red wire located underneath the motherboard before removing it completely from the tablet.

      Ask FixBot

      Add Comment

    1. Dell Latitude 10-ST2e Rear Facing Camera Replacement, Rear Facing Camera: step 11, image 1 of 3 Dell Latitude 10-ST2e Rear Facing Camera Replacement, Rear Facing Camera: step 11, image 2 of 3 Dell Latitude 10-ST2e Rear Facing Camera Replacement, Rear Facing Camera: step 11, image 3 of 3
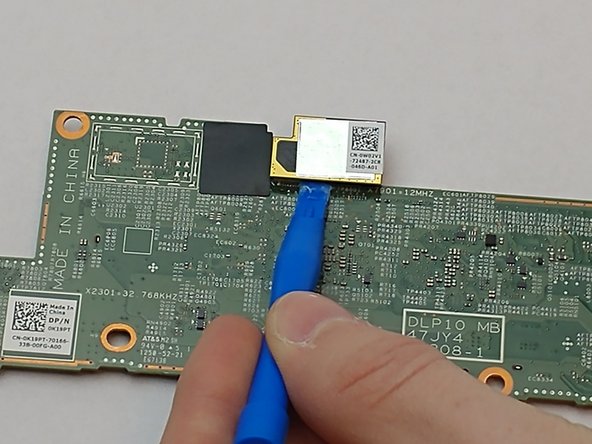
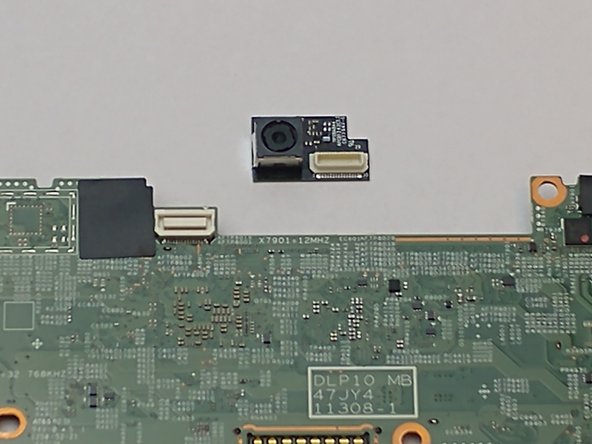
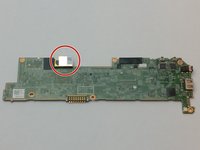
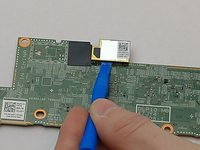
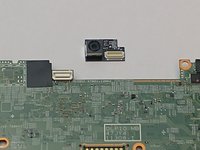
      • Once the motherboard is removed, place on a flat surface facing down. Use the plastic opening tool to disconnect and remove the camera from the motherboard.

      Ask FixBot

      Add Comment

Conclusion

To reassemble your device, follow these instructions in reverse order.

Cancel: I did not complete this guide.

One other person completed this guide.

Jan Camacho

Member since: 09/27/17

140 Reputation

1 Guide authored

Team

USF Tampa, Team S16-G4, Eyestone Fall 2017 Member of USF Tampa, Team S16-G4, Eyestone Fall 2017

USFT-EYESTONE-F17S16G4

4 Members

72 Guides authored

0 Guide Comments

Add Comment

View Statistics:

Past 24 Hours: 2

Past 7 Days: 16

Past 30 Days: 88

All Time: 707