
Amazon Kindle DX Previous Page Key Replacement

Lori White and 10 other contributors
Last updated on May 7, 2024
Views: 2.1K
View statistics:
- Past 24 Hours:
- 3
- Past 7 Days:
- 22
- Past 30 Days:
- 101
- All Time:
- 2,061
Comments: 3
1 comment on steps, 2 guide comments.
Go to guide commentsCompleted: 0 1
No one has marked this guide "completed." Will you be the first?
1 person has marked this guide "completed." It's you — great job!
Favorites: 0 1
No one has favorited (and subscribed to) this guide. Will you be the first?
1 person has favorited (and subscribed to) this guide — and that's you!
Inconsistent Images
Updating the images on this guide to be more consistent with the prerequisites would increase its awesomeness.
Introduction
Go to step 1 ↓This guide shows you how to replace keyboard keys on an Amazon Kindle DX and uses the “previous page” key as an example. The “previous page” key has the less than symbol (<) on it and is located on the right side of the Amazon Kindle DX.
Prior to using this guide, test the keys to confirm that the keyboard is not working properly. To determine whether a key is faulty, press on the key to see if it performs the correct function. If not, the key is faulty. For example, when you press down on the “previous page” key of your Amazon Kindle DX and it doesn’t bring you to the previous page, the key is faulty.
This guide requires you to use the Phillips screwdriver, sizes PH0, PH00, and PH000, as well as a precision tweezer and opening tool. You must purchase a replacement key for the faulty key you are attempting to replace.
Before you begin, turn the Kindle off and unplug it from any external power source.
What you need
Parts
Tools


-
-
-
Push an opening tool against the bottom cover edge of the device. Move the tool's edge around the bottom plastic piece to pop it open.
-
-
-
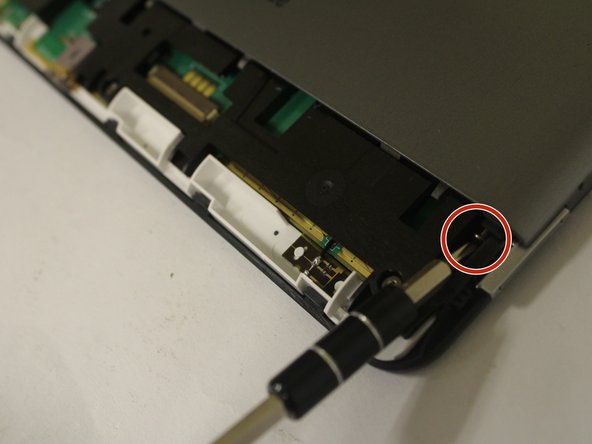
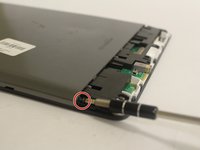
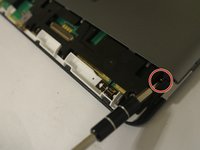
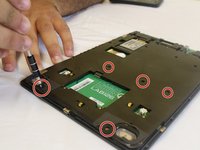
Remove two 40 mm screws (one on each corner) using a Phillips #00 screwdriver.
-
-
-
-
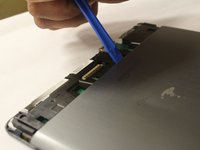
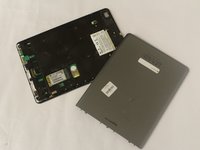
Use the edges of the opening tool, get in between the seams of the front and back panel, and use the tool to separate the pieces. Once loose, lift back panel off of the device.
-
-
-
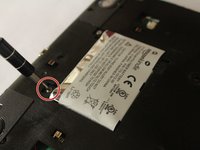
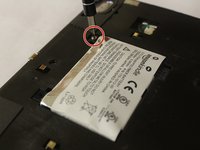
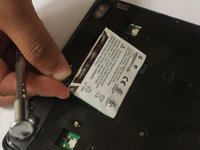
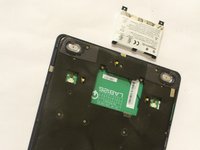
Remove two 30 mm screws securing the battery with a Phillips #00 screwdriver.
-
-
-
-
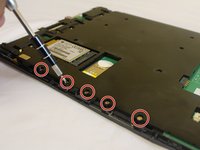
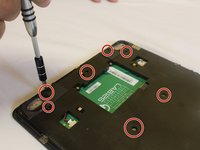
Remove five 30 mm screws from the midframe using a Phillips #000 screwdriver.
-
-
Tool used on this step:Tweezers$4.99
-
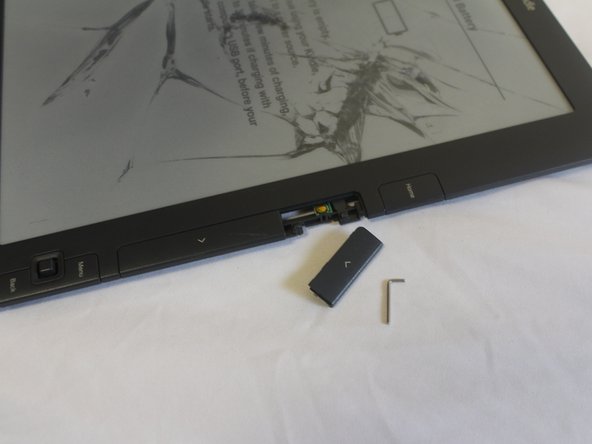
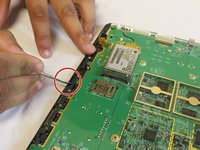
Remove the "previous page" button from the side function keys using a pair of tweezers.
-
-

 Ask FixBot












To reassemble your device, follow these instructions in reverse order.

Team

USF Tampa, Team 1-5, Cagle Fall 2016 Member of USF Tampa, Team 1-5, Cagle Fall 2016
USFT-CAGLE-F16S1G5
3 Members
48 Guides authored
2 Guide Comments
The title says “keyboard”, this is button replacement…………….
The title says “keyboard” replacement. This is button replacement…………….
