
Amazon Fire HD 8 12th Gen Screen Replacement

Rama Sura and
Last updated on May 7, 2024
Views: 5.7K
View statistics:
- Past 24 Hours:
- 7
- Past 7 Days:
- 74
- Past 30 Days:
- 262
- All Time:
- 5,731
Comments: 3
2 comments on steps, 1 guide comment.
Go to guide commentsCompleted: 0 1
No one has marked this guide "completed." Will you be the first?
1 person has marked this guide "completed." It's you — great job!
Favorites: 0 1
No one has favorited (and subscribed to) this guide. Will you be the first?
1 person has favorited (and subscribed to) this guide — and that's you!
Needs More Images
A few more images would make this guide's procedures crystal clear.
Missing Steps
Oops! This guide is currently missing one or more important steps.
Introduction
Go to step 1 ↓The Amazon Fire 8 HD 12th Generation has a screen that is useable for near every function necessary on the tablet. To put it lightly, you cannot use the tablet at all without a functioning screen. Possible things that can lead to a broken screen range from cracking/breaking the screen itself, your tablet not being up to date, or the screen is not responding to your input/touch.
In this guide we will show you how to replace a faulty screen. This guide is difficult so please take your time and be patient when performing the steps. You may want to have a pair of safety gloves. These can be used throughout the guide as there are dangers such as loose or broken glass cutting you.
What you need
Tools


-
-
-
Put picks around the corner and move them along the edge to pry the case off.
-
Once there is separation between the case and the screen, place a pick in between the screen and on the corner of the back case.
 Ask FixBot
-
-
-
With the corners lifted, take the opening tool and pry each corner off.
-
Repeat this for the corner diagonal from the initial corner.
-
Once both corners are pried off, gently take the back case off the device.
-
-
-
-
-
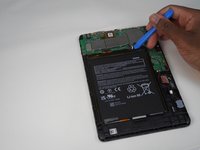
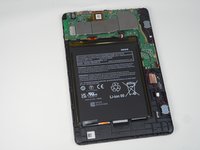
Using the iFixit opening tool, disconnect the battery from the circuit board.
-
-
-
-
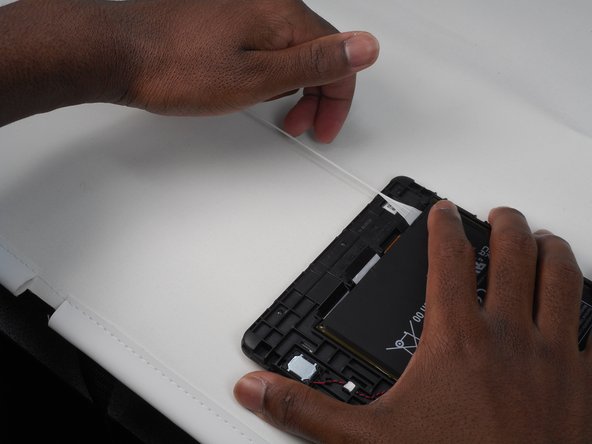
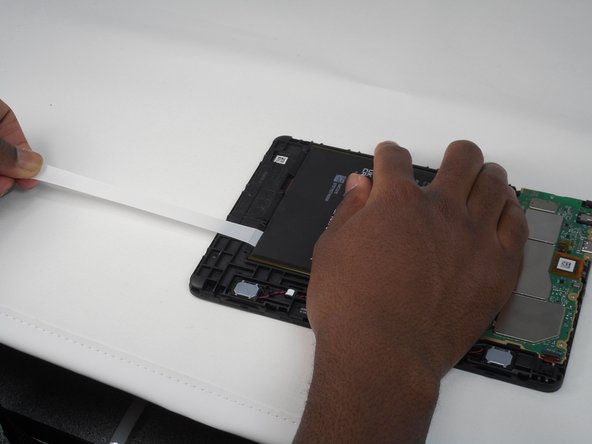
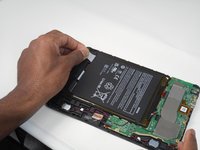
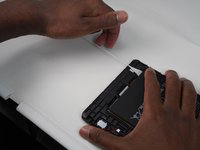
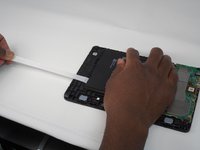
Slowly and gently, pull and remove the 3 adhesives under the old battery.
-
Remove all 3 by pulling the adhesive, signified by a black flap with white adhesive. You will know it is removed when the adhesive has come out from under the battery and you are now able to move the battery.
-
-
-
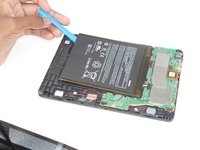
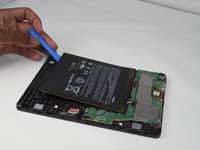
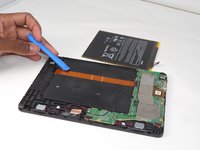
Remove the old battery from the device using the opening tool.
-
If necessary, clean under your old battery and then insert the new battery with new adhesive to ensure the battery stays in place.
-
-
-
-
-
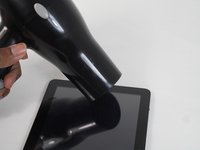
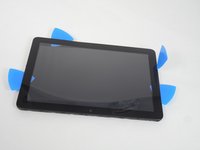
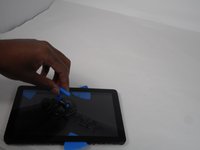
Start off by heating the edges of the screen to melt the adhesive.
-
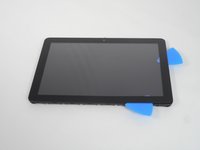
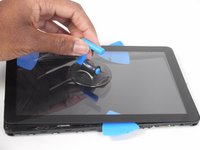
Insert the opening picks between the screen and device.
-
-
-
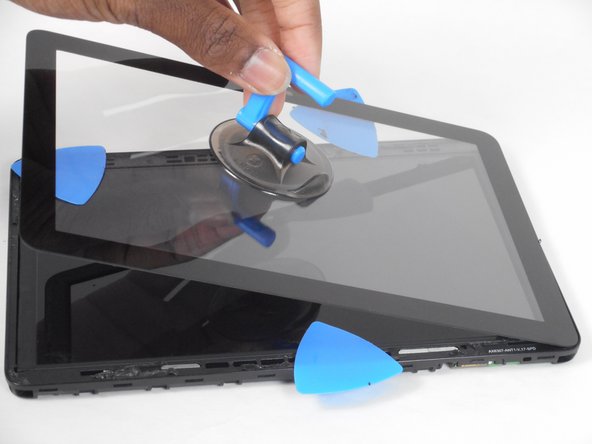
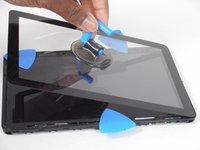
Slide the opening pick in between the screen and device, prying it just above the device.
-
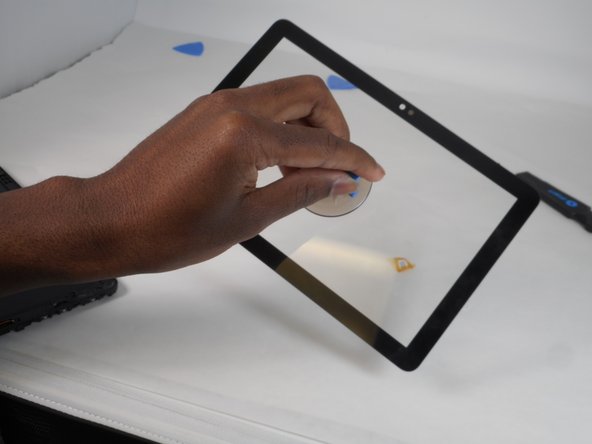
Place the suction on the screen
-
-
Tool used on this step:Tweezers$4.99
-
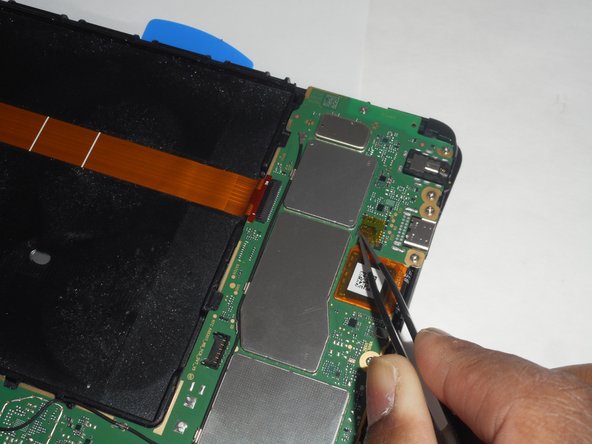
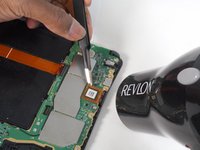
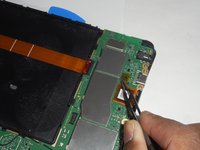
Heat up the little black square with yellow orange tape around it on the back of the device, atop the motherboard.
-
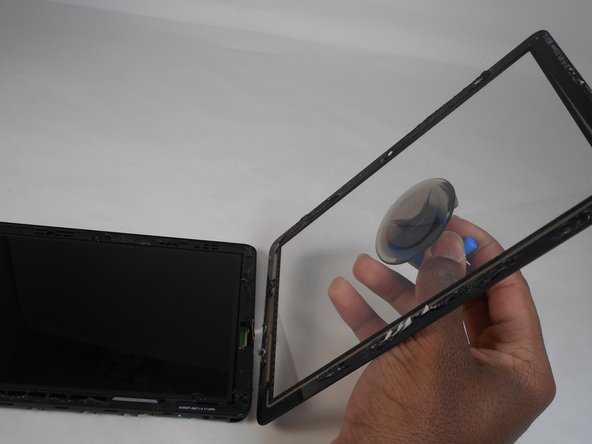
Once heated, remove the little black square using tweezers. Unhooking the screen from the screen.
-
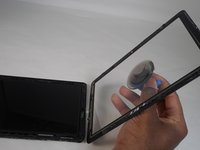
Pulling the suction cup, fully remove the screen from the device.
-
-













To reassemble your device, follow these instructions in reverse order.

Team

University of Memphis, Team 1-1, Sneed Fall 2023 Member of University of Memphis, Team 1-1, Sneed Fall 2023
UM-SNEED-F23S1G1
4 Members
84 Guides authored
