Introduction
If you need to replace the tweeter, this replacement guide will help you disassemble the amazon echo studio so you can replace the tweeter.
What you need
-
-
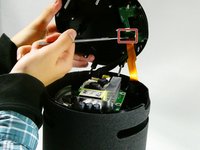
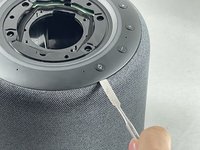
Flip the device upside down.
-
Pry up the edge of the rubber base panel with a spudger, then pull the rest of it off by hand.
 Ask FixBot
-
-
-
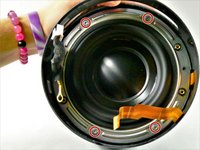
Use a T15 Torx screwdriver to remove the nine 3.2 mm screws.
-
Use a Torx T10 screwdriver to remove the six 2.7 mm screws.
-
After removing the screws, gently lift the base off, with care not to damage any of the connected cables.
-
-
-
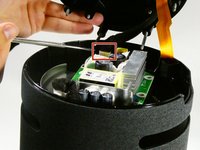
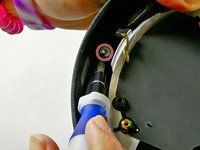
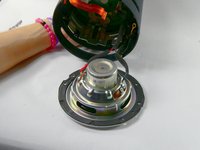
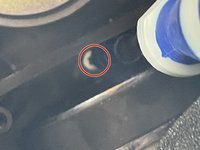
Now unscrew the the single 10 mm Phillips screw.
-
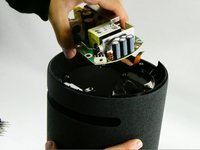
Remove the power supply board.
-
-
-
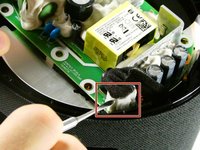
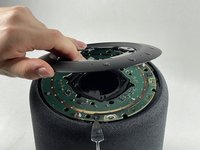
Remove the two screws located across from each other on the outside of the plastic ring shown.
-
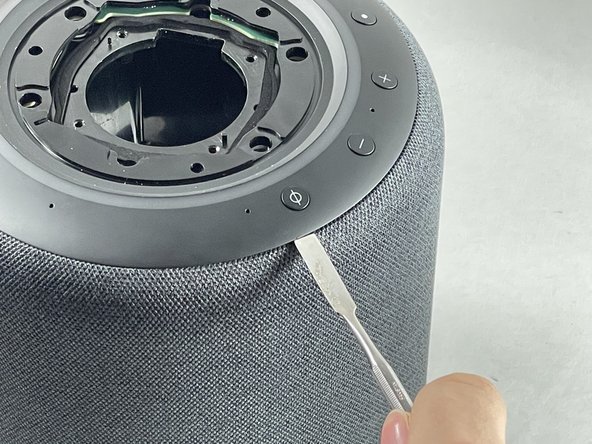
Remove the plastic outer ring that hugs the inside of the edges of the device.
-
-
-
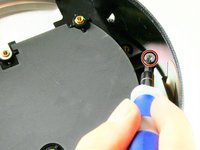
Remove the two 2.7 mm screws with a T10 Torx screwdriver.
-
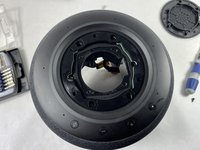
Once the screws are removed, take the power supply's baseplate out of the unit.
-
-
-
-
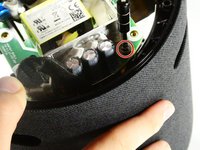
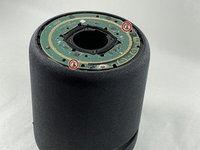
On the silver ring located on the outer edge of the plastic portion of the subwoofer, you will see four 2.7 mm screws. Use a Torx T10 screwdriver to remove them, in order to remove of the subwoofer.
-
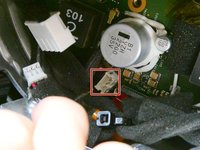
Follow the wires from the subwoofer to the main board and disconnect the connector attaching them.
-
-
-
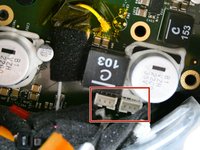
After removing the screws, locate the four power connectors on the motherboard and detach them from the motherboard.
-
-
-
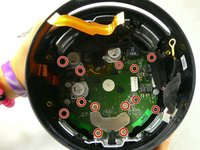
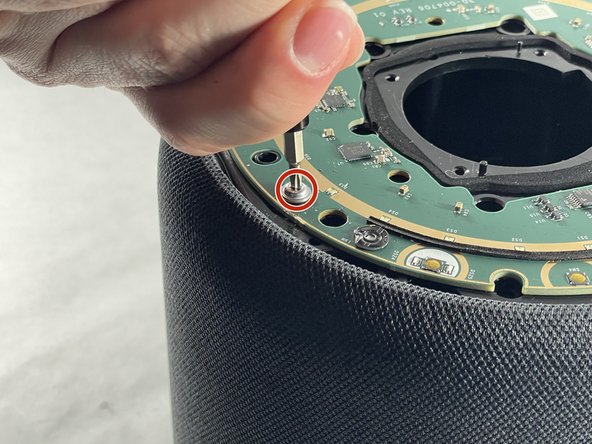
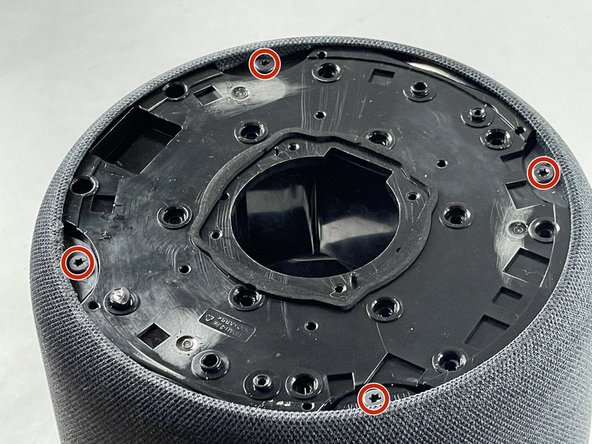
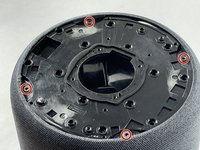
First, locate the six 10 mm screws at the top of the inside of the shell and unscrew them with a T10 Torx screwdriver.
-
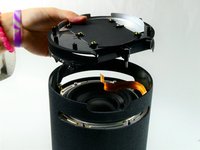
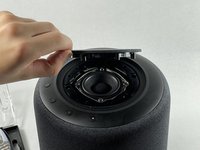
After removing the six screws from the inside, lift the top speaker cover.
-
-
-
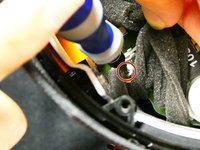
Remove the two 2.7 mm screws with a T10 Torx screwdriver.
-
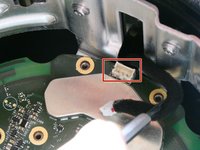
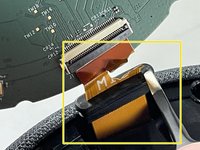
After the screws are removed, carefully lift the lightboard and disconnect the ribbon.
-
-
-
Remove the four 3.27 mm screws with T15 Torx driver.
-
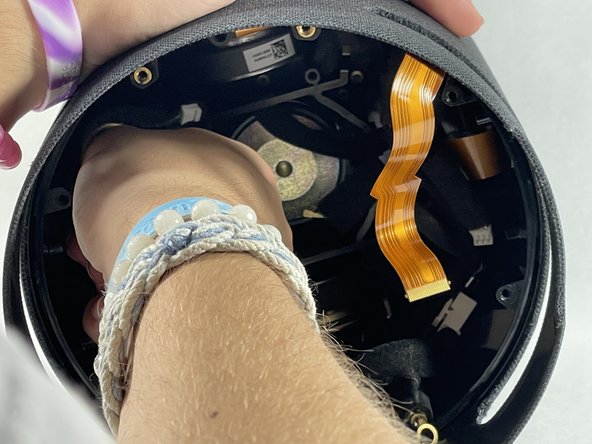
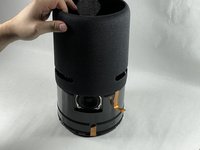
After removing the screws, push/pull the inner shell out of the outer shell.
-
-
-
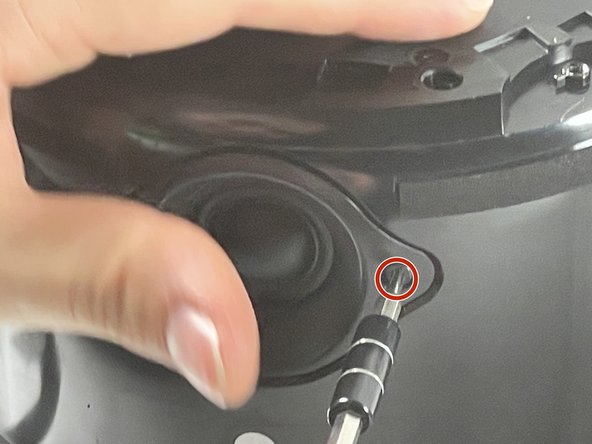
Remove the wire from its slot inside the shell so the tweeter can be removed.
-
Unscrew the two 3.2 mm screws holding the tweeter in place with a T15 Torx screwdriver.
-
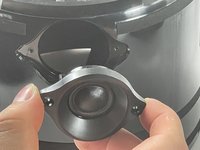
Pull the tweeter out.
-


To reassemble your device, follow these instructions in reverse order.
Cancel: I did not complete this guide.
One other person completed this guide.

Team

UMass Dartmouth, Team 2-6, Petersen Fall 2022 Member of UMass Dartmouth, Team 2-6, Petersen Fall 2022
UMASSD-PETERSEN-F22S2G6
4 Members
7 Guides authored